Étape 1 sur 6
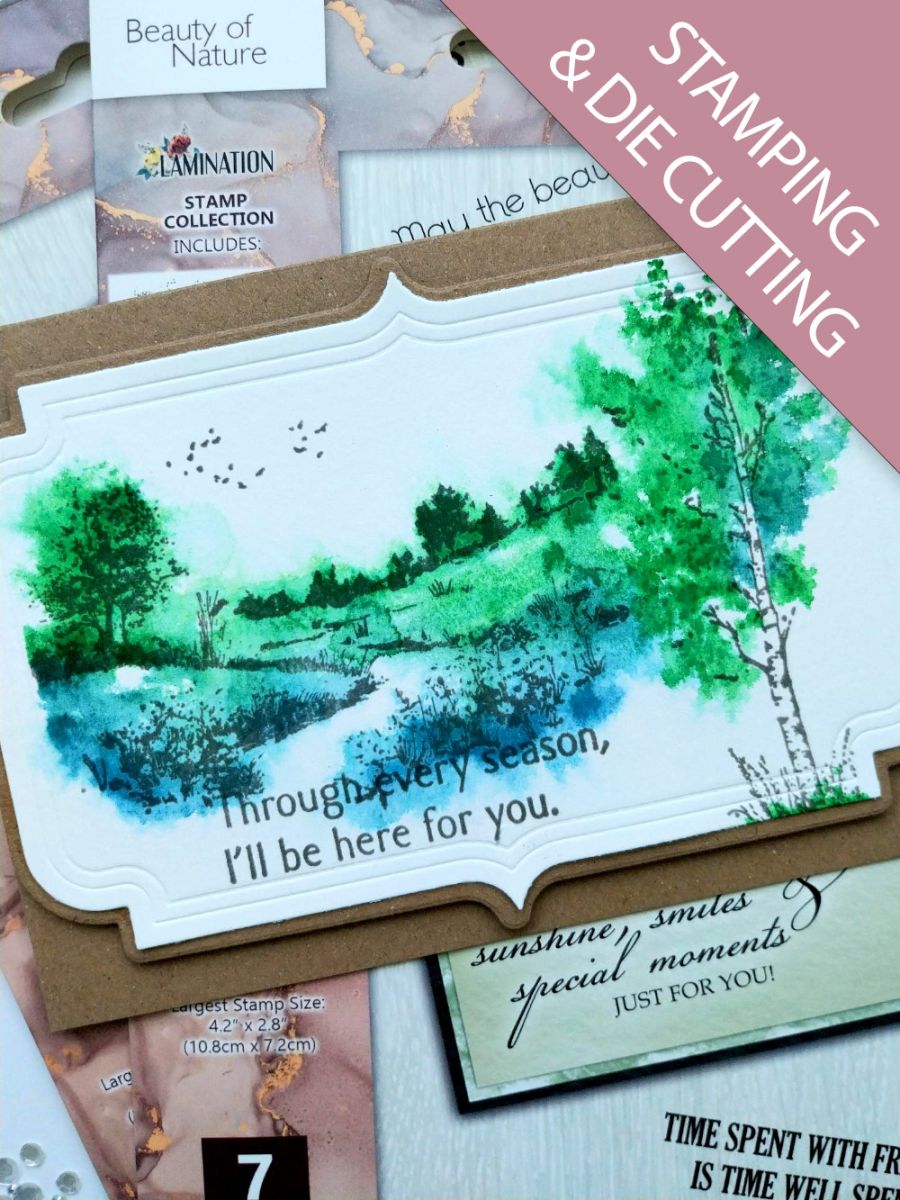
Using the nesting dies, cut a mat from kraft card, so it will fit on your 5 x 7 card blank. Use the next die down to cut a mat from your Carta watercolour card.








 The Friday Final Cutven. 6 nov. 5 h 00
 Community Showcaselun. 9 nov. 5 h 00
 Hobbymaker TVlun. 9 nov. 9 h 00
Les prix sont mis à jour immédiatement. Chaque langue est notre propre traduction, pas Google.
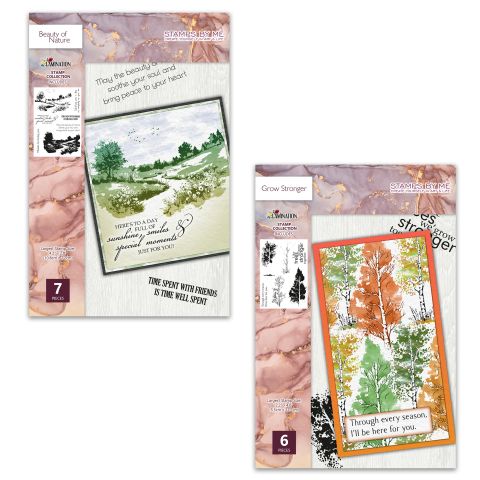 Stamps By Me Lamination Stamp Bundle - Beauty Of Nature & Grow StrongerLot de tampons Lamination Beauty Of Nature & Grow Stronger34,99 $ACHETER✓ AJOUTÉ
Using the nesting dies, cut a mat from kraft card, so it will fit on your 5 x 7 card blank. Use the next die down to cut a mat from your Carta watercolour card.
Ink up the solid stamp from Beauty of Nature, with the Hedgerow and Tiffany inks. Lightly spritz the stamp with water then stamp to the left of your your white die-cut landscape mat. Lightly spritz the stamped image with water, allowing the ink to "bleed". Once happy with the result, dry with a heat tool.
DO NOT MOVE THE CARD OR THE STAMP WHILST SPRAYING AND DRYING THE IMAGE!
Randomly re-ink the stamp with the same colours and stamp back over your watercolour image. This will bring back some definition and clarity to the design. Now stamp the detailed stamp over the top, with the Versafine.
Ink up one of the solid tree stamps from Grow Stronger, with Hedgerow, spritz and stamp to the right of the other image. Lightly spritz the stamped tree, allowing the ink to "bleed" then blast dry. Stamp the detailed stamp over the top, with the Versafine.
Stamp your sentiment in Versafine where preferred and if you have a flock of birds stamp, then stamp in Versafine above the trees. .
To finish mat your artwork onto the kraft die-cut mat and then onto your landscape kraft card blank.
Partagez votre création avec la communauté Stamps By Me - et gardez ce tutoriel pour la prochaine fois.
Vous préférez l’ancienne présentation ? Ouvrir l’ancienne page.



