Étape 1 sur 6
Choose this paper from the Whispering Wings paper pack and trim a piece of black card to 5 1/4 x 7 1/4".








 The Friday Final Cutven. 6 nov. 5 h 00
 Community Showcaselun. 9 nov. 5 h 00
 Hobbymaker TVlun. 9 nov. 9 h 00
Les prix sont mis à jour immédiatement. Chaque langue est notre propre traduction, pas Google.
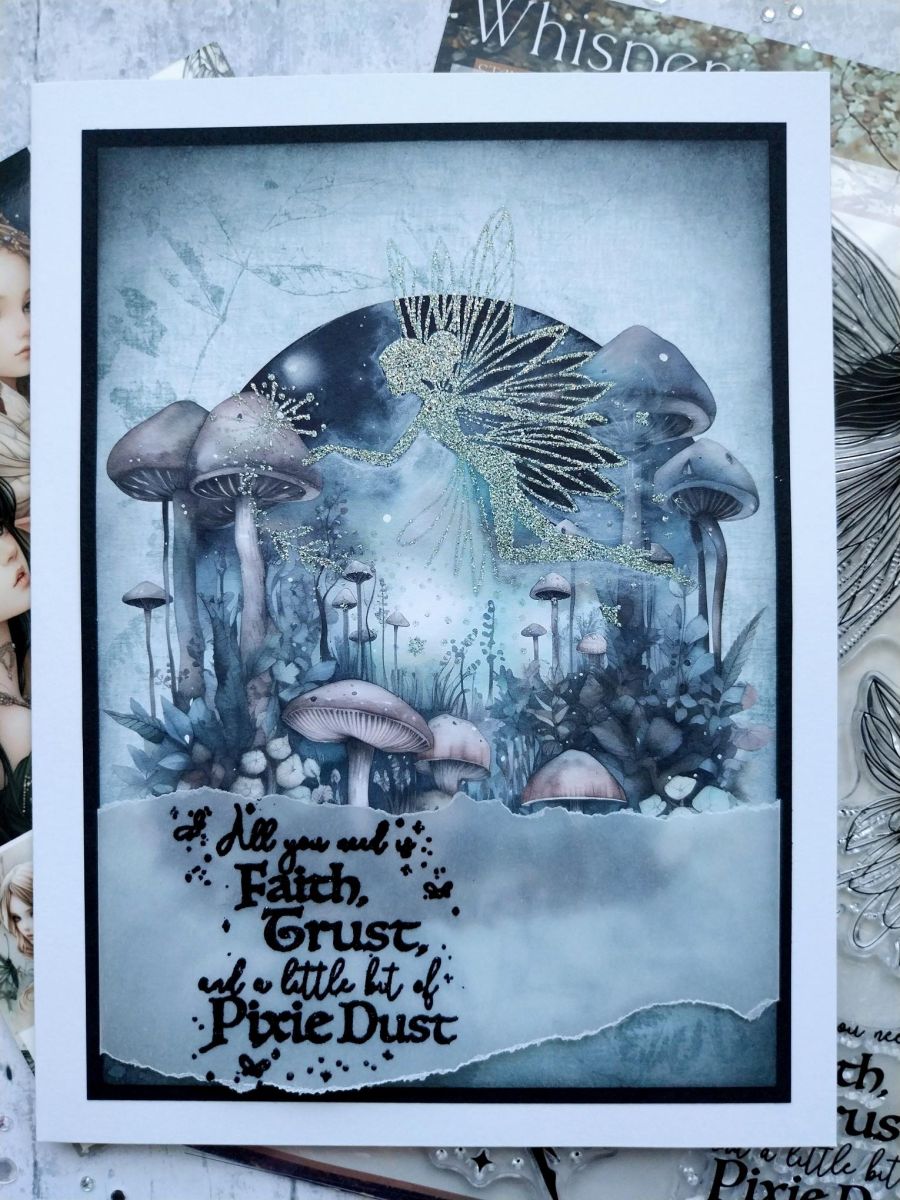
Choose this paper from the Whispering Wings paper pack and trim a piece of black card to 5 1/4 x 7 1/4".
Wipe over the printed paper with an anti-static bag before stamping your fairy with the sticky embossing ink. Apply your chosen coloured embossing powder over the image, shaking off and decanting any excess powder back into the pot. Get your heat tool hot then heat set the powder, moving the tool as soon as the powder starts to turn.
Carefully paint the White Lace Confetti around the outside of the embossed fairy, to make the image "pop" from the printed paper.
Blend Black Soot around the edges of the paper.
Tear a panel of vellum wider than the paper and deep enough for the sentiment to fit on to.
Wipe over the vellum with the anti-static bag, stamp the sentiment in the sticky ink, apply black embossing powder over the sticky sentiment and then heat set as before.
Place the embossed vellum across the bottom of the paper, tuck the edges over and adhere on the reverse with the double-sided tape.
Mat your artwork onto the black card and then onto your white card blank.
Partagez votre création avec la communauté Stamps By Me - et gardez ce tutoriel pour la prochaine fois.
Vous préférez l’ancienne présentation ? Ouvrir l’ancienne page.



