Étape 1 sur 13
Trim this beautiful paper from the Magical Elegance paper pad, to 5 1/2" square.








 The Friday Final CutDemain 5 h 00
 Community Showcaselun. 9 nov. 5 h 00
 Hobbymaker TVlun. 9 nov. 9 h 00
Les prix sont mis à jour immédiatement. Chaque langue est notre propre traduction, pas Google.
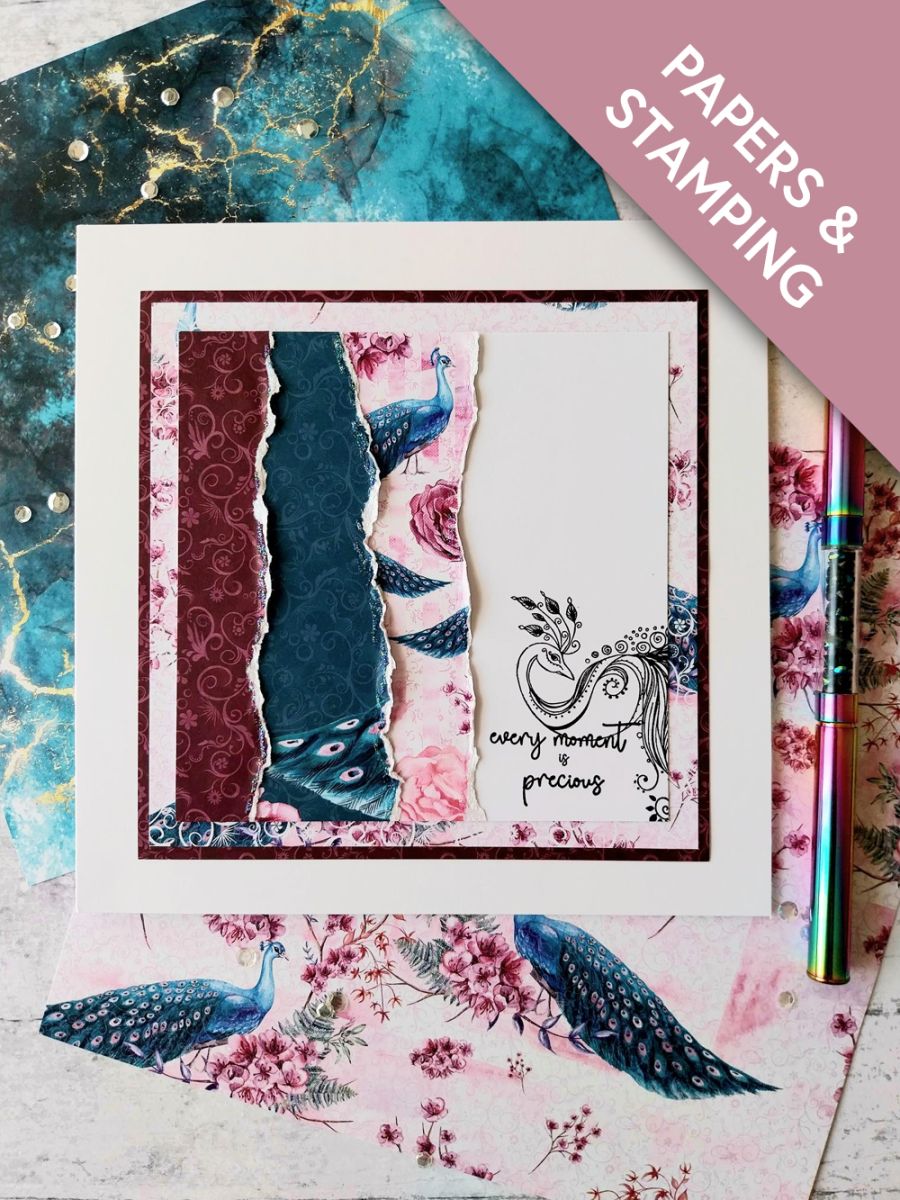
Trim this beautiful paper from the Magical Elegance paper pad, to 5 1/2" square.
Trim this coordinating, textured patterned paper, to 5 3/4" square.
Adhere the decorative paper on top of the coordinating paper and set to one side.
Cut a piece of white card to 5" square.
Choose any decorative, coordinating paper and cut to 5 x 3 1/2", then tear down the right hand edge, as seen here. Scrunch and lift the torn edge to create a distressed effect. This is a great way to use cut-off's and scraps of paper you may have left over, from previous projects.
Choose another coordinating paper, cut to 5 x 2 1/2" and again tear and distress down the right edge.
Adhere the first, larger torn panel flush with the top, left and bottom edges of your white card. Then adhere the smaller panel on top, again flush to the left side, thus creating a layered effect. Remember to scrunch and lift those torn edges!
Finally, cut a third coordinating paper panel, 5 x 1 1/4" and tear as before.
Adhere this flush to the left hand side, to create your layered backbground.
Stamp your beautiful Peacock in the Midnight ink, coming on from the bottom right corner of the white card.
Stamp the sentiment just under but connected to, your stamped image.
Adhere your artwork on to the layered papers you prepped earlier.
Adhere to the front of your 8" square, white card blank.
Use your Stickles to add a touch of glitter down the torn edges and on your stamped artwork, where required.
Partagez votre création avec la communauté Stamps By Me - et gardez ce tutoriel pour la prochaine fois.
Vous préférez l’ancienne présentation ? Ouvrir l’ancienne page.



