Étape 1 sur 14
Die cut TWO 6" circles from kraft card.
Score about 2cm down, on one of the circles and apply red liner tape above the score line. Trim a sliver off the bottom of the same circle, enabling your card blank to stand upright.








 The Friday Final Cutven. 6 nov. 5 h 00
 Community Showcaselun. 9 nov. 5 h 00
 Hobbymaker TVlun. 9 nov. 9 h 00
Les prix sont mis à jour immédiatement. Chaque langue est notre propre traduction, pas Google.
Die cut TWO 6" circles from kraft card.
Score about 2cm down, on one of the circles and apply red liner tape above the score line. Trim a sliver off the bottom of the same circle, enabling your card blank to stand upright.
Peel off the tape backing and adhere your die cut circles together, to create your card blank. Pop to one side.
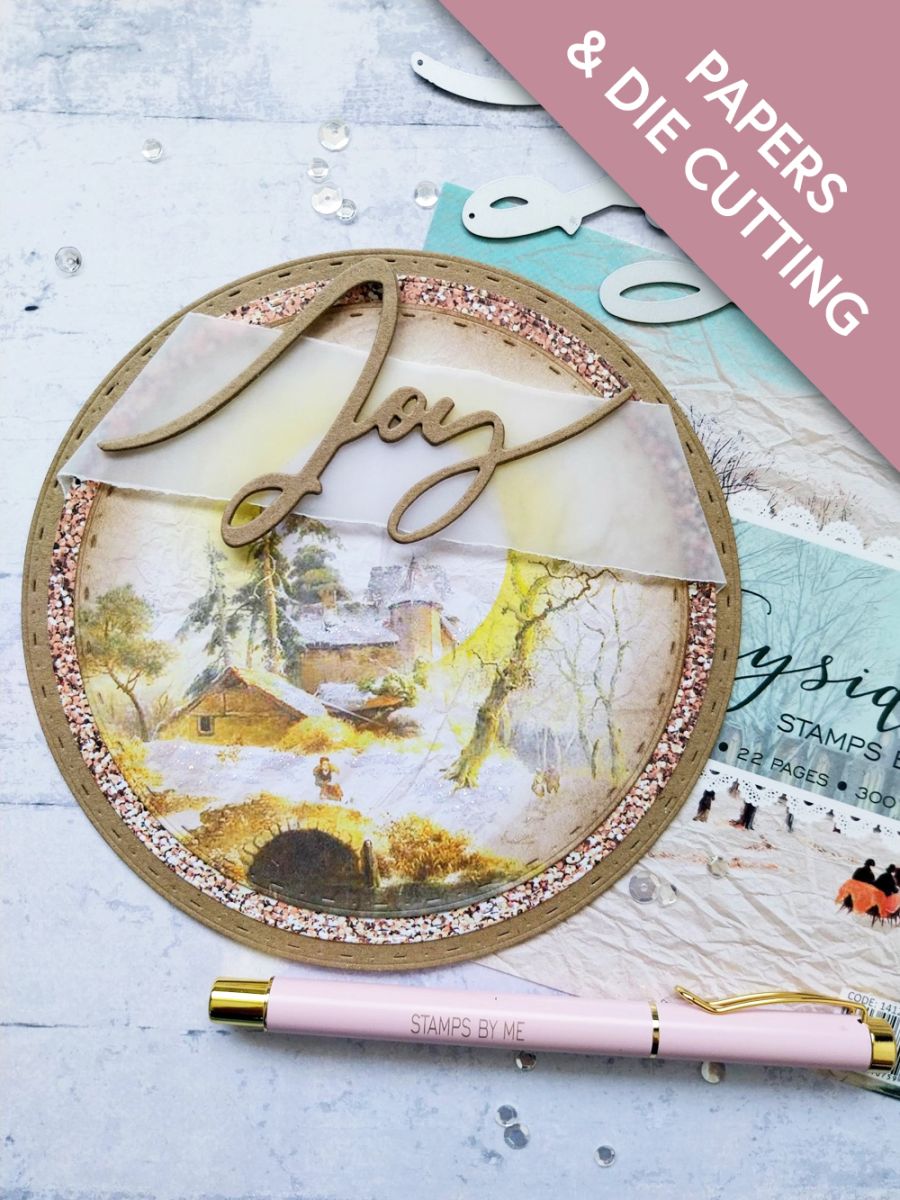
Choose a textured paper from the Bronze All Surfaces paper pack and die cut a 5 1/2" circle.
Die cut a 5" circle from one of the beautiful mounts, from In The Countryside.
Place your circle mask over the horizon of your village scene and blend the Sherbet ink, moving away from the mask as you fade out the colour.
Blend the Walnut Stain Distress ink around the edge of your topper.
Adhere your topper to your die cut textured paper.
Tear a strip of vellum slightly wider than your layered topper.
Adhere at an angle, across the top third of your topper. Tuck the vellum edges over and secure on the back, with your tape runner or double-sided adhesive tape.
Adhere to the front of your kraft card blank.
Die cut 3 "Joy" elements from kraft card.
Adhere together to create a substantial 3D word.
Adhere "Joy" along your torn vellum panel.
Use your Stickles to add a touch of winter, festive sparkle, to your artwork.
Partagez votre création avec la communauté Stamps By Me - et gardez ce tutoriel pour la prochaine fois.
Vous préférez l’ancienne présentation ? Ouvrir l’ancienne page.



