Étape 1 sur 9
Ink up this reflective cityscape stamp, from Dare To Dream, with the Midnight Hybrid ink and stamp across the top third of the white card, cut to 7 x 5".








 The Friday Final CutDemain 5 h 00
 Community Showcaselun. 9 nov. 5 h 00
 Hobbymaker TVlun. 9 nov. 9 h 00
Les prix sont mis à jour immédiatement. Chaque langue est notre propre traduction, pas Google.
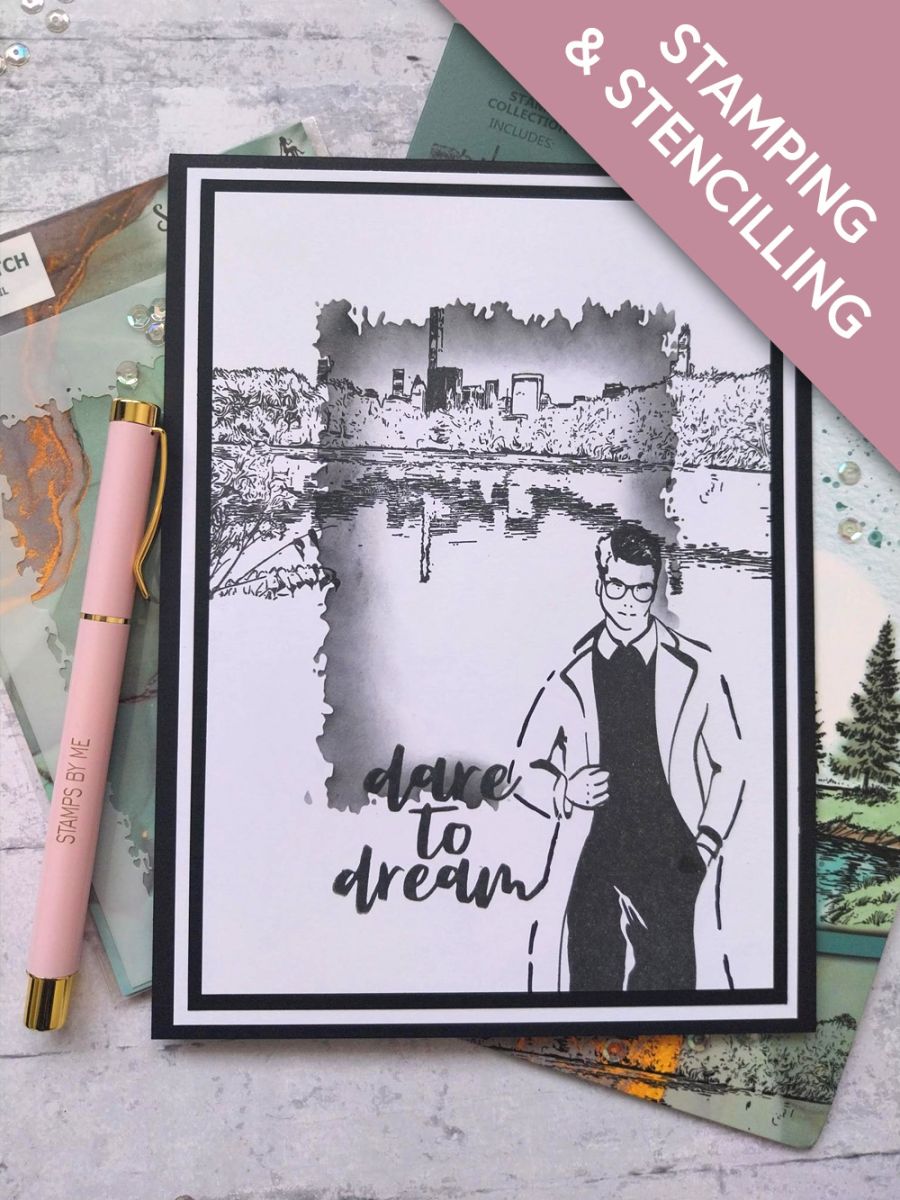
Ink up this reflective cityscape stamp, from Dare To Dream, with the Midnight Hybrid ink and stamp across the top third of the white card, cut to 7 x 5".
Apply Midnight ink to this lovely young man from the Imala Impossible Collection and stamp to the right of your artwork.
Secure the Stylized Sketch stencil verically, down the centre of your stamped artwork, with magnets or low tack tape.
Use a blending tool to apply the Black Soot within the stencil frame, the colour being darker around the outer edges and fading out as you move inwards.
Ink up the "Dare To Dream" sentiment with Midnight, then stamp bottom left of your artwork.
Shake the Gossip Iridescent pens to wake the glitter, then apply to your artwork where required. I added blue glitter to the water reflection and green to the greenery.
Once your artwork is dry, adhere to the black card cut to 7 1/4 x 5 1/4".
Adhere this on to the white card cut to 7 1/2 x 5 1/2".
Adhere to your black card blank, to finish.
Partagez votre création avec la communauté Stamps By Me - et gardez ce tutoriel pour la prochaine fois.
Vous préférez l’ancienne présentation ? Ouvrir l’ancienne page.



