Cochez ce que vous avez - cet appareil s’en souvient.
Étape par étape
touchez une image pour l’agrandir · touchez TERMINÉ au fur et à mesure - cet appareil s’en souvient
Étape 1 sur 10
Spray the white card, cut to 6 3/4 x 4 3/4", liberally with water!
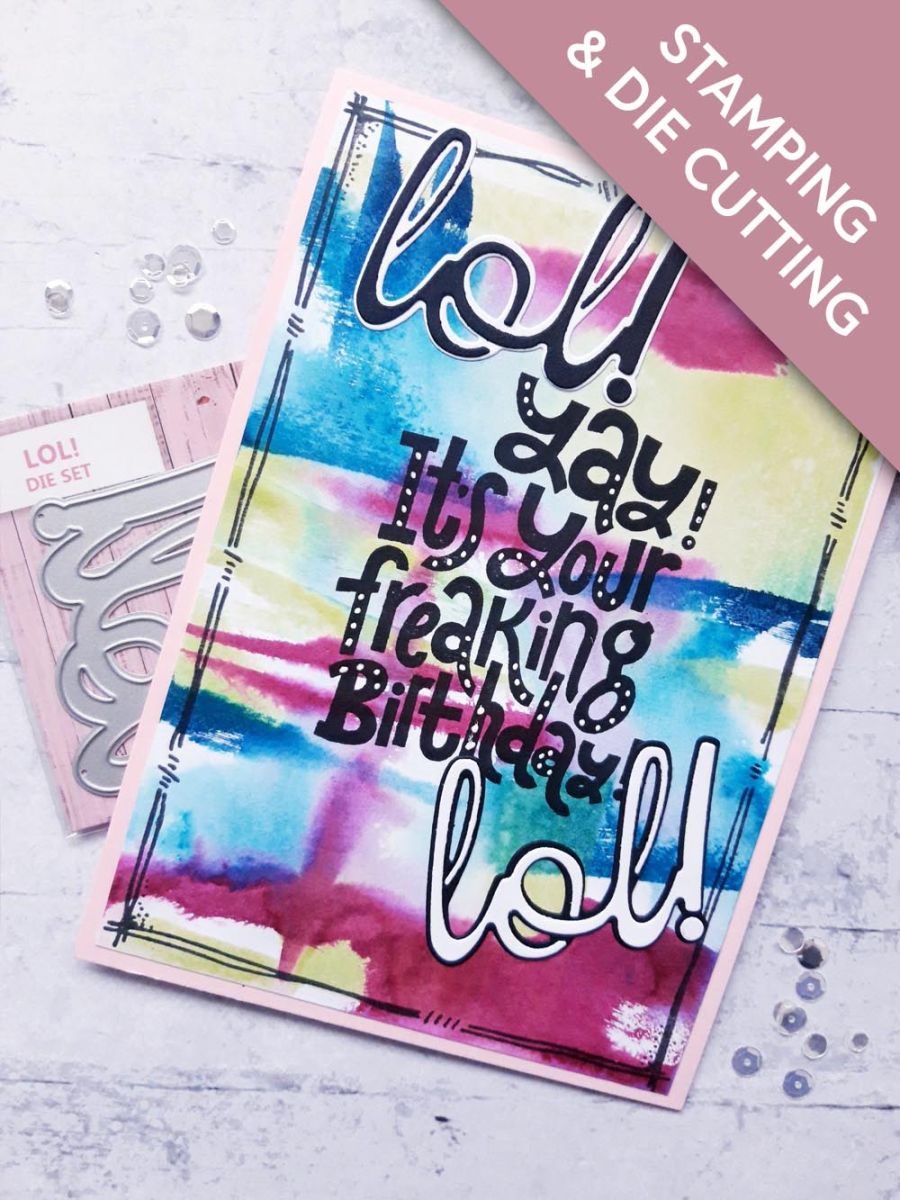
Randomly swipe the 3 Premium ink pads on to the wet card, then spritz again with water! Allow the ink to move freely, then mop up the excess with a paper towel, before blasting it dry with a heat tool. Repeat until you are happy with your arty background.
Étape 2 sur 10
Ink up the Dash Frame stamp, with the Midnight Hybrid ink and stamp on to your inky background.
Étape 3 sur 10
Ink up the sentiment from the Craft Stash Stamp Collection, with Midnight and stamp in the centre of your background. Such a fun sentiment!!
Étape 4 sur 10
Once dry, adhere your artwork on to your pink card blank.
Étape 5 sur 10
Using the LOL dies, die cut the detailed die from white card and the solid die from black card.
Étape 6 sur 10
Adhere the white die cut on top of the black die cut mat.
Étape 7 sur 10
Now do the opposite...die cut the detailed die out of black card and the solid die from white card.
Étape 8 sur 10
Adhere the black die cut on top of the white die cut mat.
Étape 9 sur 10
Adhere one of the die cut words to the top left, of the stamped sentiment and the other bottom right, at a jaunty angle!.
Étape 10 sur 10
To finish, use a white gel pen to add decorative dots to random areas of the stamped sentiment.
Bravo, c’est fait !
Partagez votre création avec la communauté Stamps By Me - et gardez ce tutoriel pour la prochaine fois.
Bonjour ! Je suis l'assistante créative IA de Toni : je connais les projets des émissions de Toni, nos tutoriels et tout ce qui se trouve dans la boutique. Posez-moi toutes vos questions, par exemple « Quelles matrices de découpe vont avec ce set de tampons ? » ou « De quoi ai-je besoin pour débuter le mélange d'encres ? »
Un assistant IA (et non Toni en personne), qui répond à partir des émissions de Toni et de notre boutique – merci de vérifier la fiche produit avant d'acheter.