Étape 1 sur 10
Place the white card, cut to 7 3/4 x 3 3/4", in landscape view, then swipe your no-line ink pad across the card, to create a subtle background.








 The Friday Final Cutven. 6 nov. 5 h 00
 Community Showcaselun. 9 nov. 5 h 00
 Hobbymaker TVlun. 9 nov. 9 h 00
Les prix sont mis à jour immédiatement. Chaque langue est notre propre traduction, pas Google.
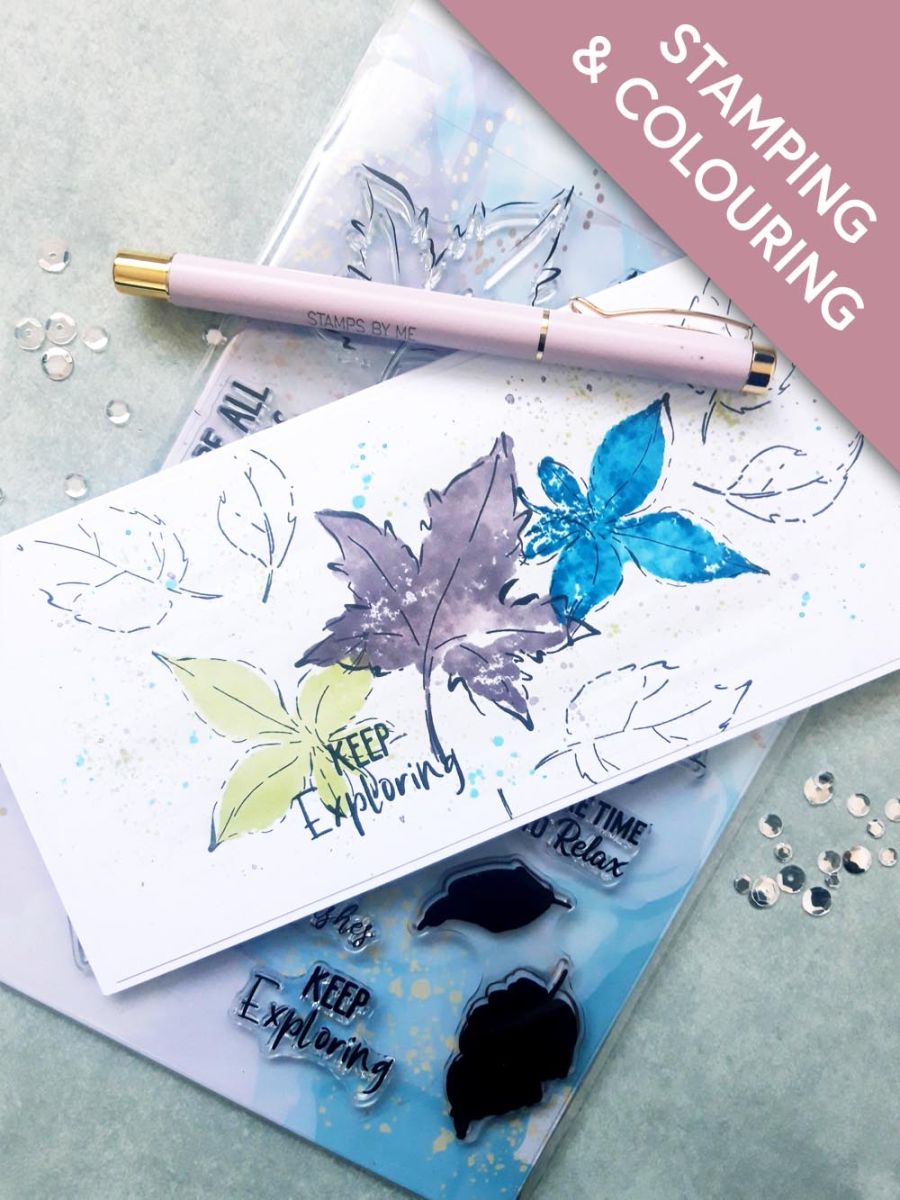
Place the white card, cut to 7 3/4 x 3 3/4", in landscape view, then swipe your no-line ink pad across the card, to create a subtle background.
Ink up the script and brickwork stamps, from the Beautiful Notes set, with the no-line ink pad and stamp randomly over your background. The idea is to create a distressed, subtle background for your main focal images.
Dry the ink ready for the next step.
Ink up one of the solid leaf stamps, from the Keep Exploring set, with the Limeade.
Spritz the stamp with water, then stamp just to the left, of the centre of your background.
Ink up a bigger solid leaf stamp with Heather, spritz with water and stamp in the centre, just connecting it with the first stamped image.
Reink the first solid leaf stamp, this time with Tiffany. Spritz with water and stamp to the right of the centre leaf, again just connecting the 2 images, to create fluidity to your artwork.
Ink up the coordinating detailed stamps, one at a time, with the Midnight hybrid ink and stamp over your solid images.
Ink up the detailed leafy stamp with Midnight and stamp randomly around your artwork, ensuring you take some of the images off the edge of the card.
Apply a little of each of the Premium Dye inks to your glass mat. Spritz with water and splatter over your artwork, as required. I like lots of splats but the choice is yours!!
Ink the sentiment stamp with Midnight and stamp through the bottom left, of your artwork.
Once the splats are dry, adhere your artwork on to your DL card blank, to finish.
Partagez votre création avec la communauté Stamps By Me - et gardez ce tutoriel pour la prochaine fois.
Vous préférez l’ancienne présentation ? Ouvrir l’ancienne page.



