Étape 1 sur 13
Tear out this decorative paper from the Funky Fossil Watercolour Rainbow pad.








 The Friday Final CutDemain 5 h 00
 Community Showcaselun. 9 nov. 5 h 00
 Hobbymaker TVlun. 9 nov. 9 h 00
Les prix sont mis à jour immédiatement. Chaque langue est notre propre traduction, pas Google.
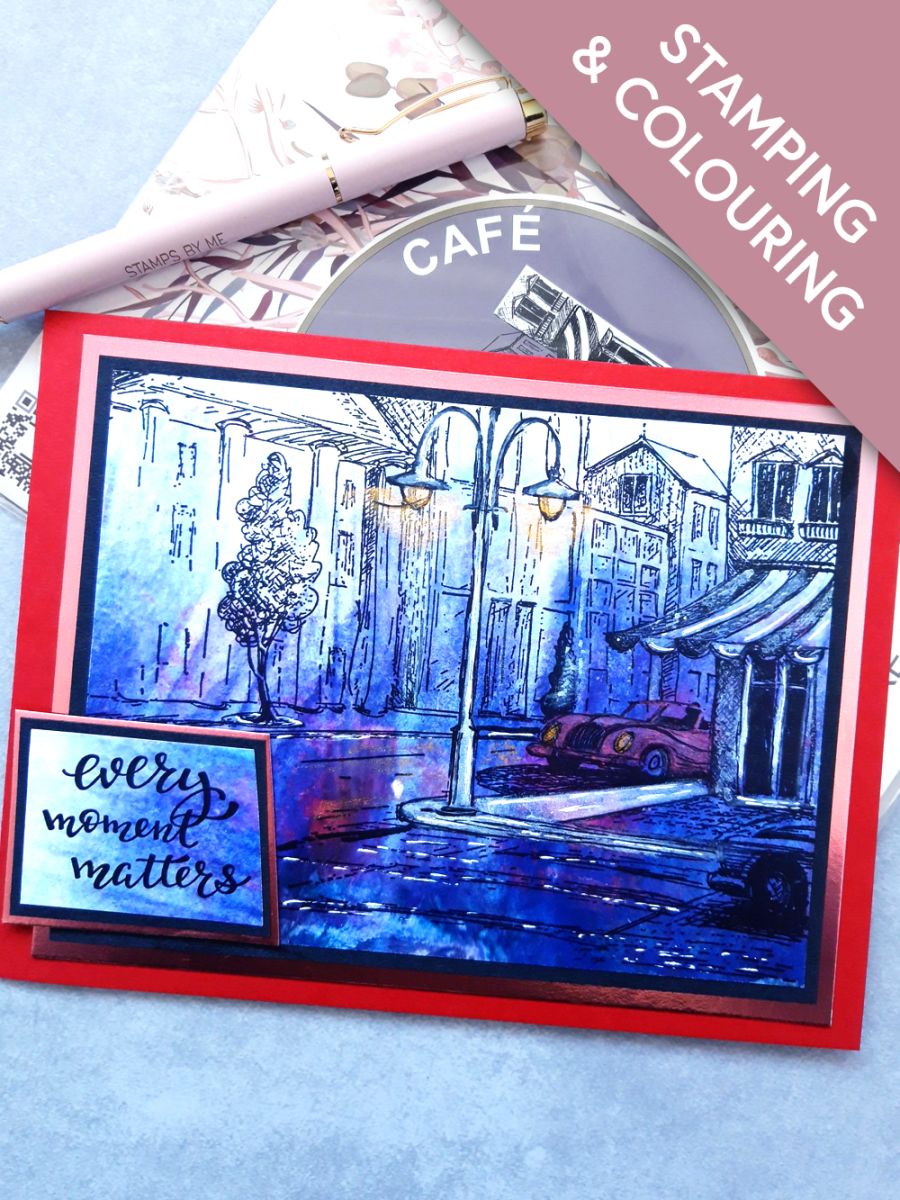
Tear out this decorative paper from the Funky Fossil Watercolour Rainbow pad.
Ink up the beautiful Imala Cafe, with the Onyx Black Versafine.
Decide where on the decorative paper, you want your design to be, then stamp appropriately.
Trim the paper to the size of the stamped image, 6 1/2 x 4 3/4".
Set the remaining decorative paper to one side, to be used in a later step.
Using a paint brush and the Confetti paints, add a touch of colour to your stamped image. Satin on the car, Goldmine on the street and car lights and White Lace reflections on the buildings, Cafe awning, road and pavements. It's your choice how much colour you want to add to your stamped image.
Once the Confetti paint is dry, you can use a black fineline pen to sketch back in any lines/details, that may be obscured by the paints.
Adhere your artwork on to the black card (6 3/4 x 5")
Adhere on to the Blush pearlised card (7 x 5 1/4").
Adhere to the front of your red, landscape card blank and set to one side.
Ink up the sentiment stamp from The Sky's The Limit, with the Versafine and stamp on to the decorative paper set aside earlier.
Trim the paper around the sentiment.
Adhere the stamped sentiment on to the black card, cut to 2 x 2 1/2", then trim down to size.
Adhere to the pearlised Blush card, cut to 2 x 2 1/2", then trim to size.
Adhere to the bottom left of your artwork.
To finish, use a white gel pen to add accents and highlights to your artwork.
Partagez votre création avec la communauté Stamps By Me - et gardez ce tutoriel pour la prochaine fois.
Vous préférez l’ancienne présentation ? Ouvrir l’ancienne page.



