Étape 1 sur 10
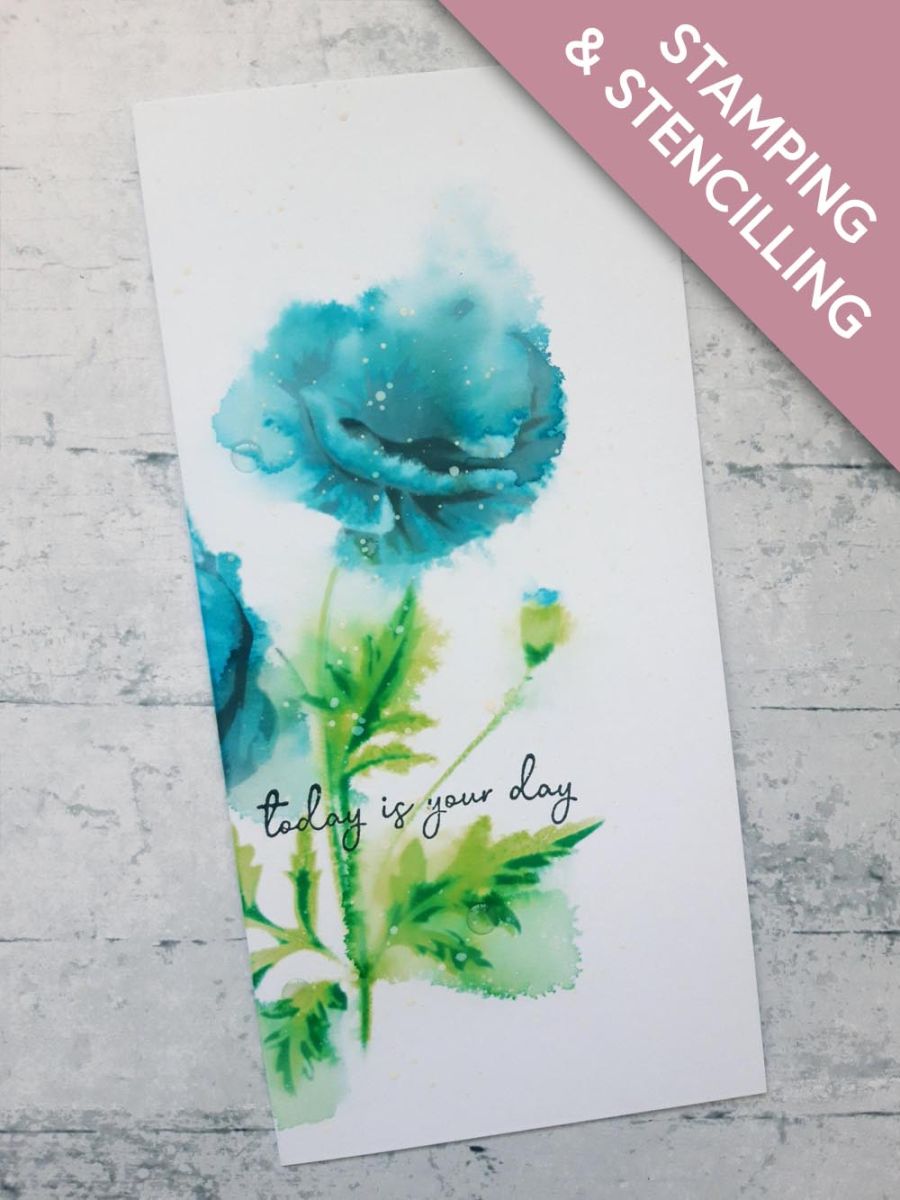
Place stencil marked number 1, from the Poppy Bouquet Stencil and Die Collection, off the left edge of your DL card blank.
Blend the Izink Mer du Sud ink through the stencil, with your blending tool.








 Deal Huntersmar. 10 nov. 9 h 00
 HSN Inspirationmar. 10 nov. 13 h 00
 Hidden Gemsmer. 11 nov. 5 h 00
Les prix sont mis à jour immédiatement. Chaque langue est notre propre traduction, pas Google.
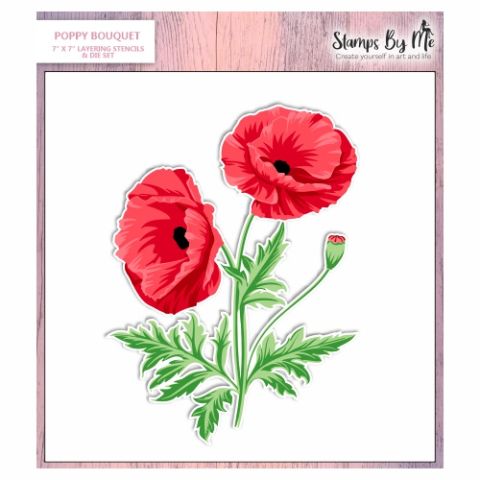 Stamps By Me Stencil And Die - Poppy BouquetPochoirs de la Poppy Bouquet Stencil and Die Collection29,99 $ACHETER✓ AJOUTÉ
Place stencil marked number 1, from the Poppy Bouquet Stencil and Die Collection, off the left edge of your DL card blank.
Blend the Izink Mer du Sud ink through the stencil, with your blending tool.
Line up stencil number 2, over your stencilled image, and blend with the Izink Ocean.
Line up stencil 3, and blend with the Izink Nuit and Menthe.
Line up stencil 4, and blend through with the Izink Nuit, Reglisse and Emeraude.
Now be brave....and spray water over your stencilled image, allowing it to "bleed". You can add more water, depending on how much of a loose watercolour effect you want! You can also use a paper towel to mop up any excess water if you wish. Allow the water to move the ink freely, and if possible, let your artwork dry off naturally.
I am normally fairly reserved in allowing the water to move too much, but I went for it this time...and really loved the result.
NB: These next 2 steps are optional, but i wanted to go back in, with 2 of the stencils, and add a little more ink, to redefine some of the areas.
I laid stencil 3 back in place, and added a little more of the Izink Menthe, in some of the areas that bled alot.
I laid stencil 5 in place, and redefined a couple of areas with the Izink Emeraude.
Add some water to your Thirsty Brush Confetti Paint, and splatter over your dried artwork. You can be as generous with the splats as you want...I like a lot!!
Ink up the sentiment stamp, from There For You Lamination Stamp Collection, with the Smoky Gray Versafine, and stamp it straight through your artwork.
To finish, add clear, adhesive water drops, to your artwork, as required.
Partagez votre création avec la communauté Stamps By Me - et gardez ce tutoriel pour la prochaine fois.
Vous préférez l’ancienne présentation ? Ouvrir l’ancienne page.



