Schenke deinen Freundinnen und Freunden 10 $ Rabatt auf ihre erste Bestellung!
Freunde WERBEN








 Deal HuntersDi., 10. Nov. 9:00 Uhr
 HSN InspirationDi., 10. Nov. 13:00 Uhr
 Hidden GemsMi., 11. Nov. 5:00 Uhr
Preise ändern sich sofort. Jede Sprache ist unsere eigene Übersetzung, nicht Google.
Ein Projekt aus unserer Live-Show THE FRIDAY FINAL CUT - Sendung vom 6. November 2026 · 11.06.2026 · ab 31:00 ansehen
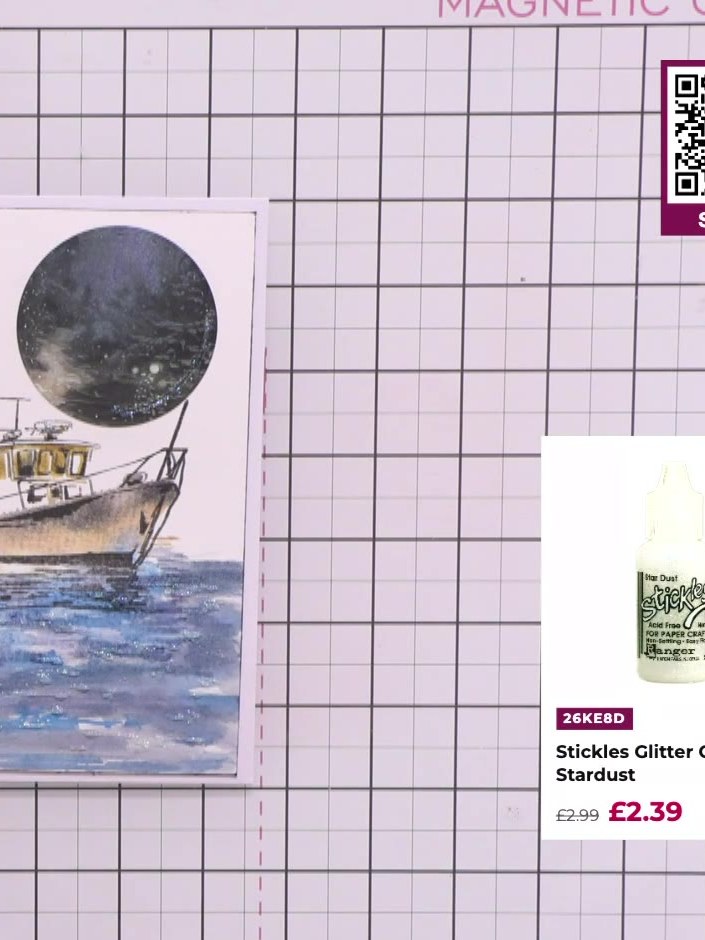
Make a serene watercolour card featuring a fishing boat beneath a moonlit sky, combining lamination stamps with hand-painted effects. Using layered ink blending in blues, greys and sandy tones, you'll create an atmospheric nautical scene with beautiful depth. This moody design is perfect for masculine cards or anyone who loves coastal themes.
DIESE ANLEITUNG HERUNTERLADEN (PDF)
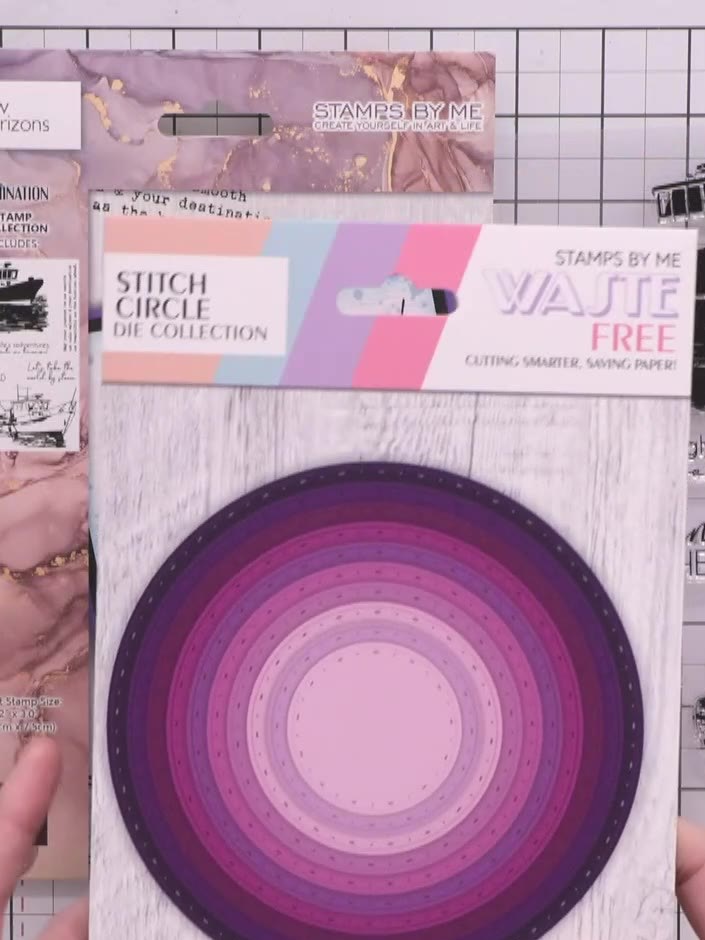
Die-cut a circle from patterned paper using a waste-free circle die to create your moon shape.
▶ diesen Schritt ansehen (32:45)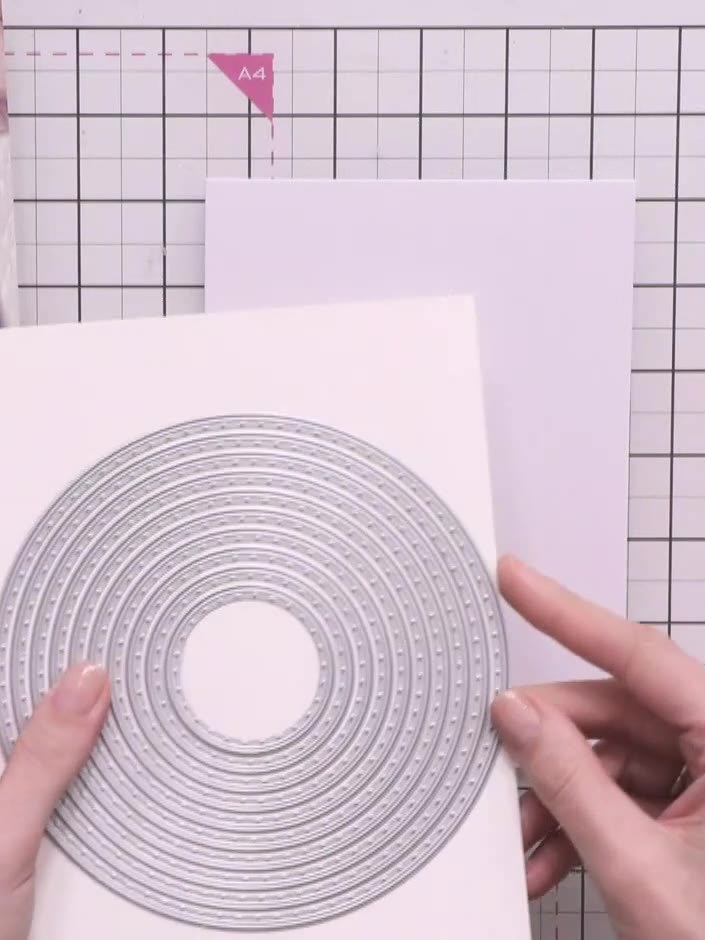
Cut your card base to 5 x 7 inches. Prepare a piece of white watercolour cardstock slightly smaller than the card base for matting your stamped image.
▶ diesen Schritt ansehen (33:30)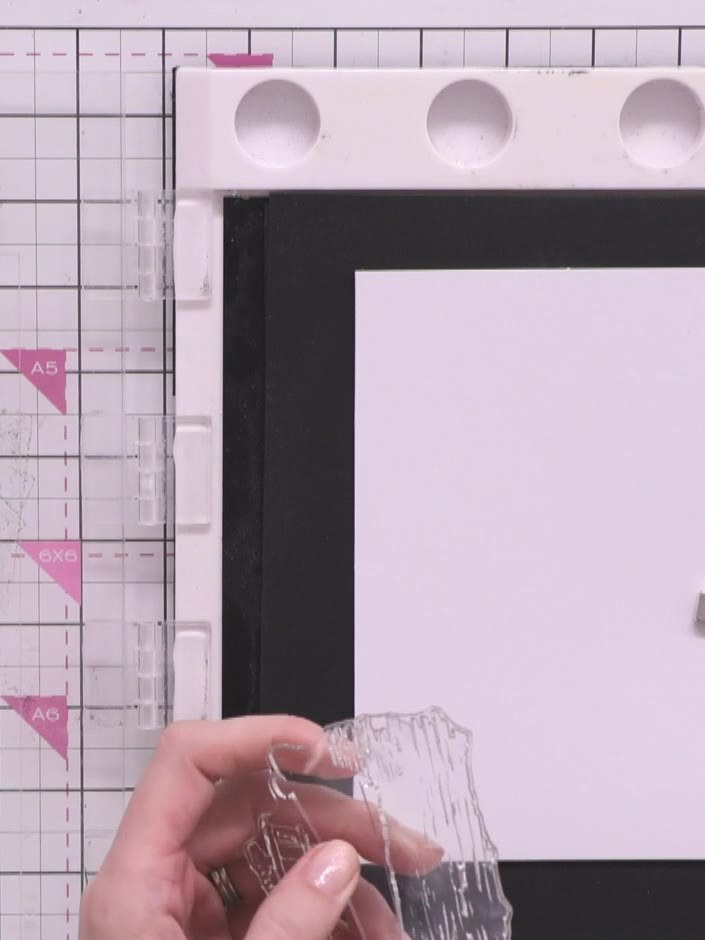
Ink up the solid portion of the boat stamp using multiple brown ink pads: Frayed Burlap on the hull, Brushed Corduroy on the top section, and Black Soot for added depth.
▶ diesen Schritt ansehen (39:00)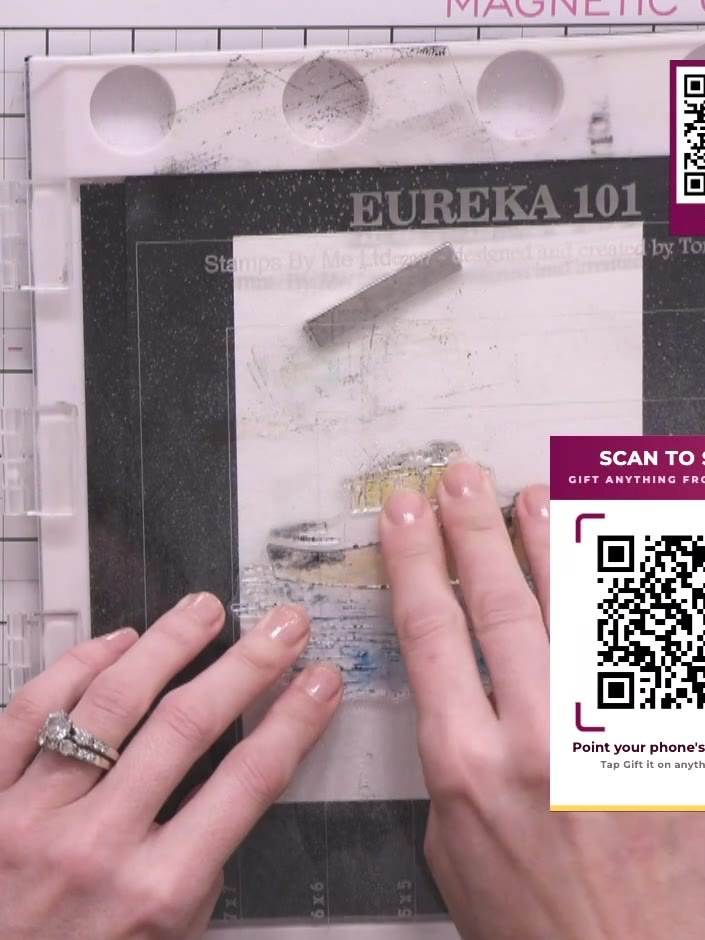
Add blue inks (Stormy Sky and Mermaid Lagoon) to the bottom portion of the stamped image to represent water. Apply the ink directly onto the stamped boat scene.
▶ diesen Schritt ansehen (40:45)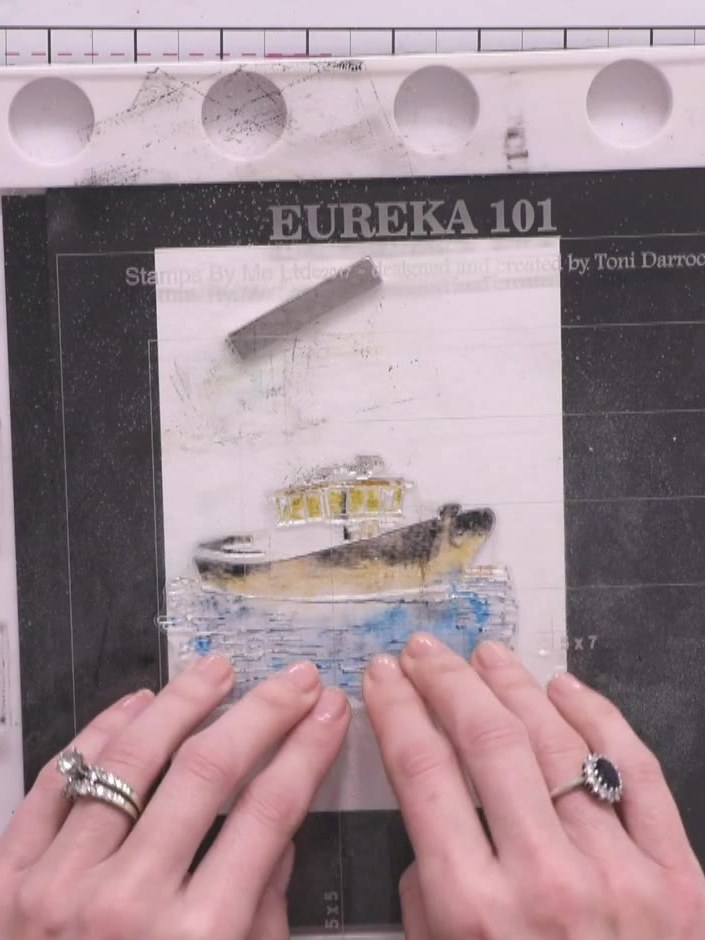
Spray the inked stamp two or three times with water. Blend the colours together by pushing and blending with your finger.
▶ diesen Schritt ansehen (41:00)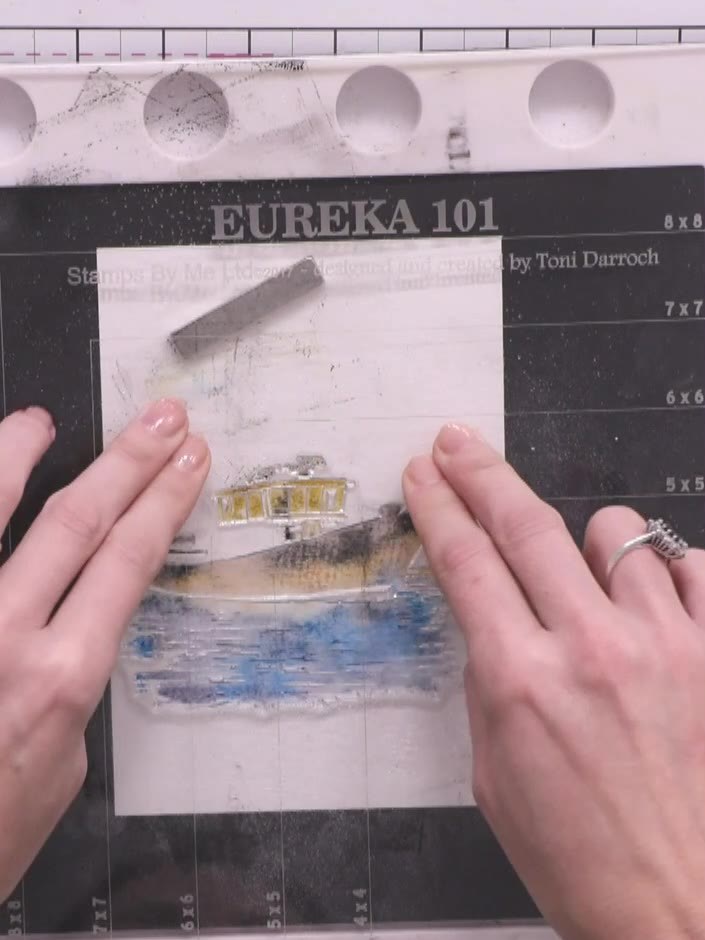
Press the stamped image firmly onto your watercolour cardstock to transfer the coloured boat design. Ensure even pressure across the entire stamp for a complete transfer.
▶ diesen Schritt ansehen (41:30)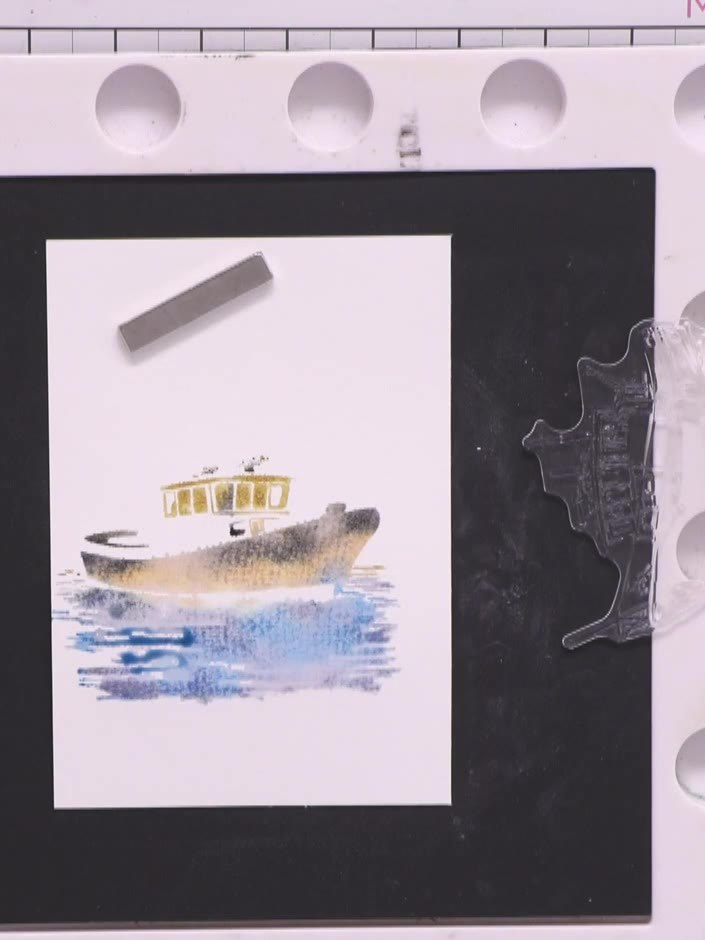
Use a heat gun to thoroughly dry the stamped boat image on the white card panel before proceeding to the next layer.
▶ diesen Schritt ansehen (42:45)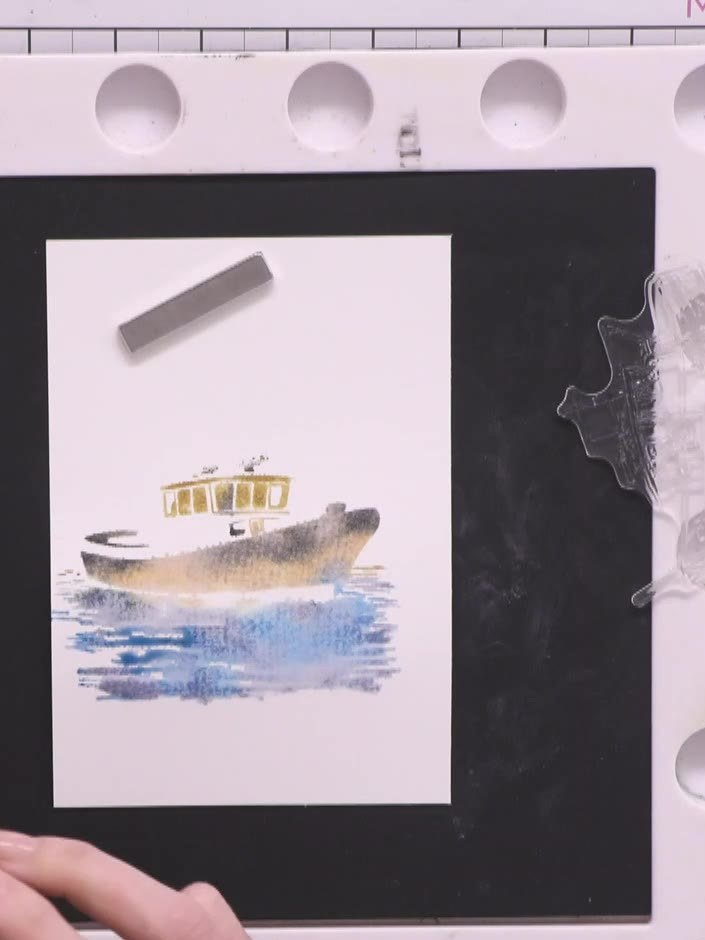
Using a brush, hand-paint additional blue and brown watercolour down the card below the boat image, leaving white space to suggest waves and extend the water effect.
▶ diesen Schritt ansehen (43:15)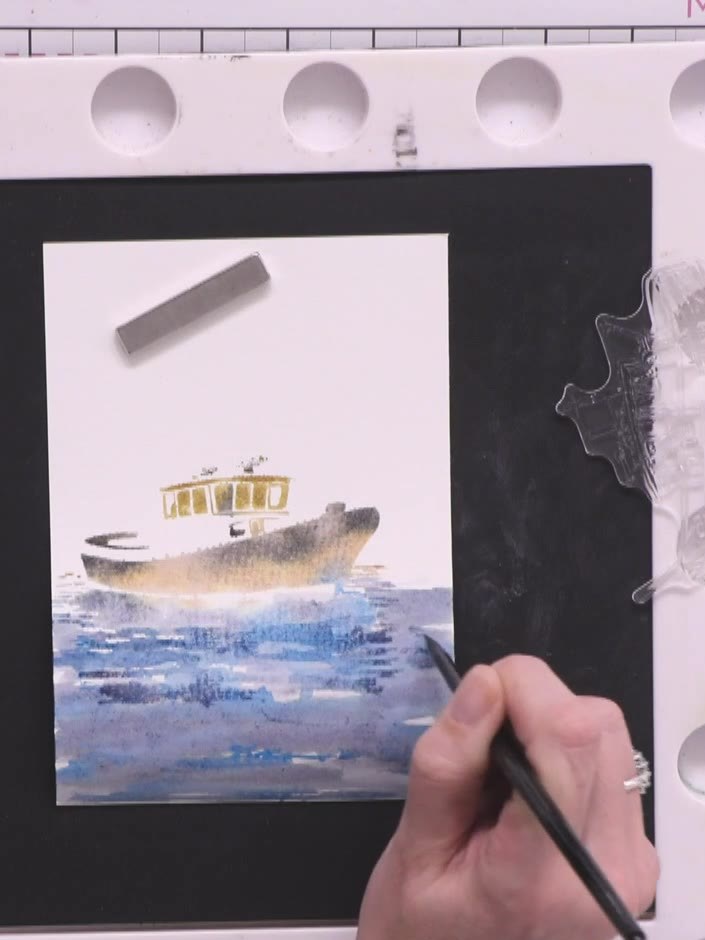
Once the watercoloured boat image is completely dry, align the detail portion of the lamination stamp over it. Stamp using Midnight black ink to add definition and detail to the boat.
▶ diesen Schritt ansehen (47:00)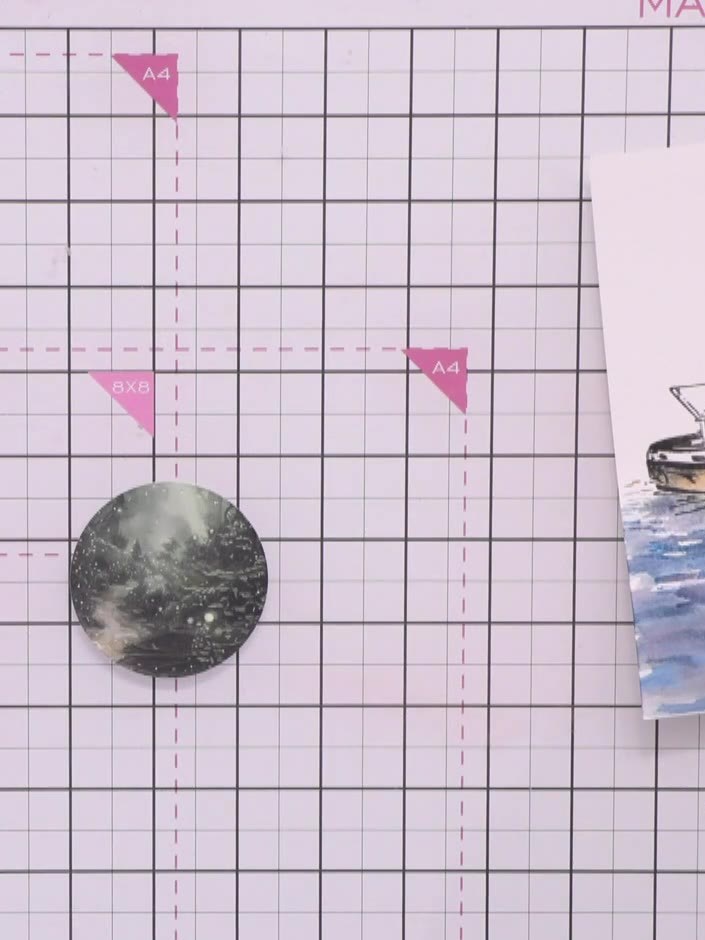
Darken the moon by blending black ink across it using a blending brush to create depth and make it stand out against the background.
▶ diesen Schritt ansehen (51:15)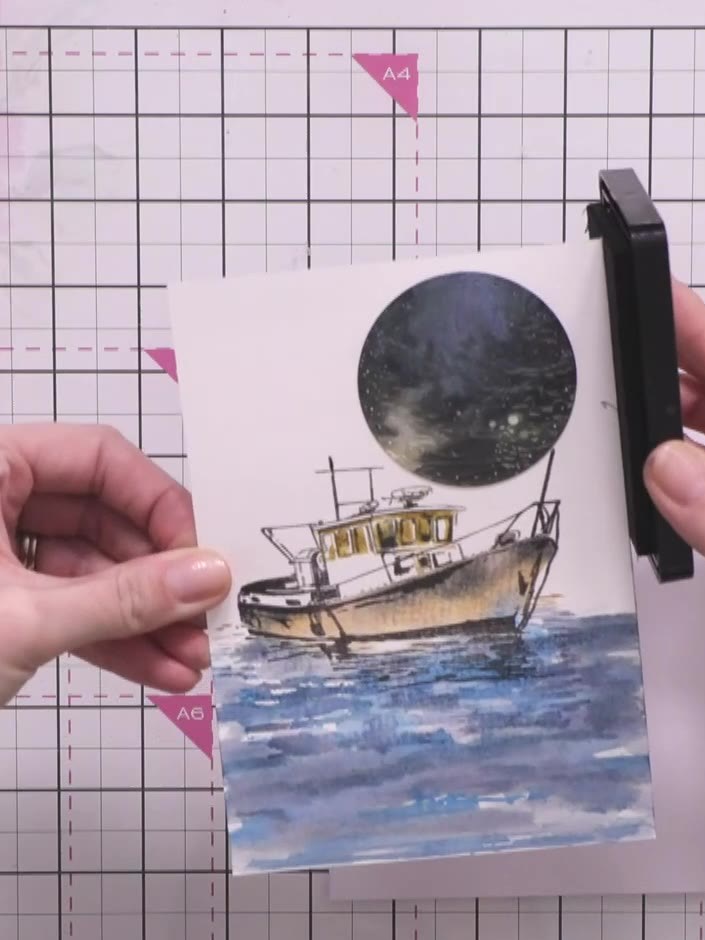
Edge the bottom of the moon circle with black ink by sliding the ink pad across the edge to create depth and lift it from the background.
▶ diesen Schritt ansehen (53:30)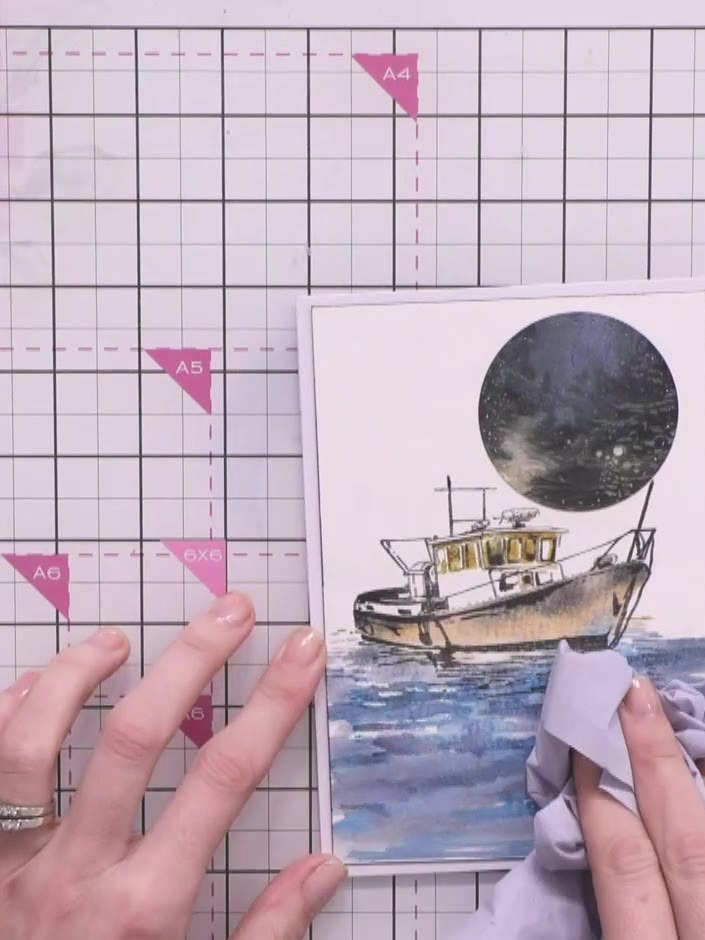
Mount the stamped and painted boat piece onto your card base. Add iridescent Stardust Stickles to the water area and around the moon to create a shimmer effect.
▶ diesen Schritt ansehen (54:30)Direkt aus der Show aufgeschrieben. Alle Anleitungen aus unseren Shows ansehen · kostenlose Anleitungen · live auf My Telly ansehen
