Schenke deinen Freundinnen und Freunden 10 $ Rabatt auf ihre erste Bestellung!
Freunde WERBEN








 The Thursday DropMorgen 13:00 Uhr
 The Friday Final CutFr., 6. Nov. 5:00 Uhr
 Community ShowcaseMo., 9. Nov. 5:00 Uhr
Preise ändern sich sofort. Jede Sprache ist unsere eigene Übersetzung, nicht Google.
Ein Projekt aus unserer Live-Show CREATE TOGETHER CLUB - Show 2 - Sei dabei mit Toni - Ausgestrahlt am 29. März 22 · 03.29.2022 · ab 42:00 ansehen
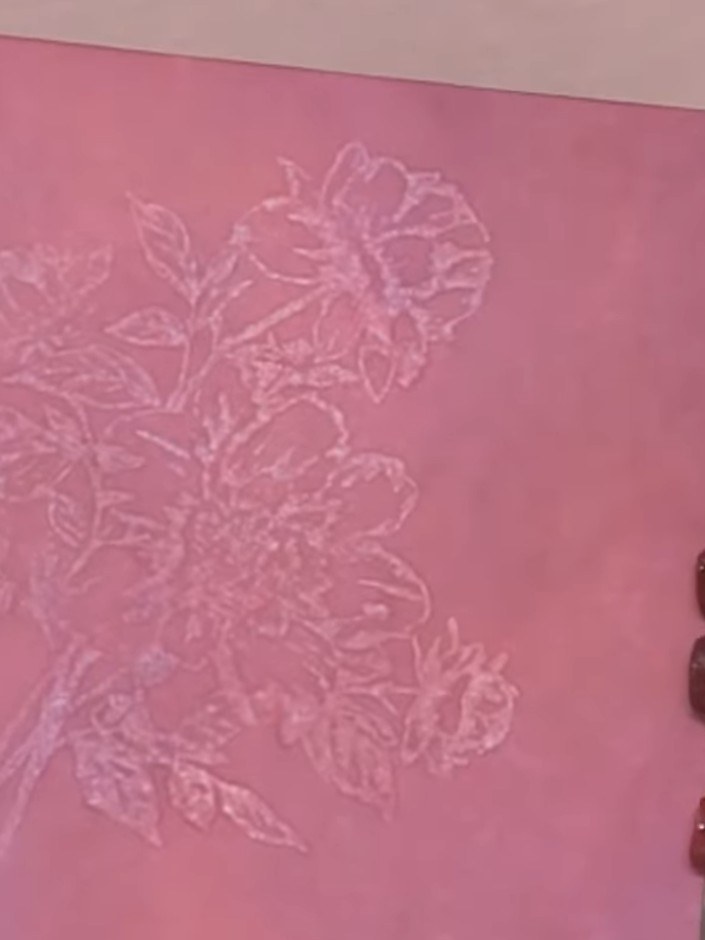
Create a stunning contemporary card featuring a bleached floral design on a vibrant coral-pink background. Using water-reactive ink and a unique stamping technique, you'll lift out a delicate botanical image that appears to glow against the rich coloured backdrop. Finish with sparkle pen accents for an elegant, artistic effect perfect for any occasion.
DIESE ANLEITUNG HERUNTERLADEN (PDF)
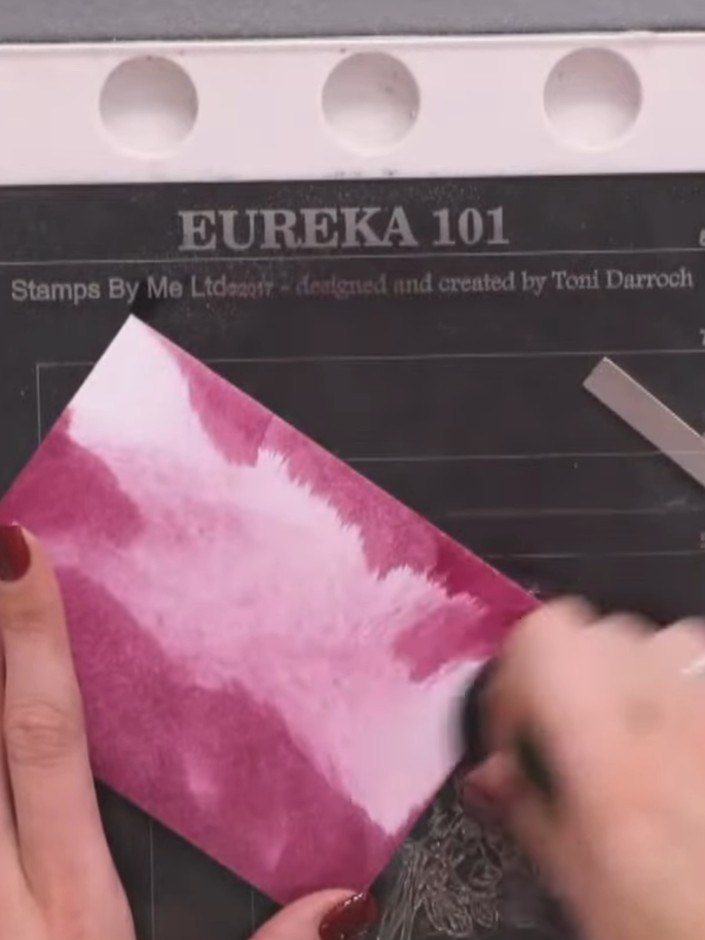
Take a piece of white cardstock and apply water-reactive ink in random areas using a brush. Layer colours such as purple and pink, blending them together to create a graduated effect.
▶ diesen Schritt ansehen (42:30)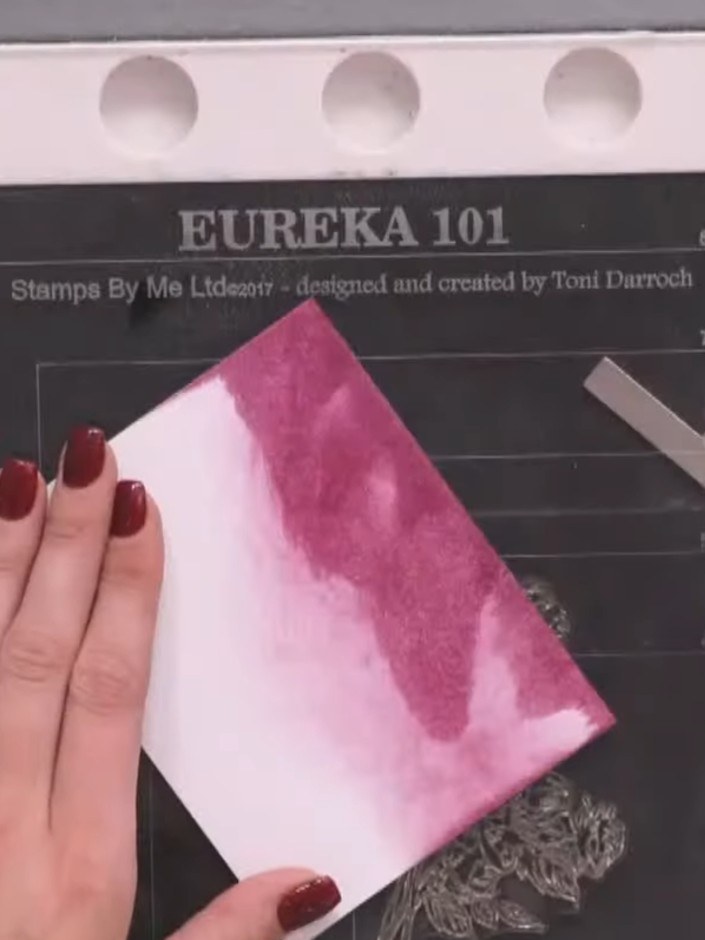
Allow the inked cardstock to dry slightly before proceeding to the next step.
▶ diesen Schritt ansehen (43:00)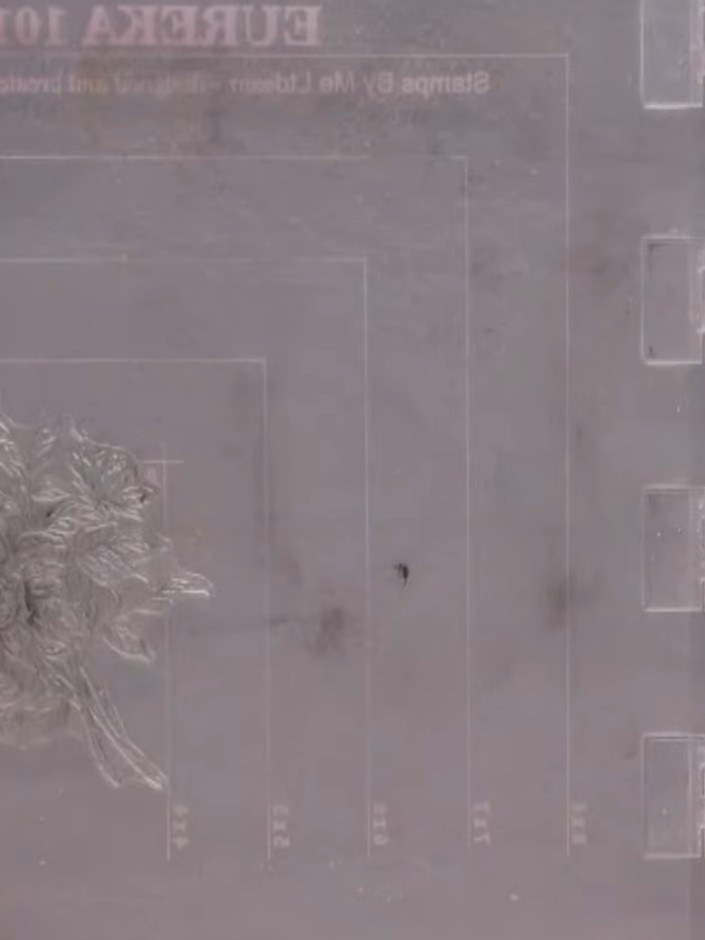
Lightly spritz your floral stamp with clean water using light bursts only. Do not flood the stamp with water.
▶ diesen Schritt ansehen (48:30)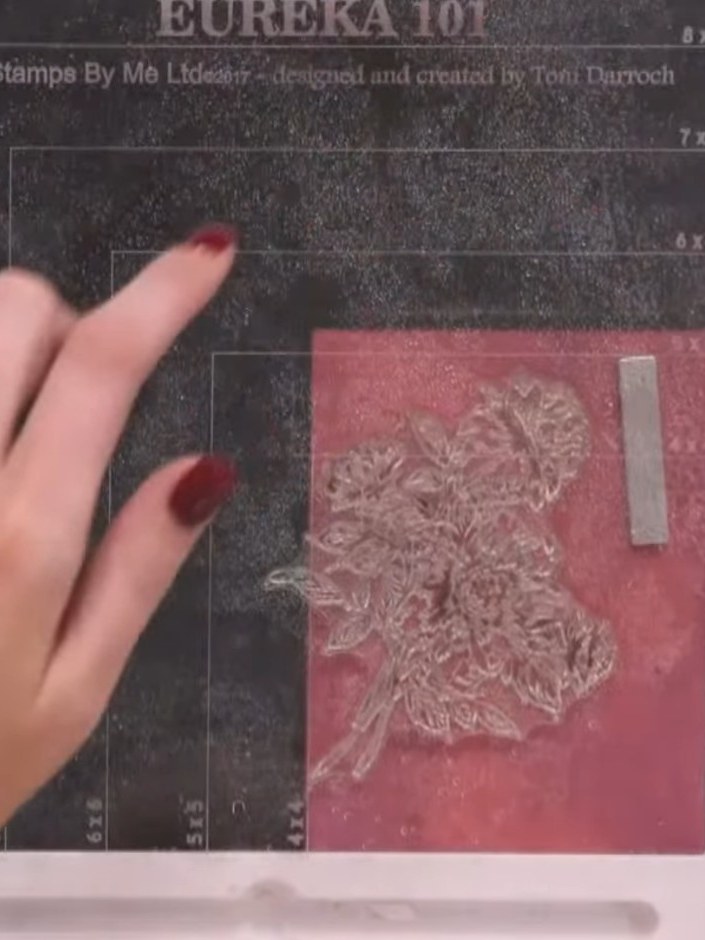
Place the water-spritzed stamp down onto the red ink pad and press firmly to create a bleached, lifted floral image on the stamp.
▶ diesen Schritt ansehen (49:00)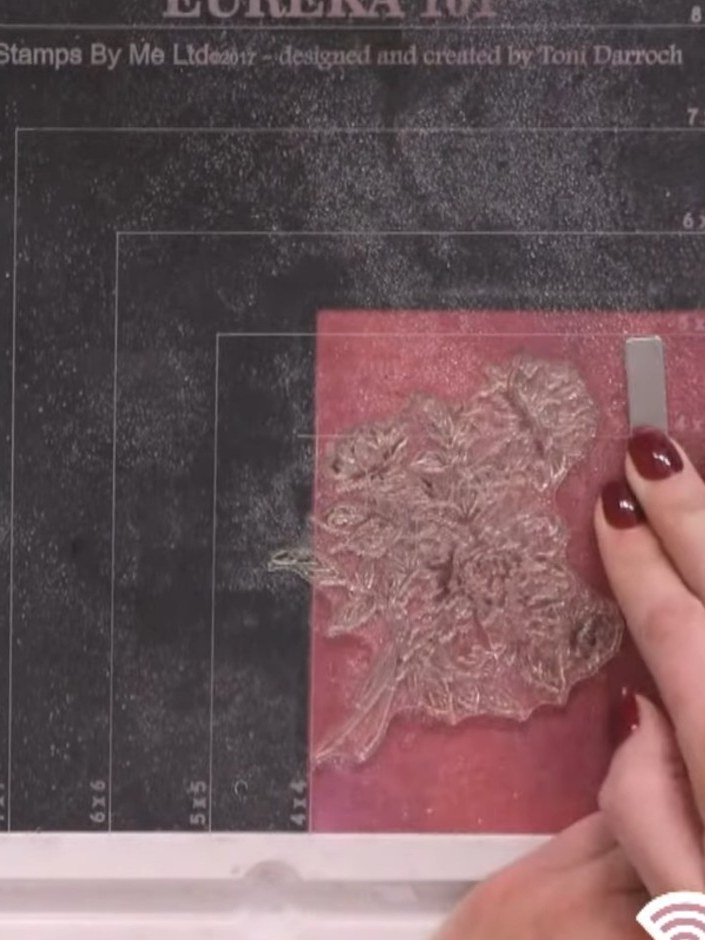
Lift the stamp and repeat the water-spritz and stamp process two to three times to build up the bleached effect on your pink card.
▶ diesen Schritt ansehen (49:30)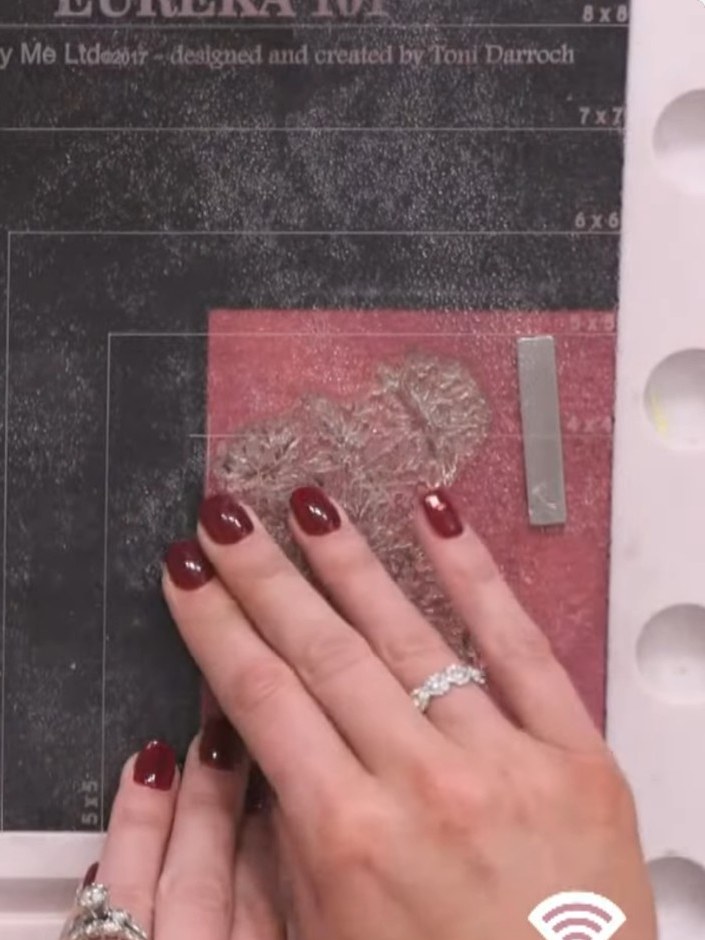
Use a heat gun to activate the water-reactive ink and reveal the bleached floral design. The image will appear as a light, lifted area against the pink background.
▶ diesen Schritt ansehen (50:45)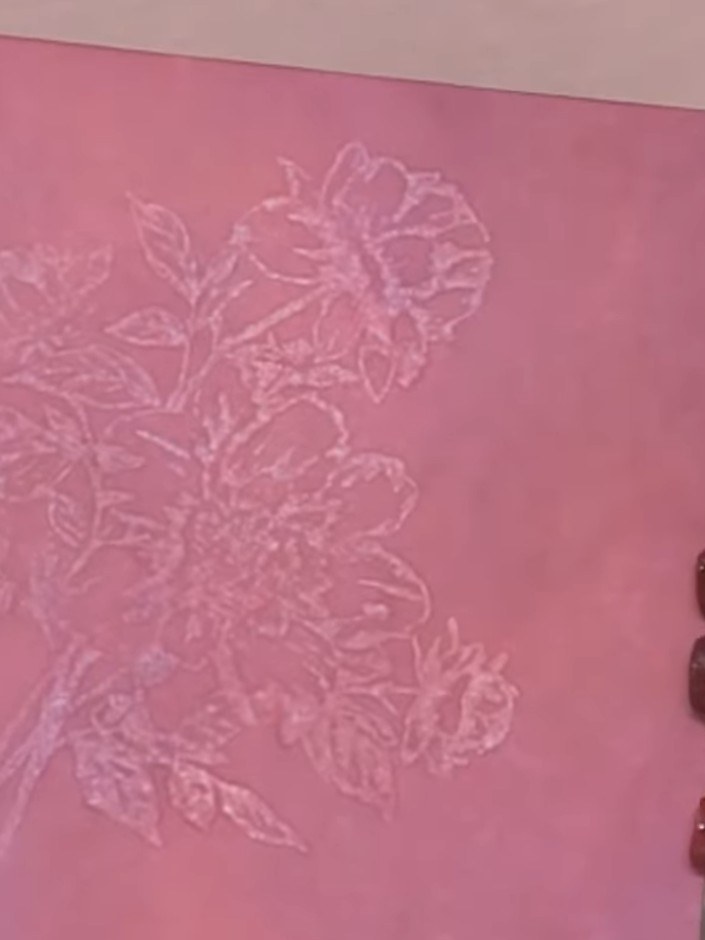
Adhere the embossed pink panel onto a coordinating card base to complete your card.
▶ diesen Schritt ansehen (52:30)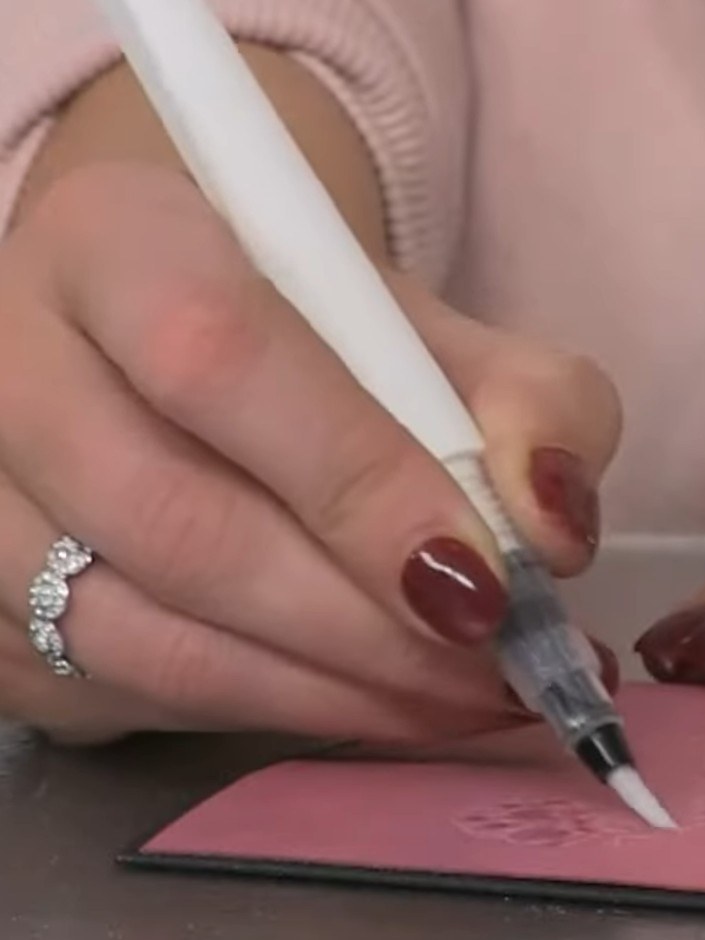
Lightly dab a clear sparkle pen in random spots across the embossed floral design on the pink card panel. Use minimal product to create a subtle shimmer effect.
▶ diesen Schritt ansehen (54:00)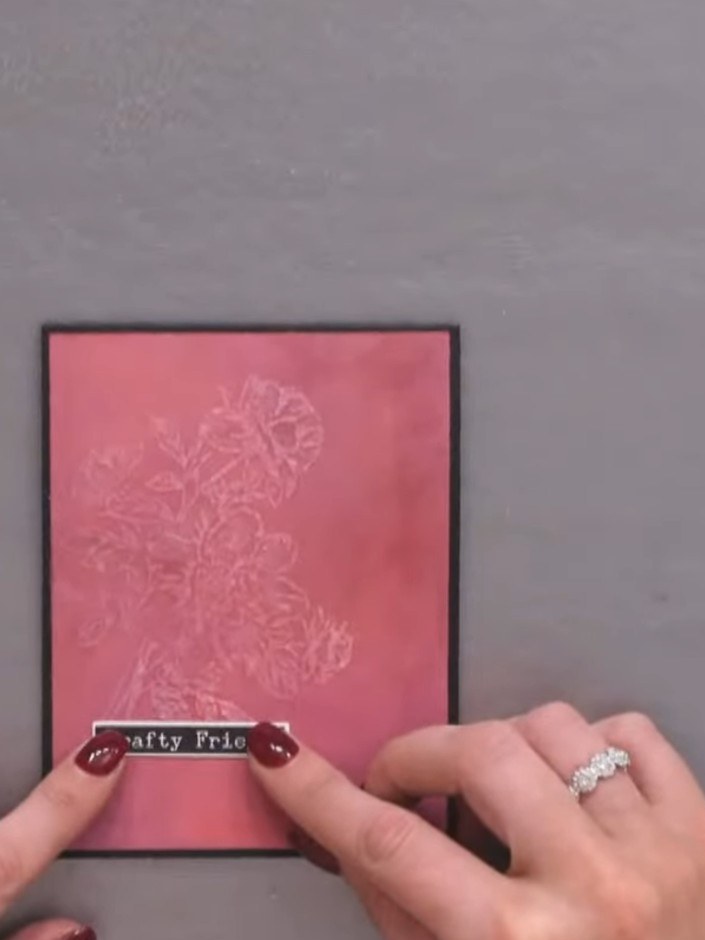
Add a washi tape sentiment strip across the bottom of the card front to complete your design.
▶ diesen Schritt ansehen (55:30)Direkt aus der Show aufgeschrieben. Alle Anleitungen aus unseren Shows ansehen · kostenlose Anleitungen · live auf My Telly ansehen
