Geef je vrienden $ 10 korting op hun eerste bestelling!
Nodig een VRIEND uit








 The Friday Final Cutvr 20 nov 5:00 uur
 Uit de communityma 23 nov 5:00 uur
 Deal Huntersdi 24 nov 8:00 uur
Prijzen worden meteen aangepast. Elke taal is onze eigen vertaling, niet Google.
Een project uit onze live-uitzending HSN INSPIRATION - Uitzending van 17 november 2026 · 11/17/2026 · bekijk het vanaf 3:33:45
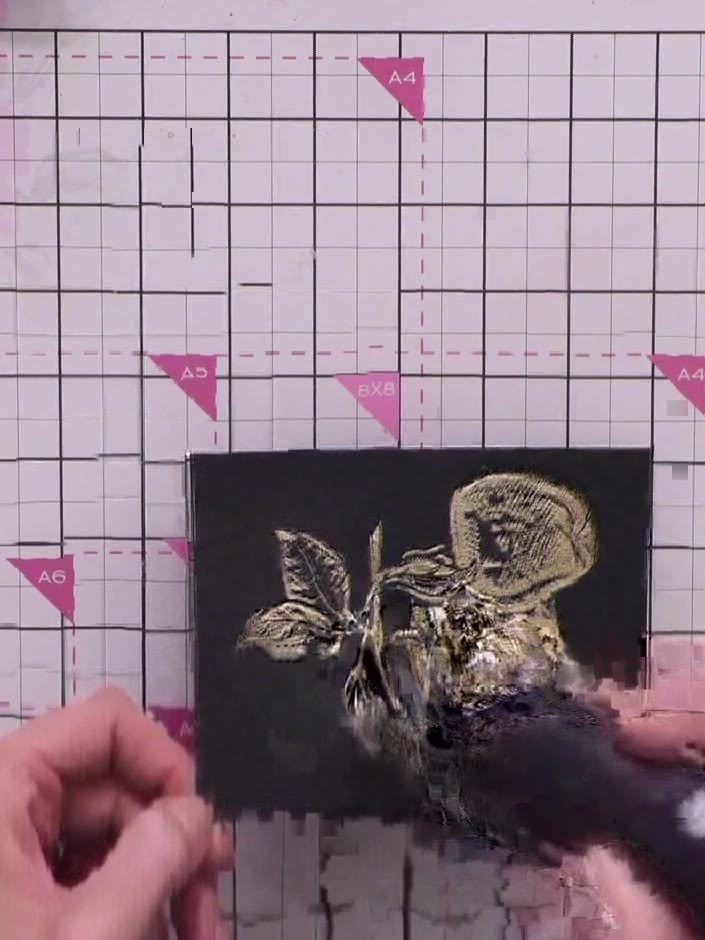
Create an elegant card featuring gold heat-embossed apples on black cardstock with a stunning sparkly white background. The dimensional design is achieved using embossing folders and re-inking techniques to create a frosted, textured effect around the metallic gold fruit motif. Perfect for special occasions or retirement celebrations.
DIT STAPPENPLAN DOWNLOADEN (PDF)
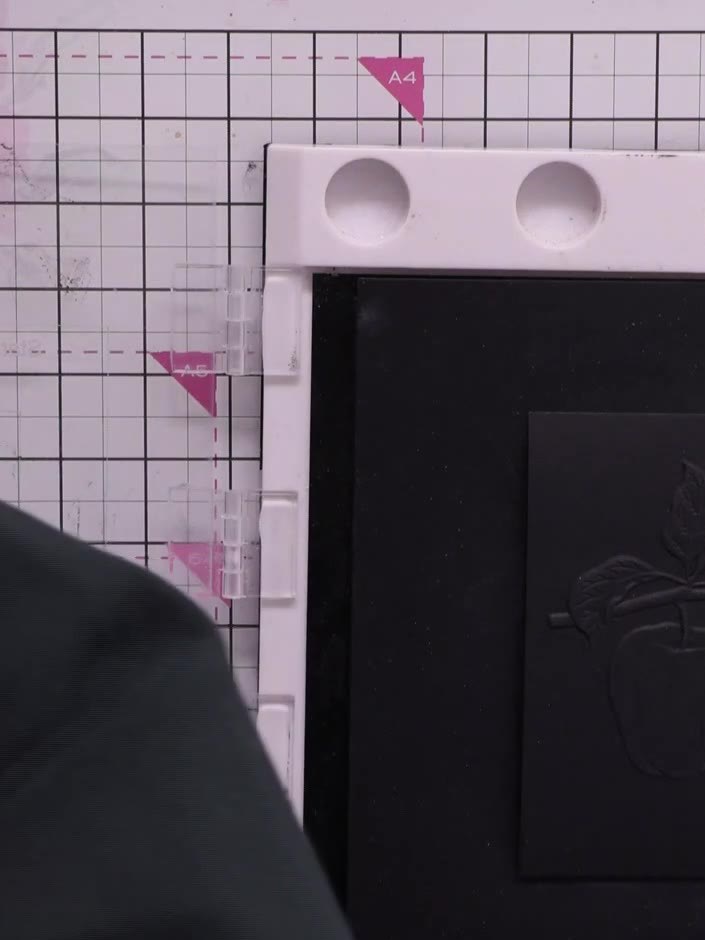
Run the apple embossing folder through your die-cutting machine with black cardstock inside to create the dimensional embossed design. The embossed apple image will be raised on the black card.
▶ bekijk deze stap (3:33:45)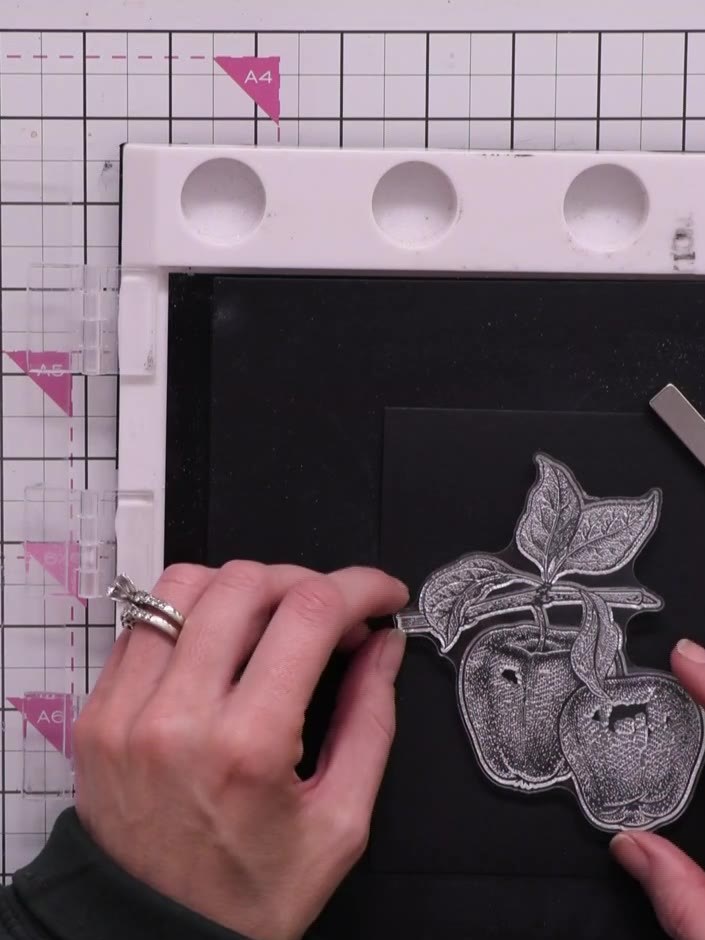
Stamp the apple image in gold ink over the embossed design on the black card, lining it up carefully with the embossed outline. The gold stamped image should sit directly on top of the embossed apple shape.
▶ bekijk deze stap (3:34:30)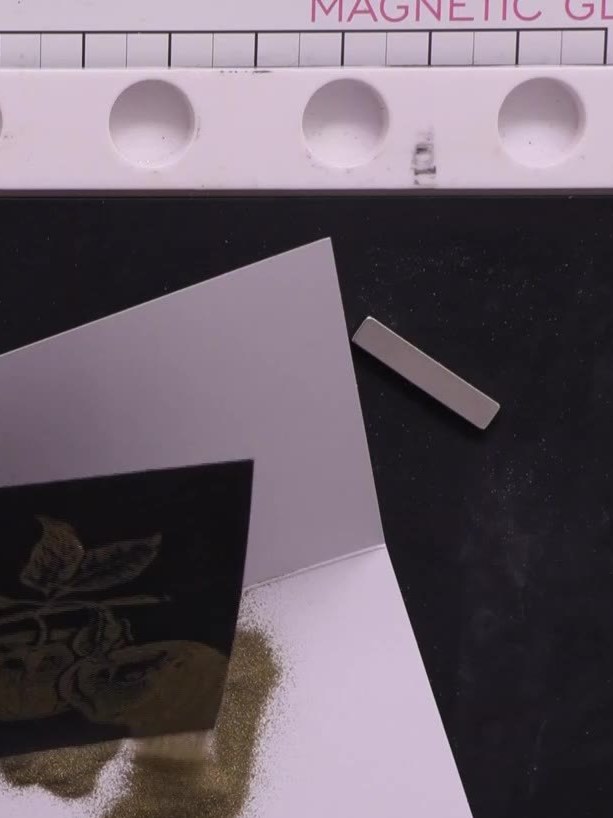
Apply gold sparkle embossing powder over the gold stamped apple image whilst the ink is still wet. Ensure the powder covers all the stamped areas completely.
▶ bekijk deze stap (3:40:15)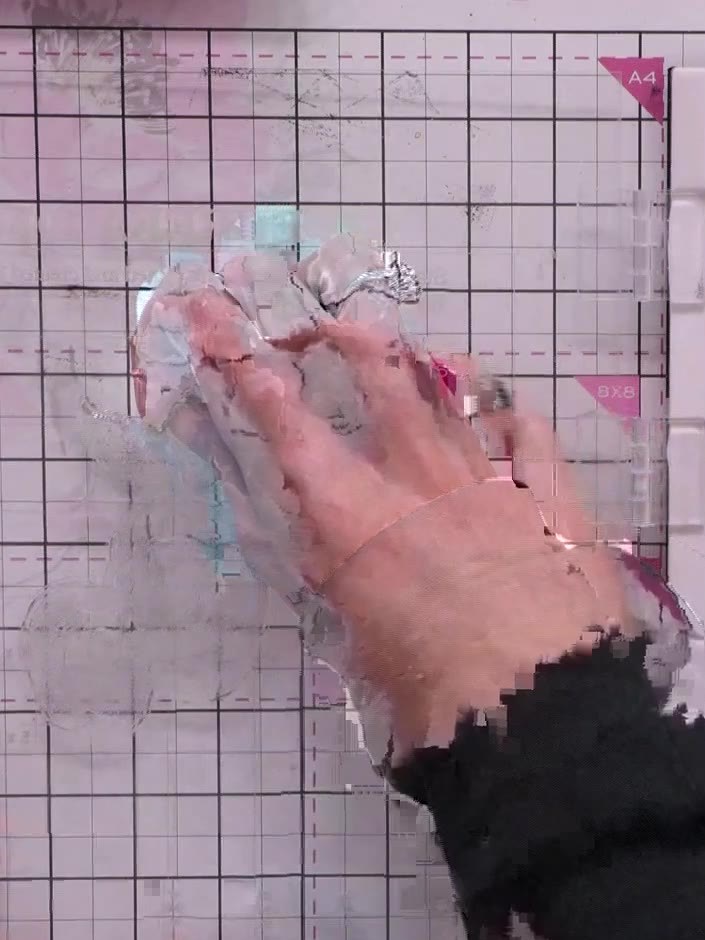
Use a dry brush to gently remove any unwanted embossing powder flecks from around the stamped design on your card.
▶ bekijk deze stap (3:41:15)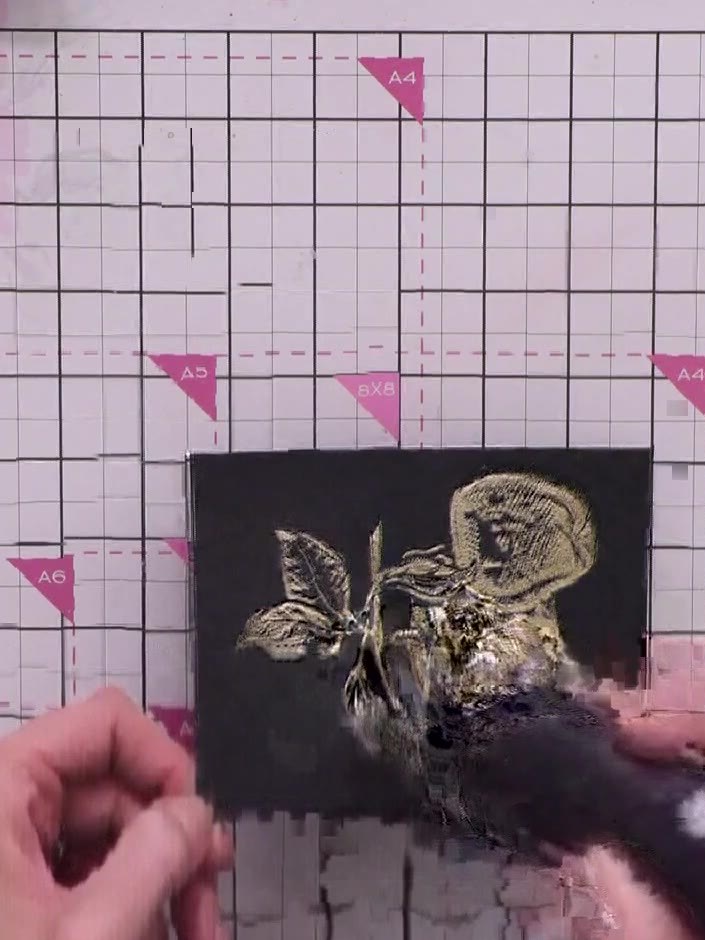
Heat set the embossing powder with a heat gun, moving it over the design until the powder melts and becomes raised and glossy. Keep the heat gun moving to avoid scorching the card.
▶ bekijk deze stap (3:42:30)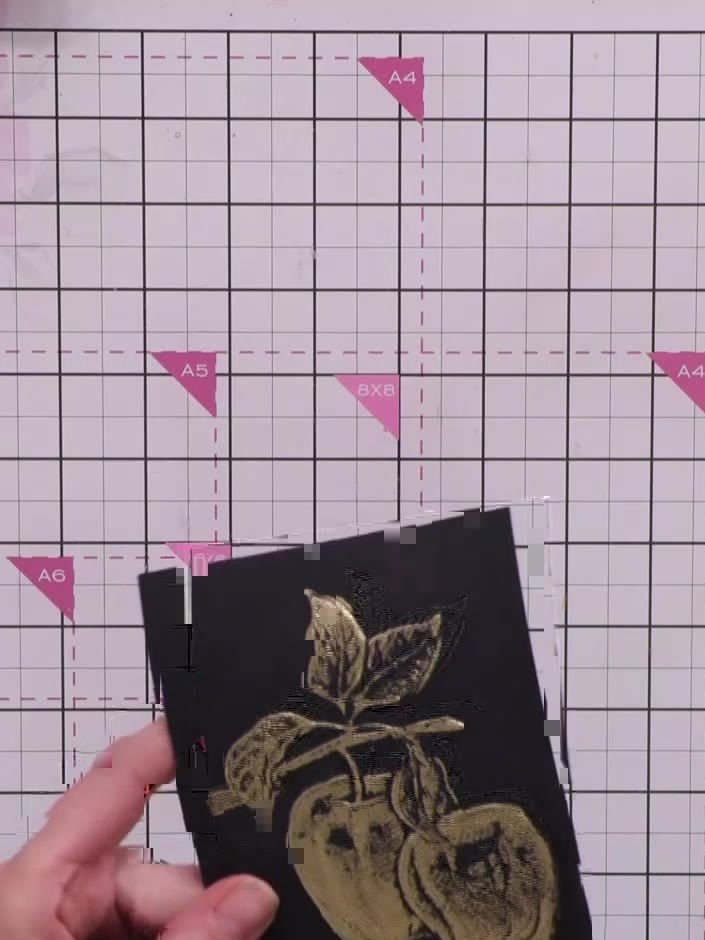
Ink up the embossing folder with a white ink pad by tapping it all over the raised parts of the folder. Ensure even coverage across the design.
▶ bekijk deze stap (3:44:00)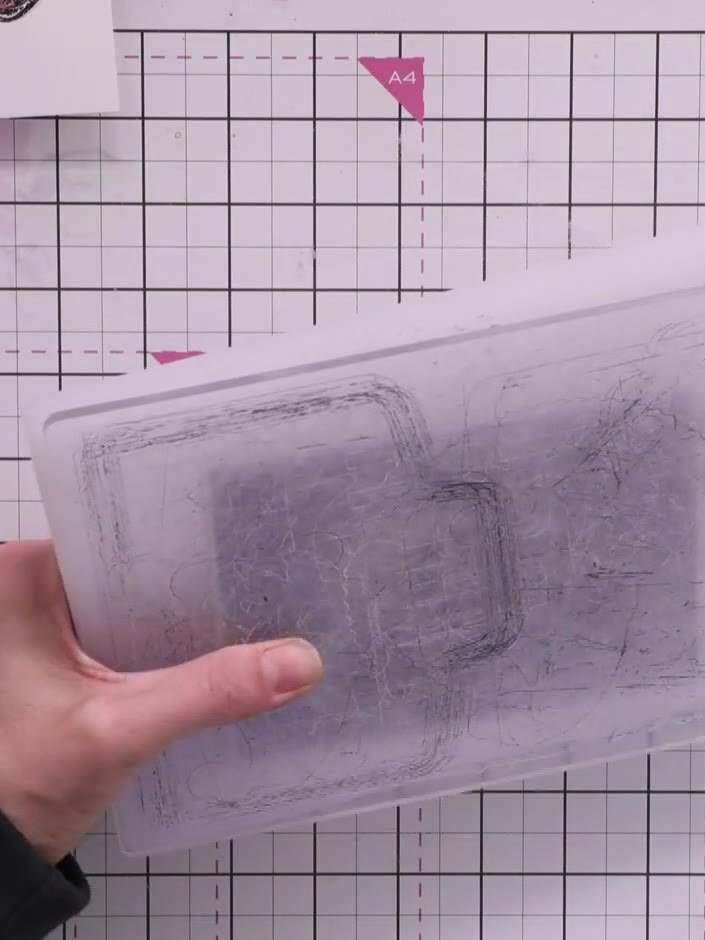
Place the finished gold apple design back into the embossing folder and run it through the die-cutting machine again to transfer white ink onto the black cardstock around the apples.
▶ bekijk deze stap (3:46:15)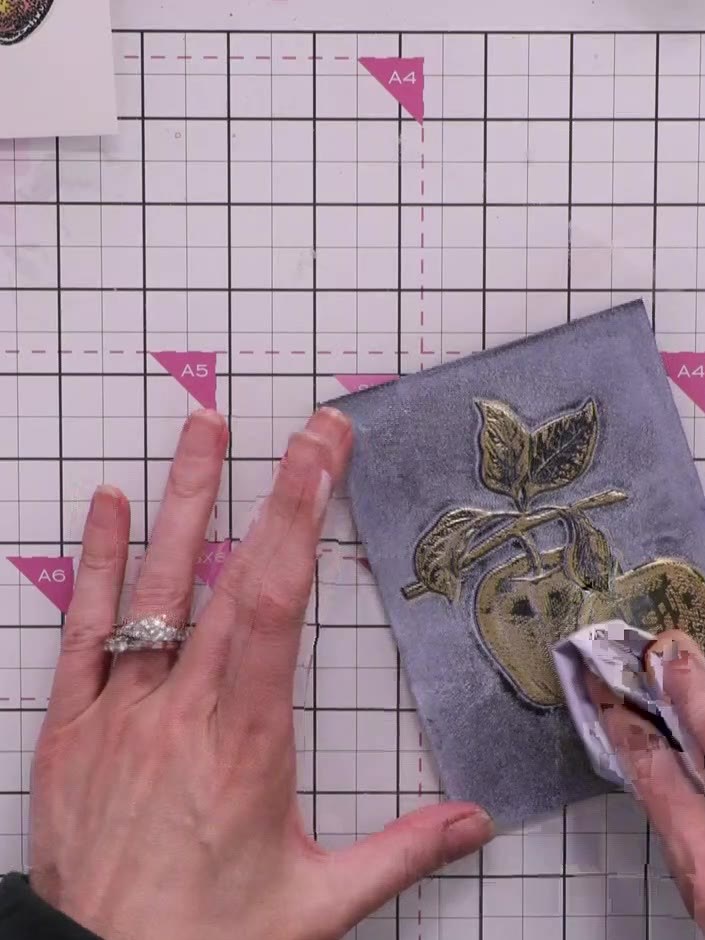
Using a tissue, gently wipe away the excess white pigment ink from the gold embossed apple design. Leave the white ink only in the background areas around the apples, creating a sparkly white halo effect.
▶ bekijk deze stap (3:47:15)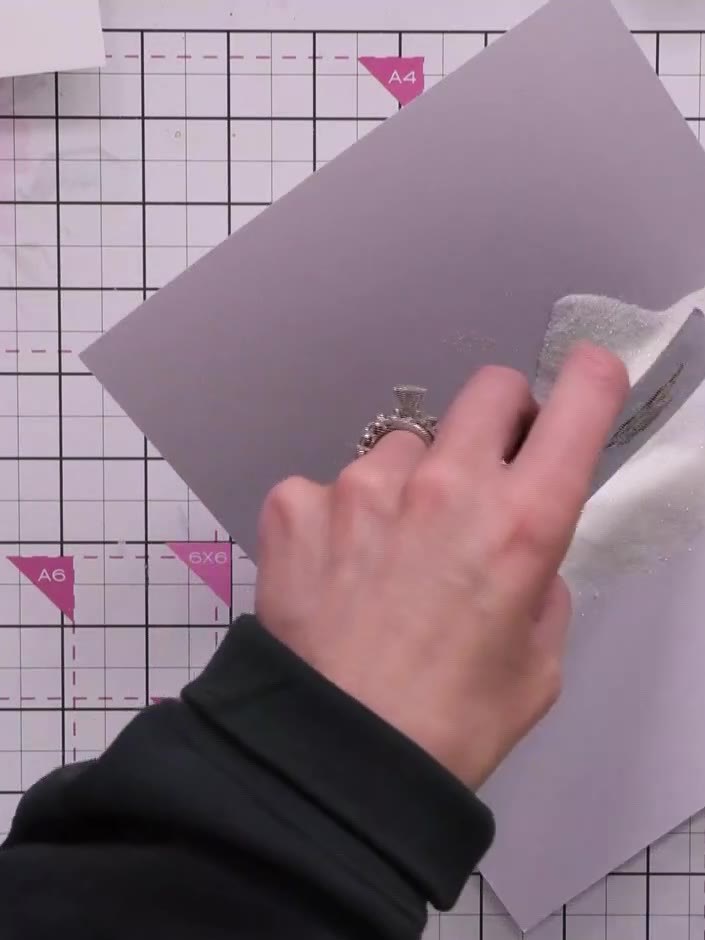
Apply silver sparkle embossing powder over the white background areas of the card. Use a soft brush to gently spread the powder evenly across the white sections, ensuring good coverage.
▶ bekijk deze stap (3:48:00)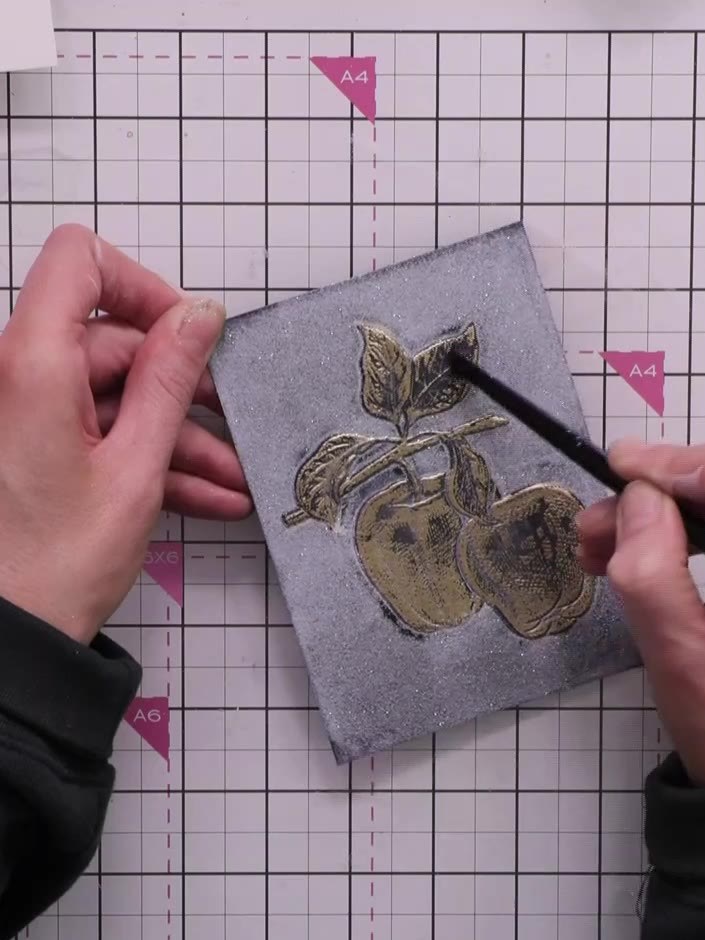
Use a dry brush to gently remove any excess sparkle powder from the gold embossed apples, keeping the design clean and the gold details clear.
▶ bekijk deze stap (3:48:45)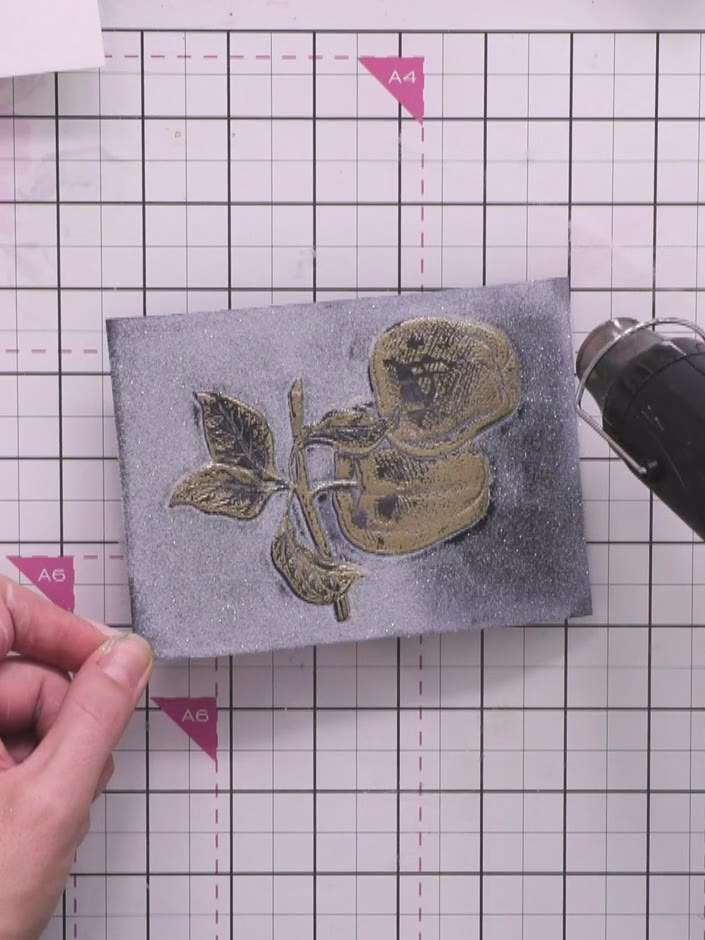
Heat set the embossing powder with a heat gun, moving it over the design until the powder melts and creates a sparkly textured finish.
▶ bekijk deze stap (3:49:30)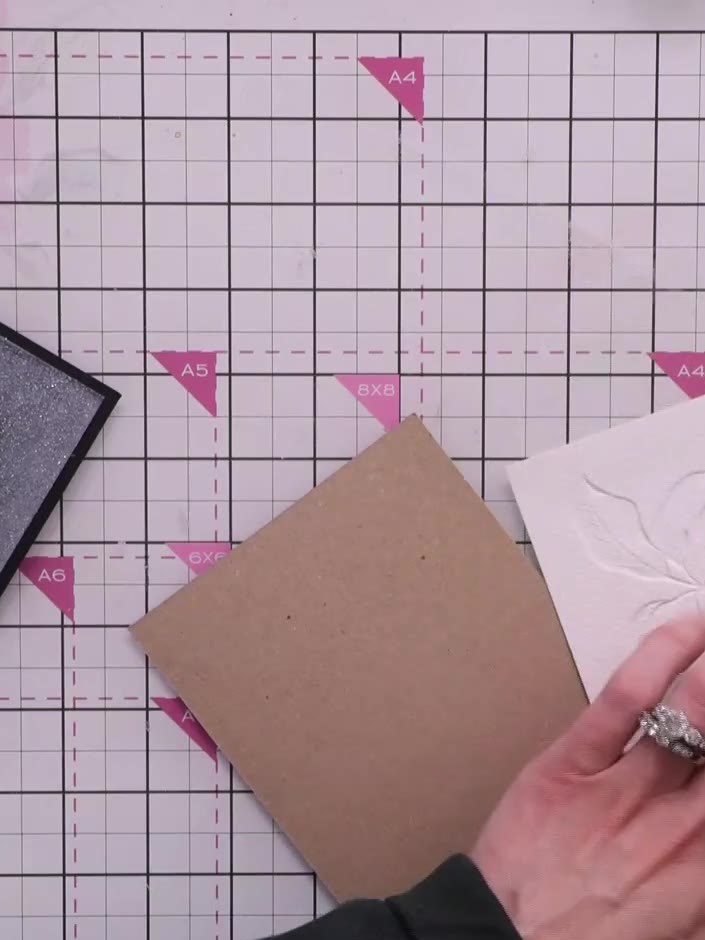
Mount the embossed apple panel onto a kraft card blank using adhesive. Press firmly to ensure the panel is securely attached to the card base.
▶ bekijk deze stap (3:51:15)Uitgeschreven op basis van de show zelf. Bekijk alle stappenplannen uit onze uitzendingen · gratis stappenplannen · kijk live op My Telly