Give your friends $10 off their first order!
Refer a FRIEND


WHAT YOU WILL NEED:
Black top folding card blank (8 1/4 x 5 3/4")
White card (8 x 5 1/2")
Black card (7 x 4 3/4")
White card (7 x 5")
Vellum - tear strip to 6 x 2 1/4"
Stamps from Skeleton Leaves Stamp Collection
Stamps from Imala Vineyard Stamp set
Stamps from Poppy Days Stamp And Die Collection
Versafine Ink Pad: Smoky Grey
Izink Dye Ink Pads: Aurore, Emeraude, Verveine, Reglisse
Water spray bottle
Paint brush
Eureka 101
Paper Trimmer
Perfect Together Glue
Double sided adhesive tape
[click image to enlarge] 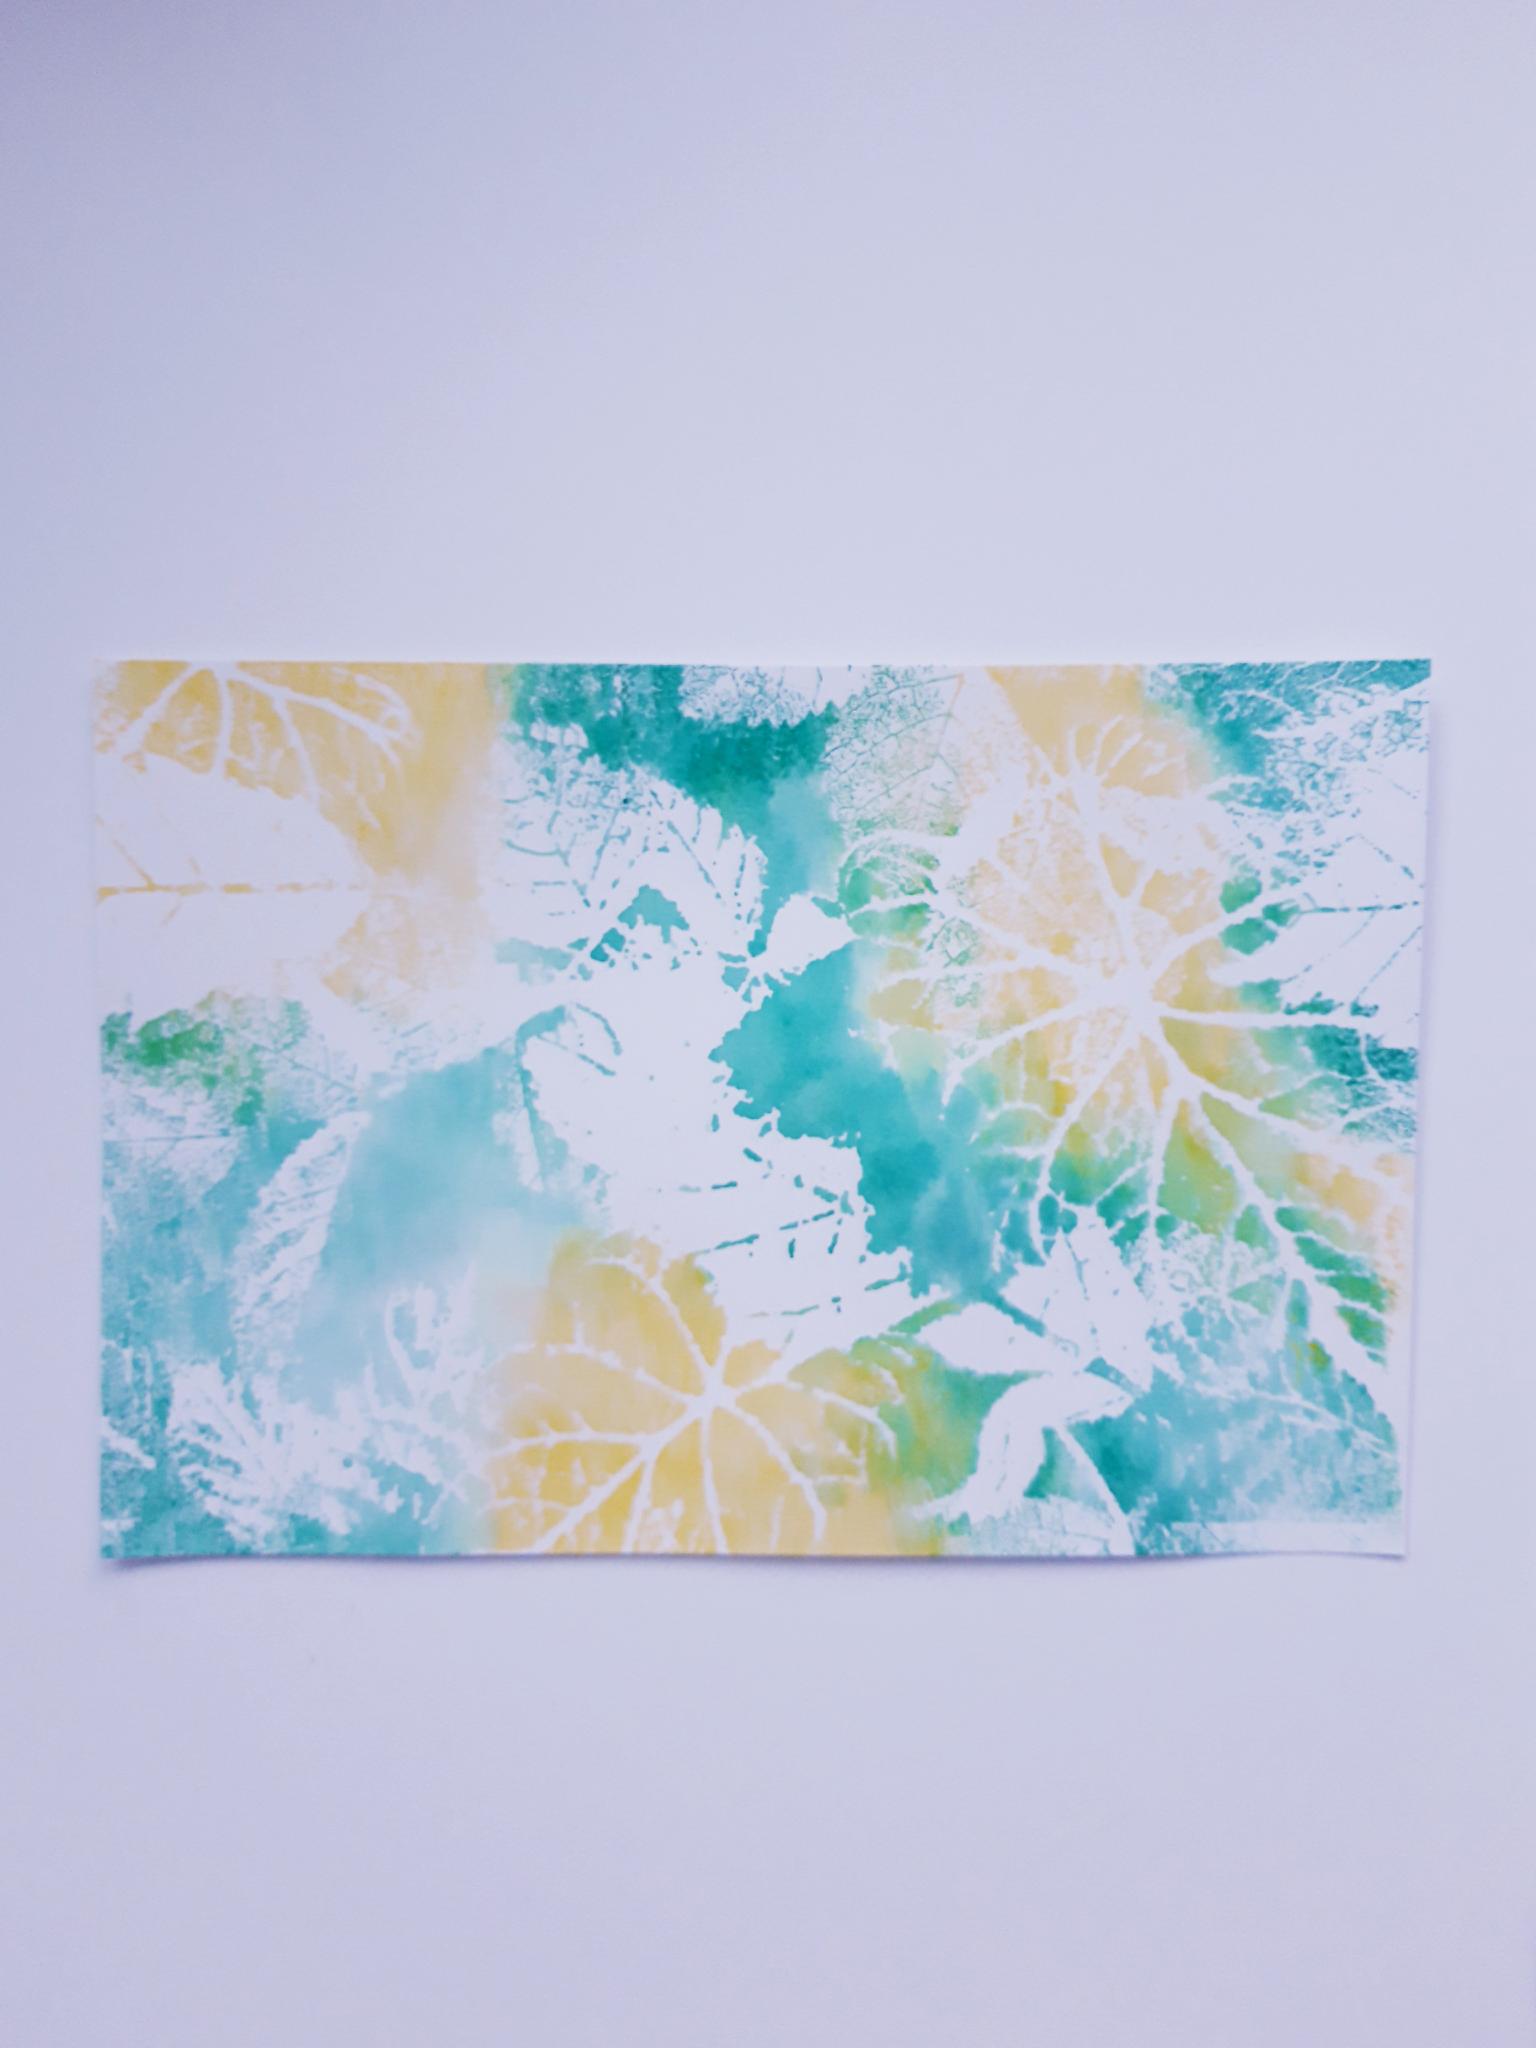
|
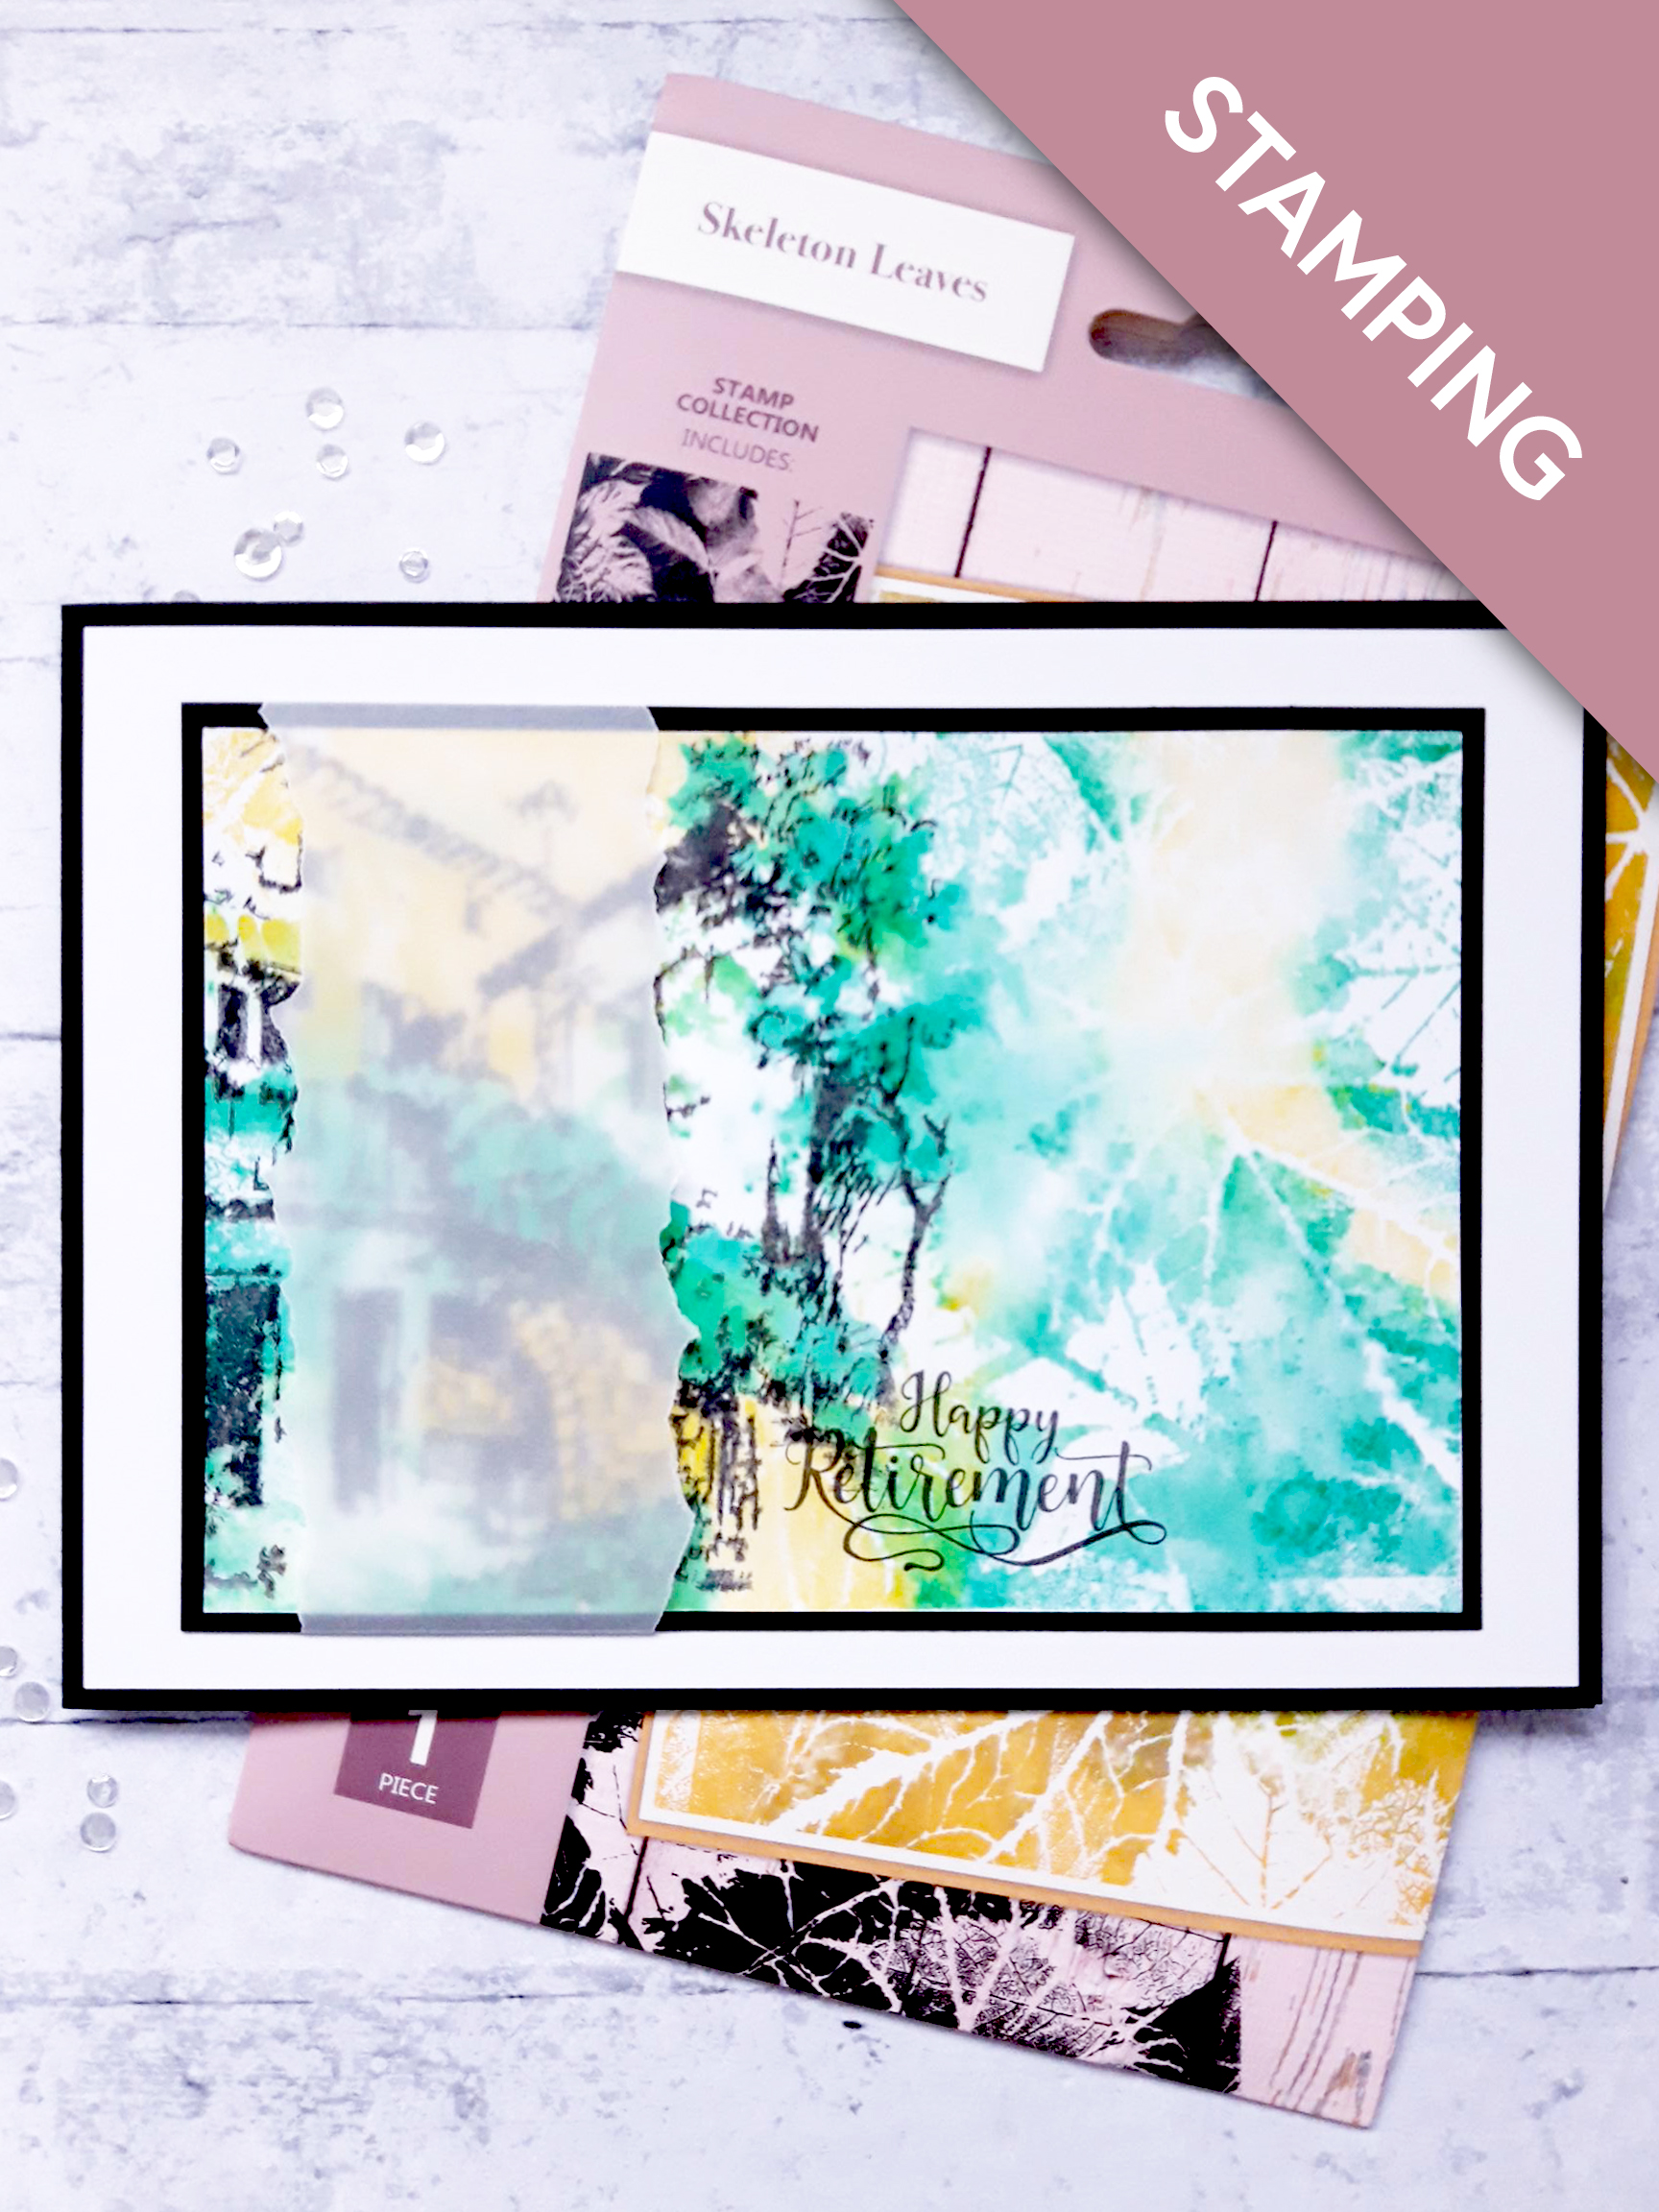
Ink up the stamp from the Skeleton leaves Stamp set, with the Aurore, Emeraude and Verveine Izink ink pads. Spritz the inked stamp with water and stamp on to the 7 x 5" white card. Once the ink is dry, trim the card down to the size of the stamped background. |
|
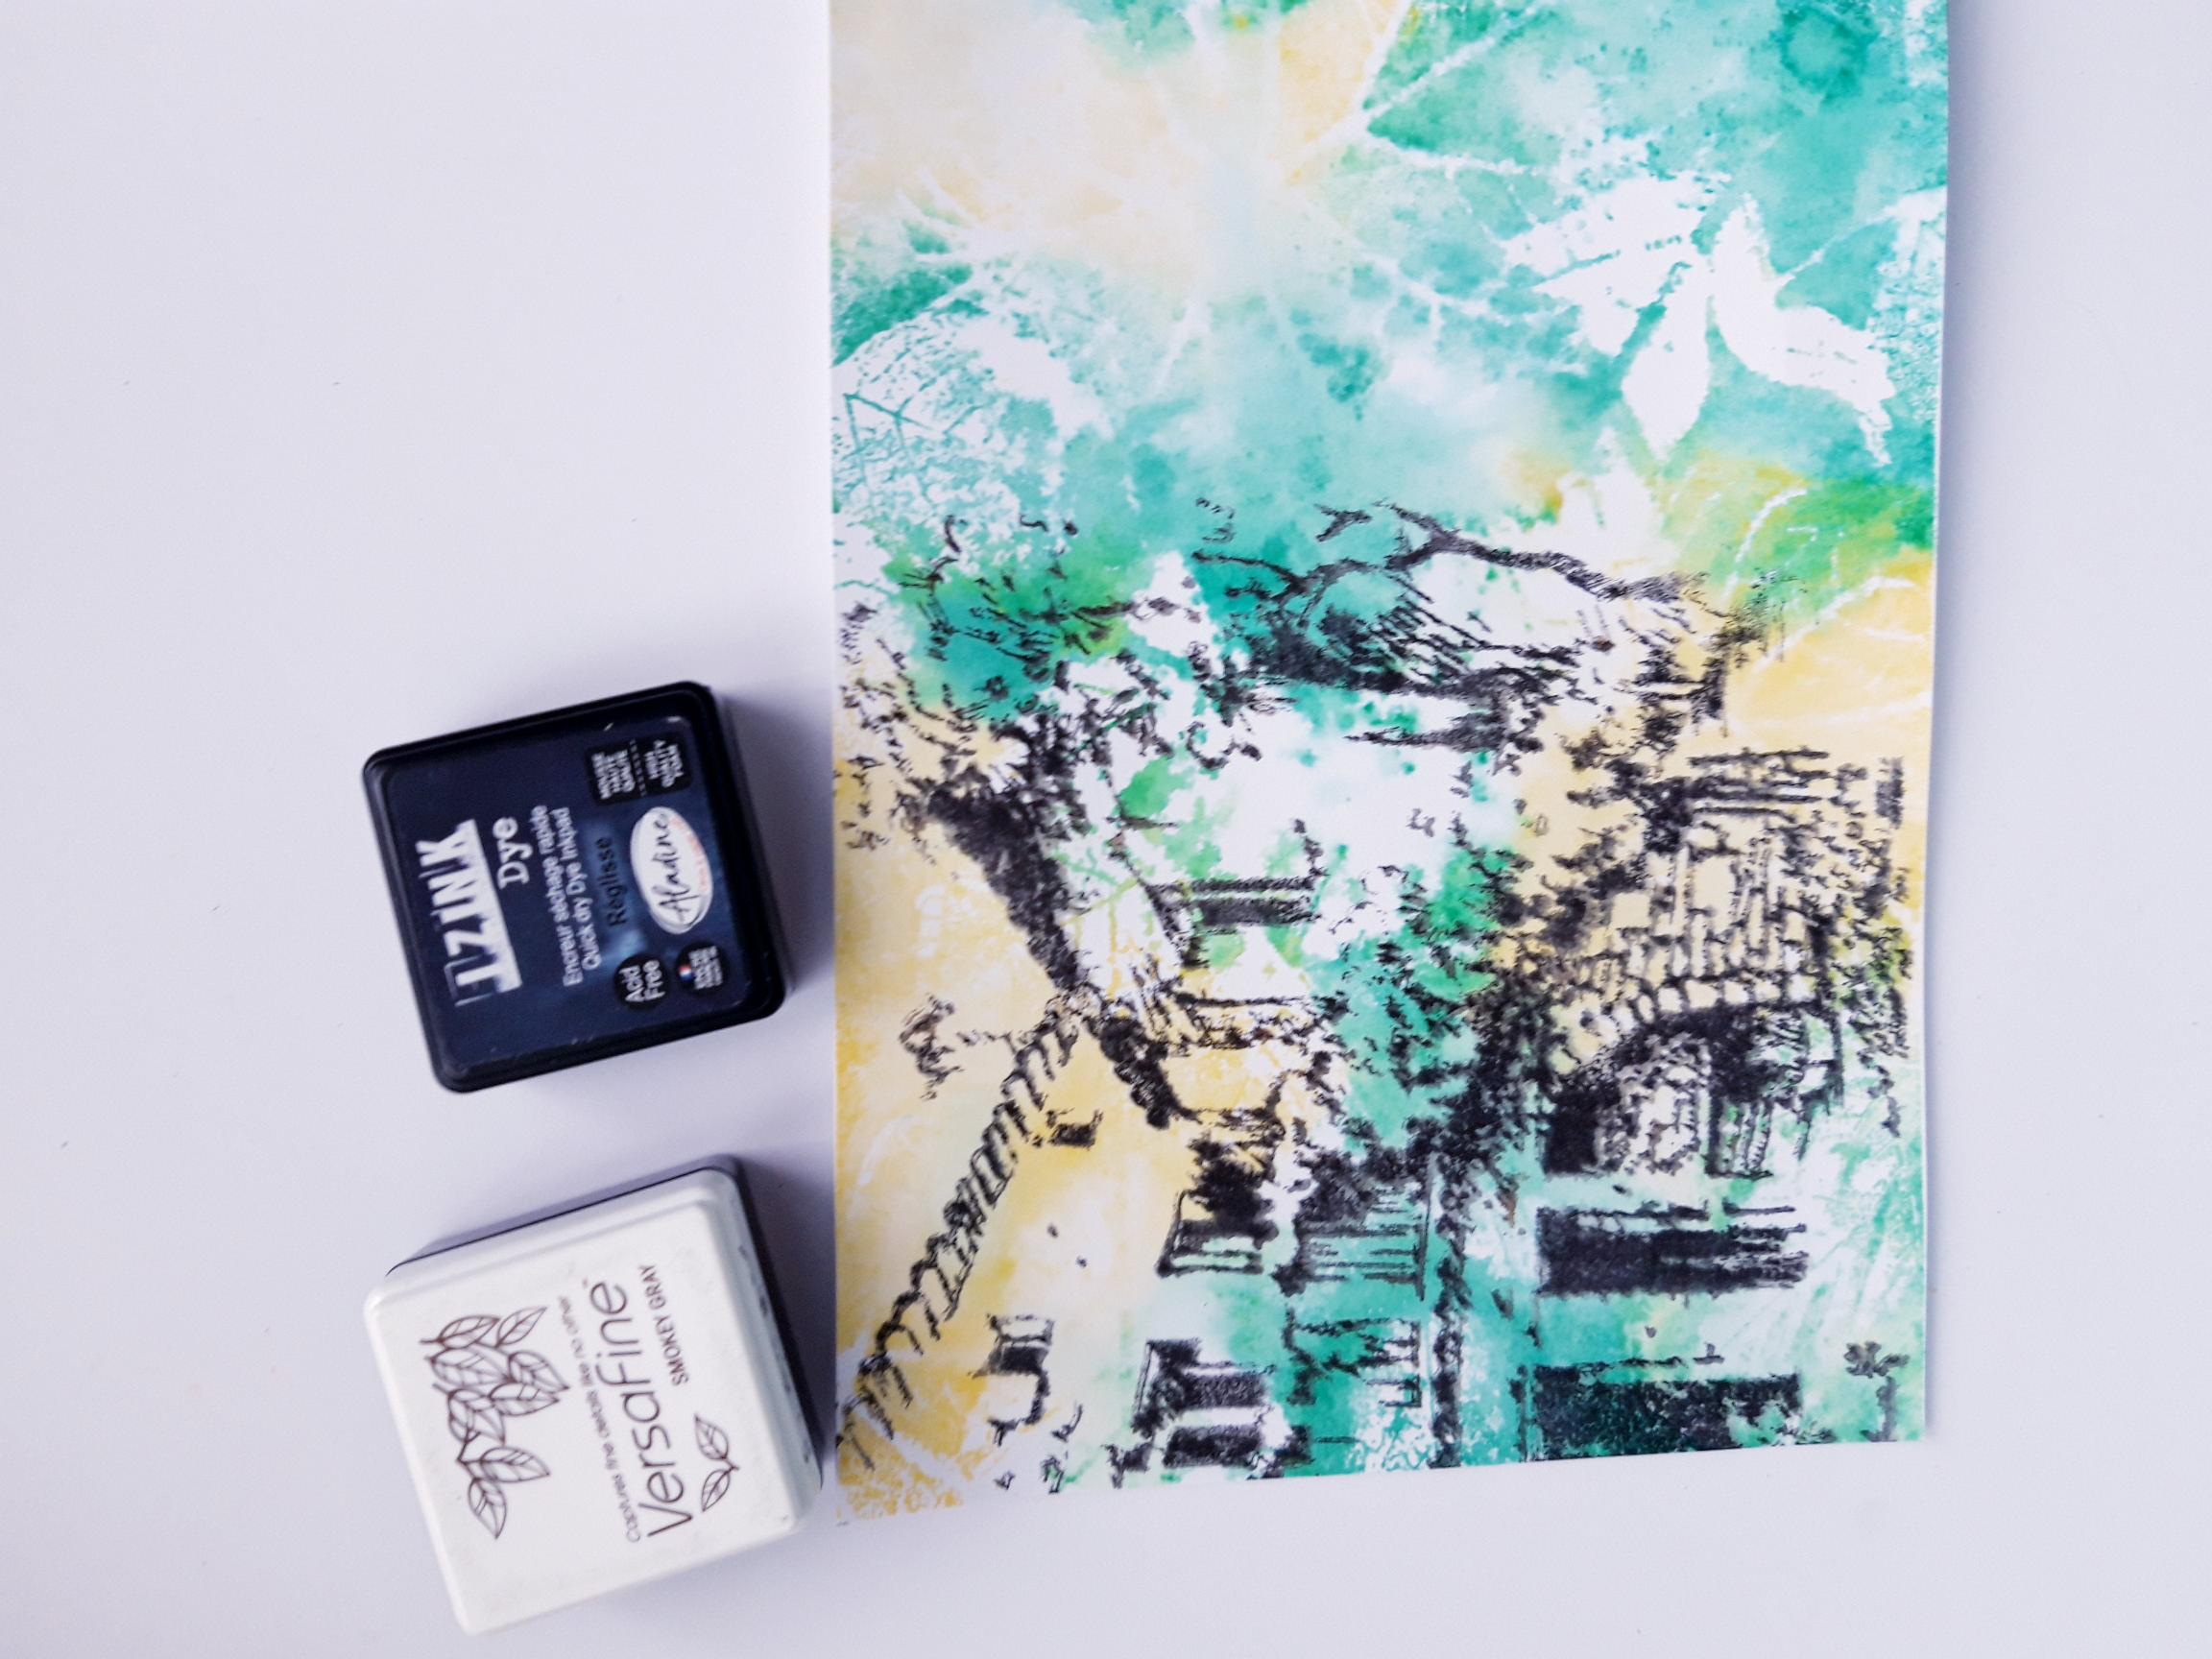
Ink up the Imala Vineyard stamp with the Izink Reglisse ink pad. Spritz the stamp with water, and stamp it off the left hand edge of your background. If you want a "looser", watercolour effect, you can spritz your stamped image lightly, allowing the ink to bleed. Do NOT move your card or stamp at this point. Dry off the wet ink, before reinking the stamp with the Smoky Grey Versafine. Stamp back over the stamped image. This adds more detail and definition to your artwork. Dry the ink thoroughly before proceeding to the next step. |
|
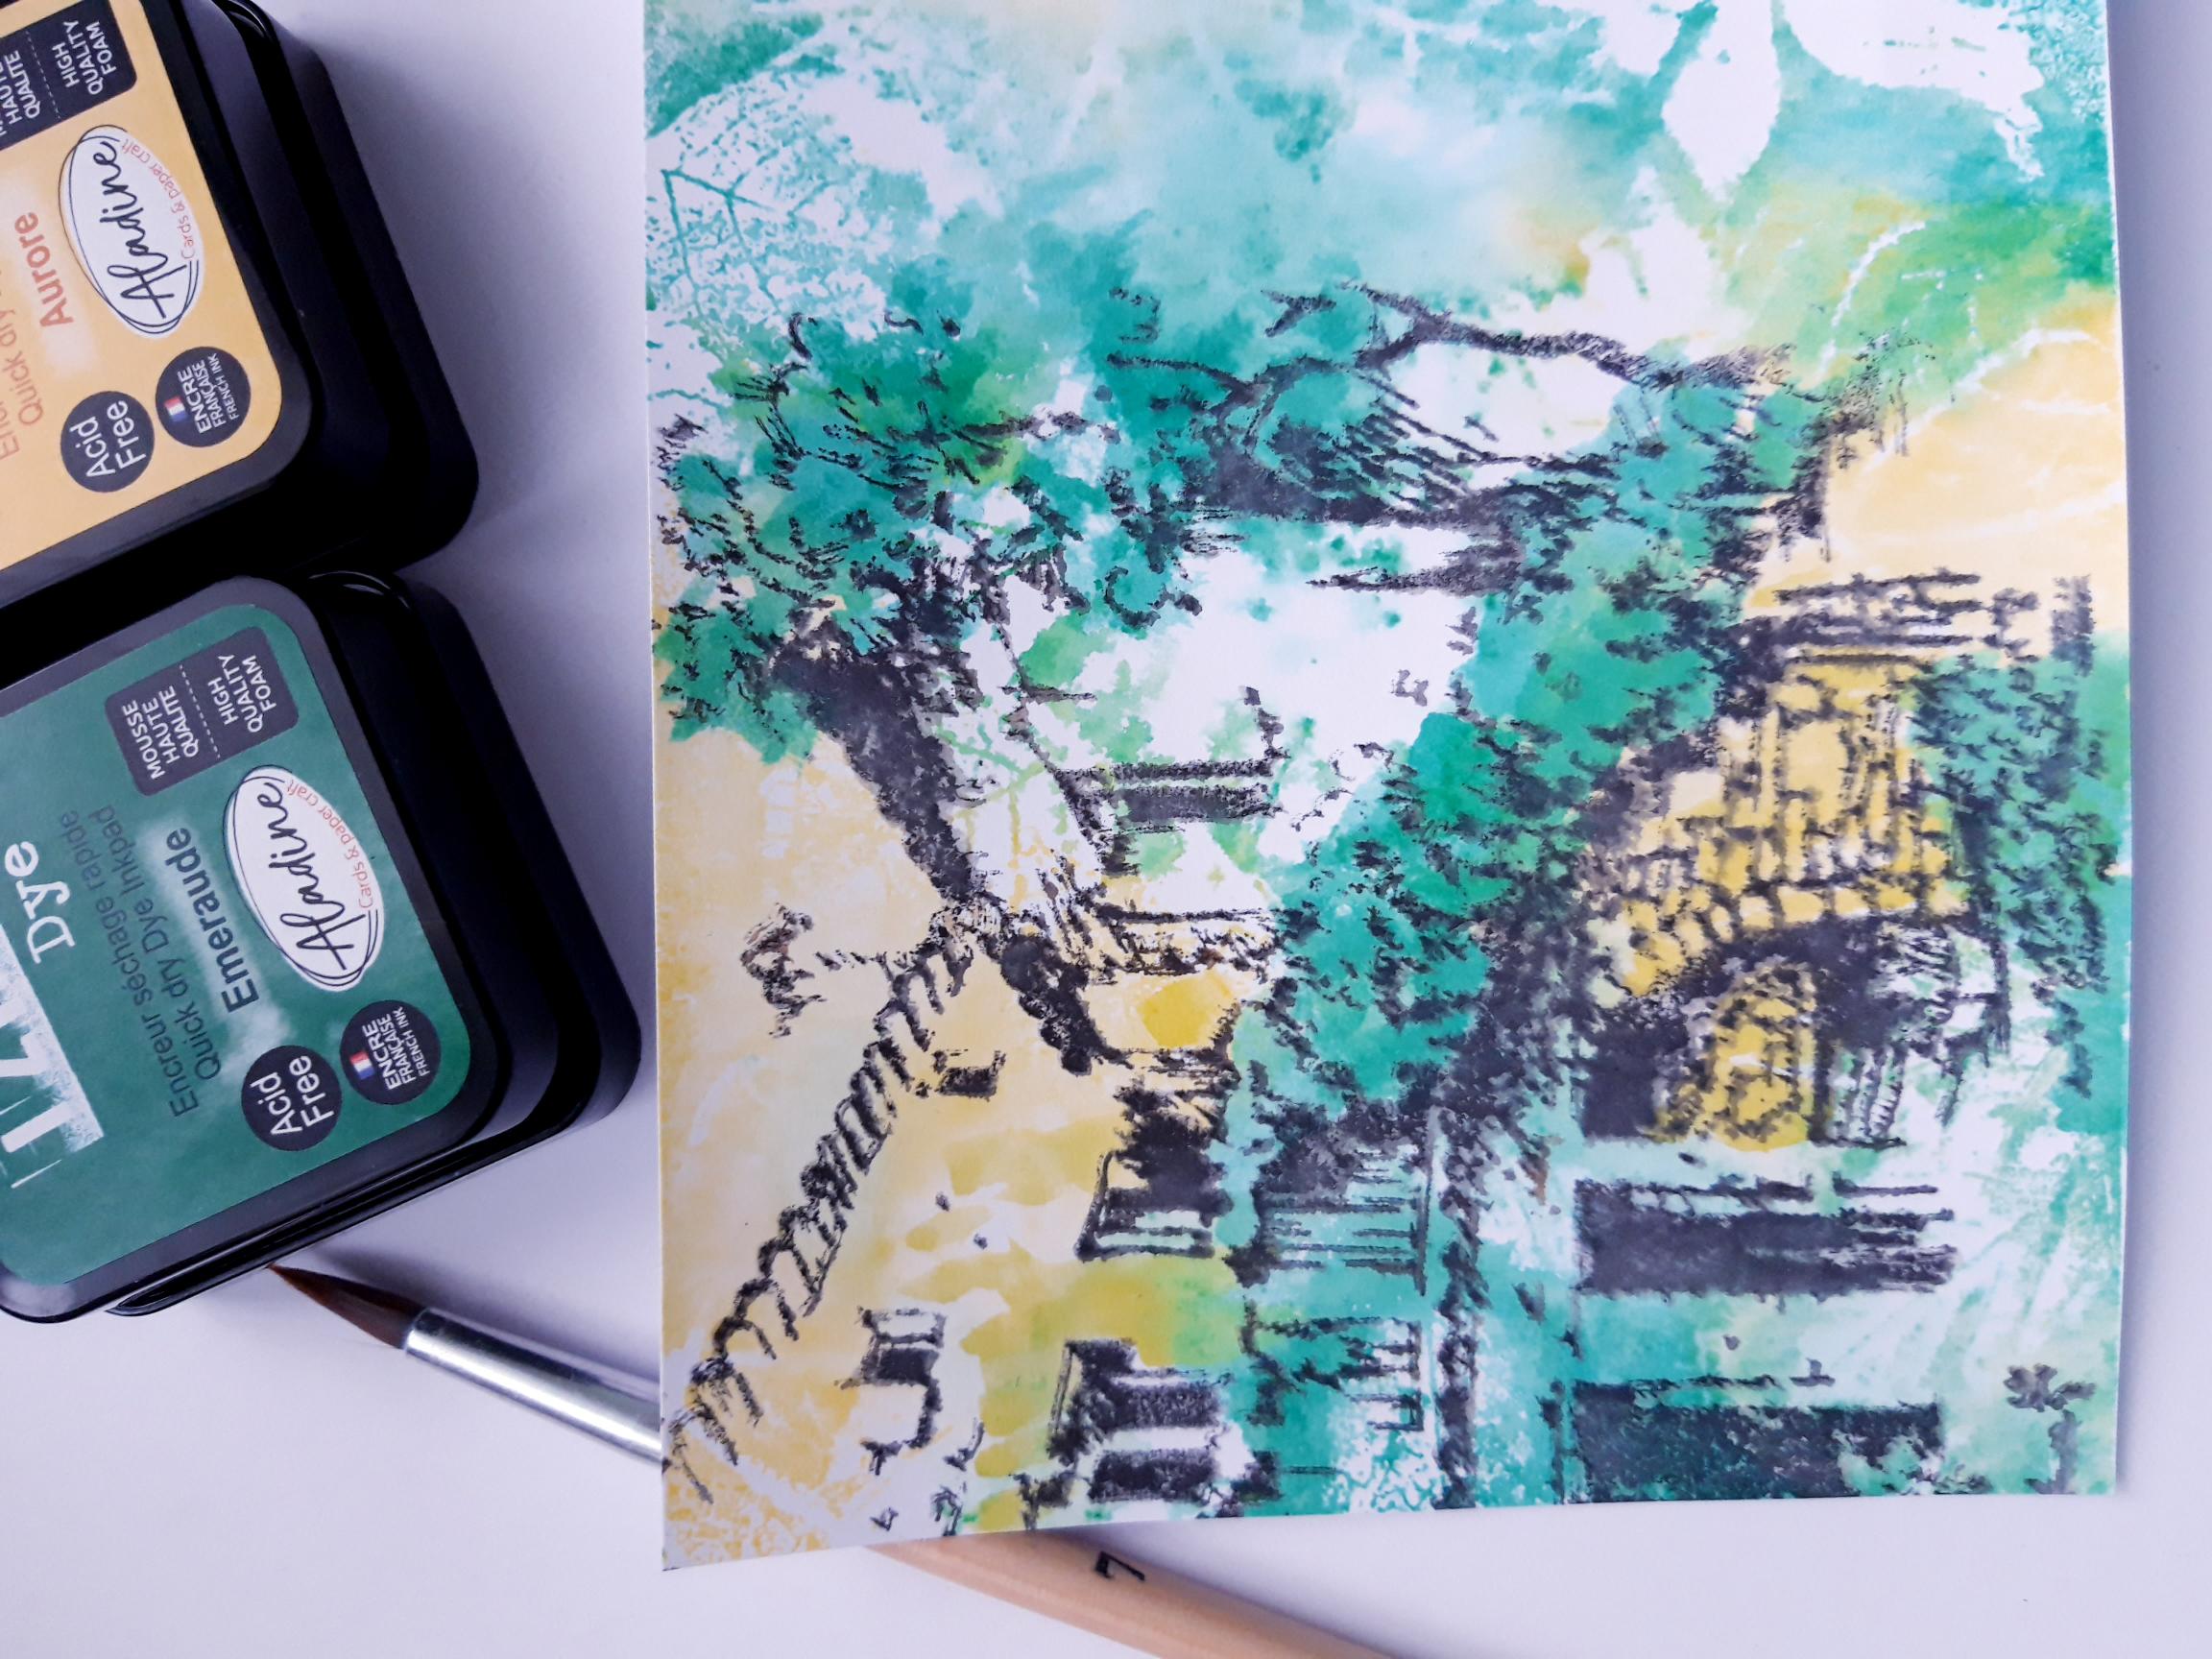
Apply the Izink Aurore and Emeraude inks to your craft or glass mat. Spritz with water and use a paint brush to paint your Vineyard, as required. Dry off your artwork. |
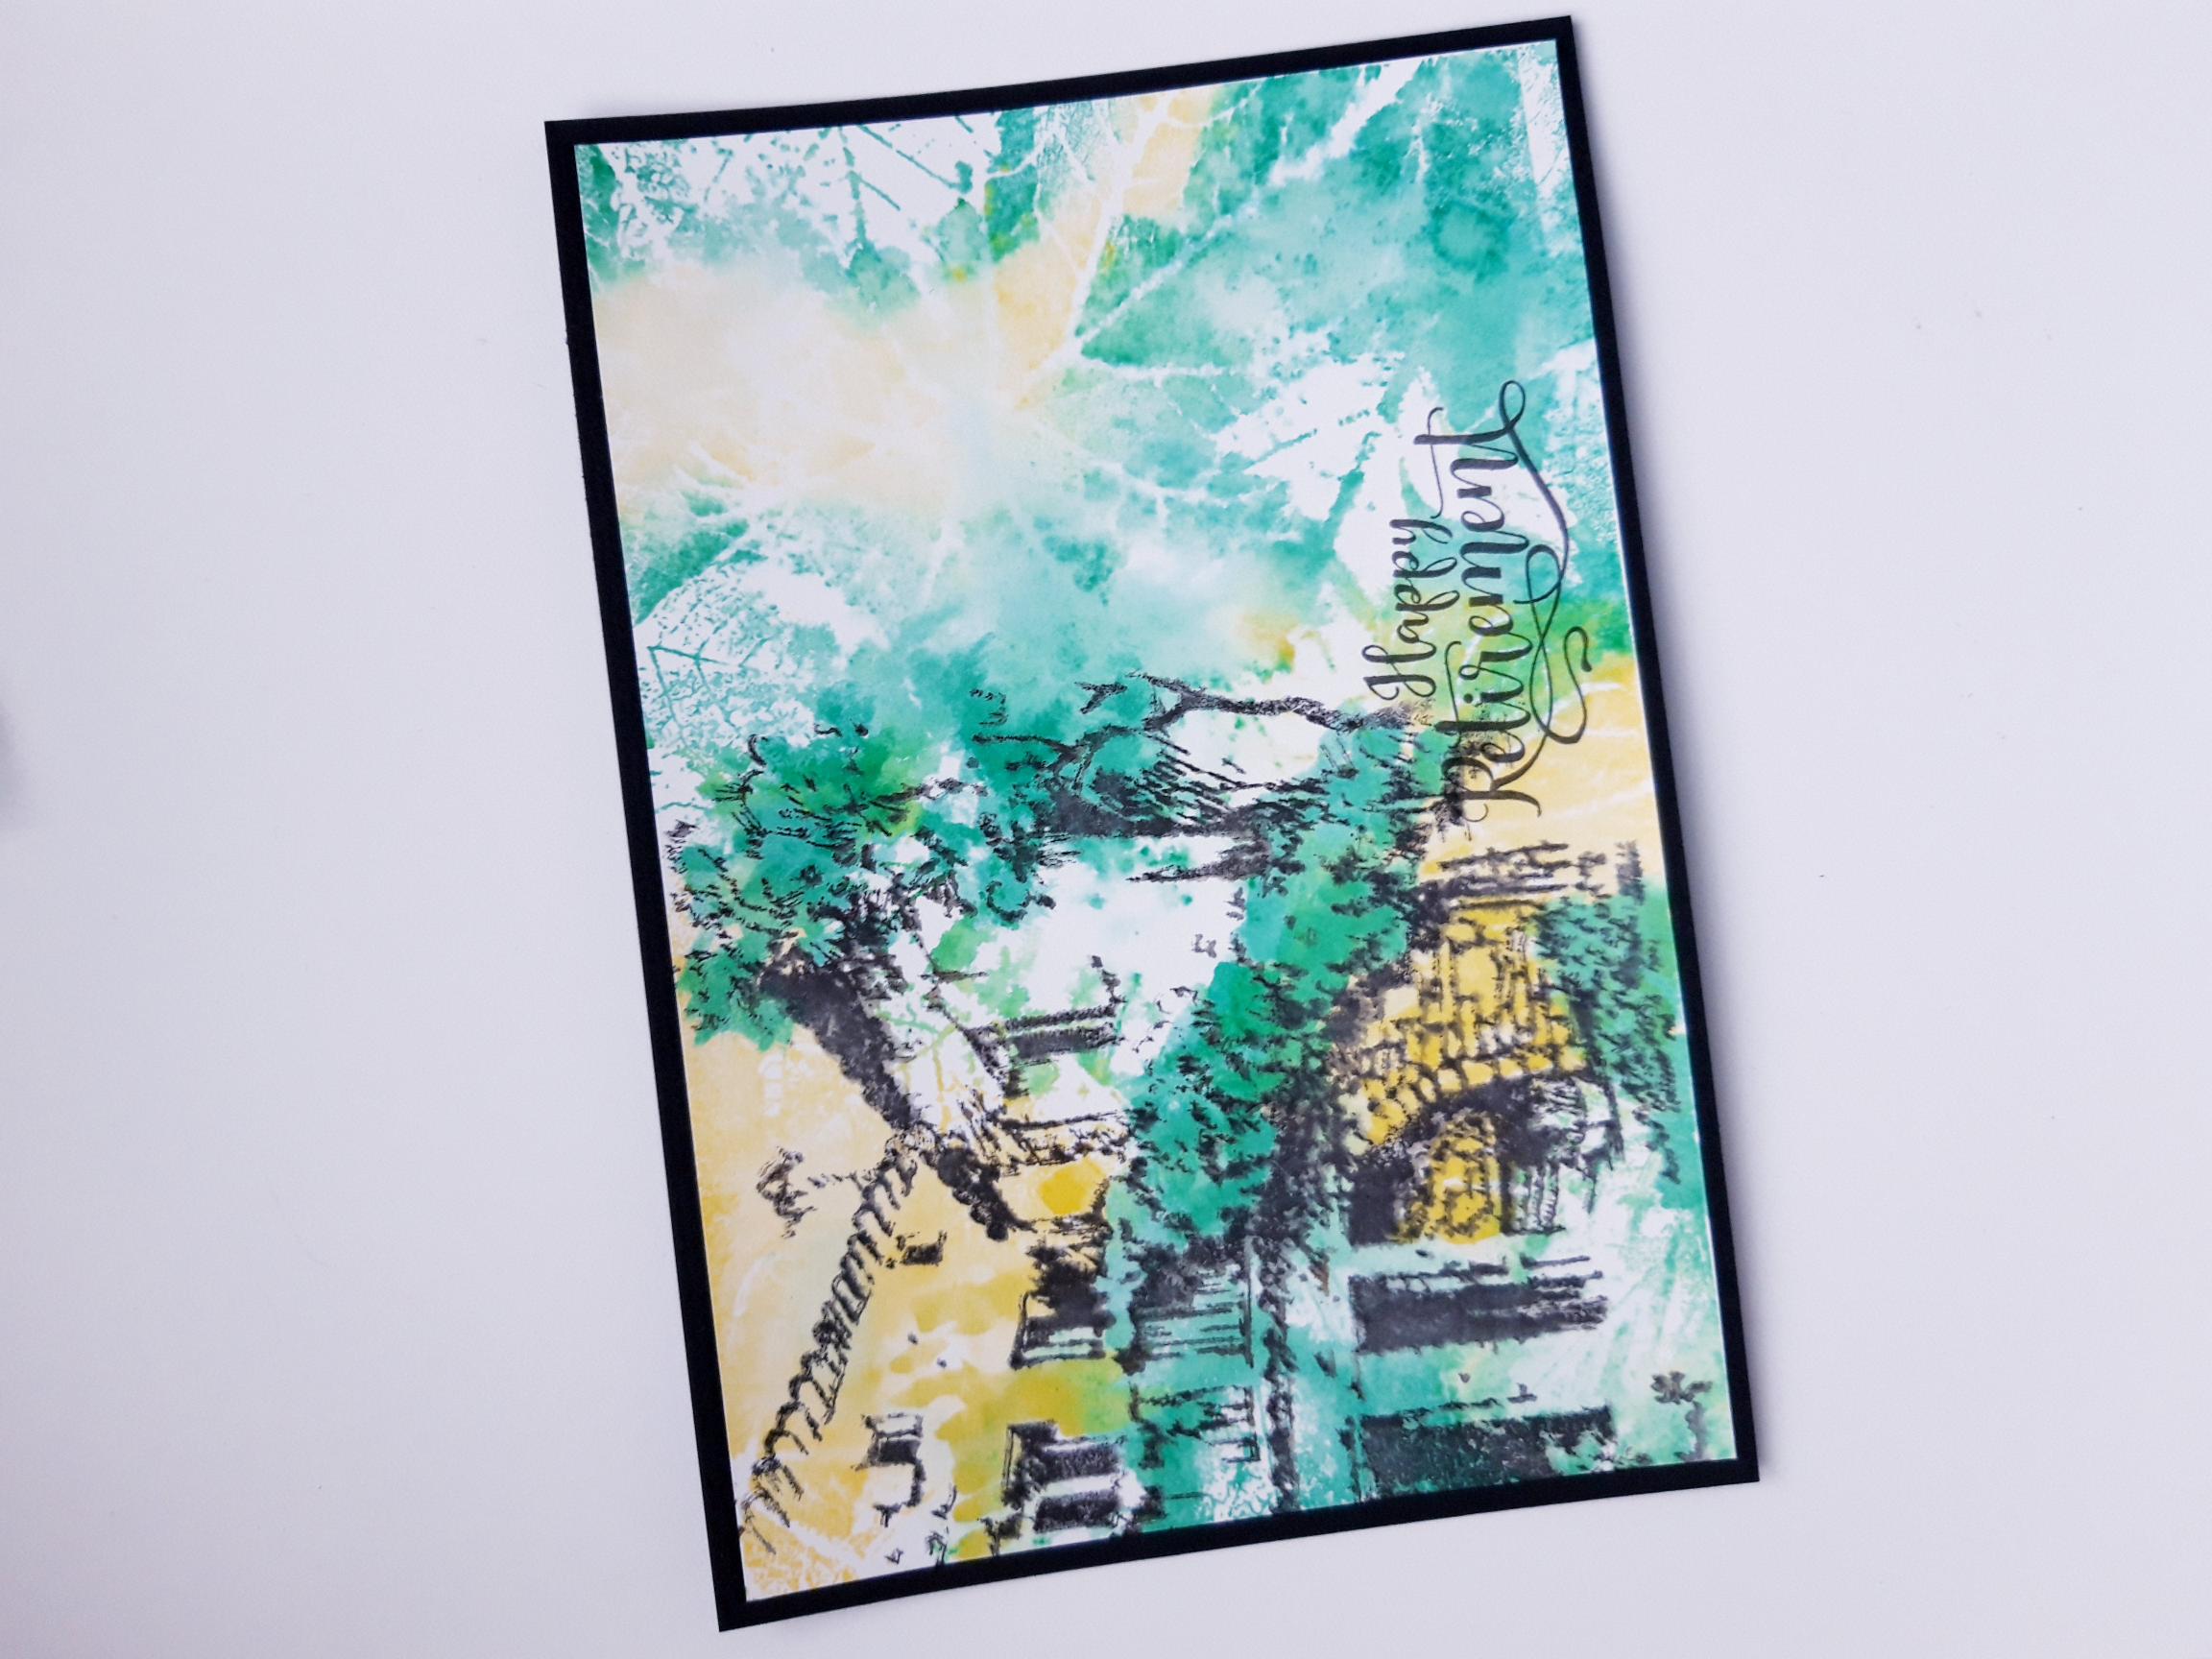
|
Ink up the sentiment stamp, from the Poppy Days Stamp And Die Collection, with the Smoky Grey Versafine. Using your vellum strip as a guide, stamp your sentiment on to your artwork, where required. Mat your artwork on to the 7 x 4 3/4" black card. |
|
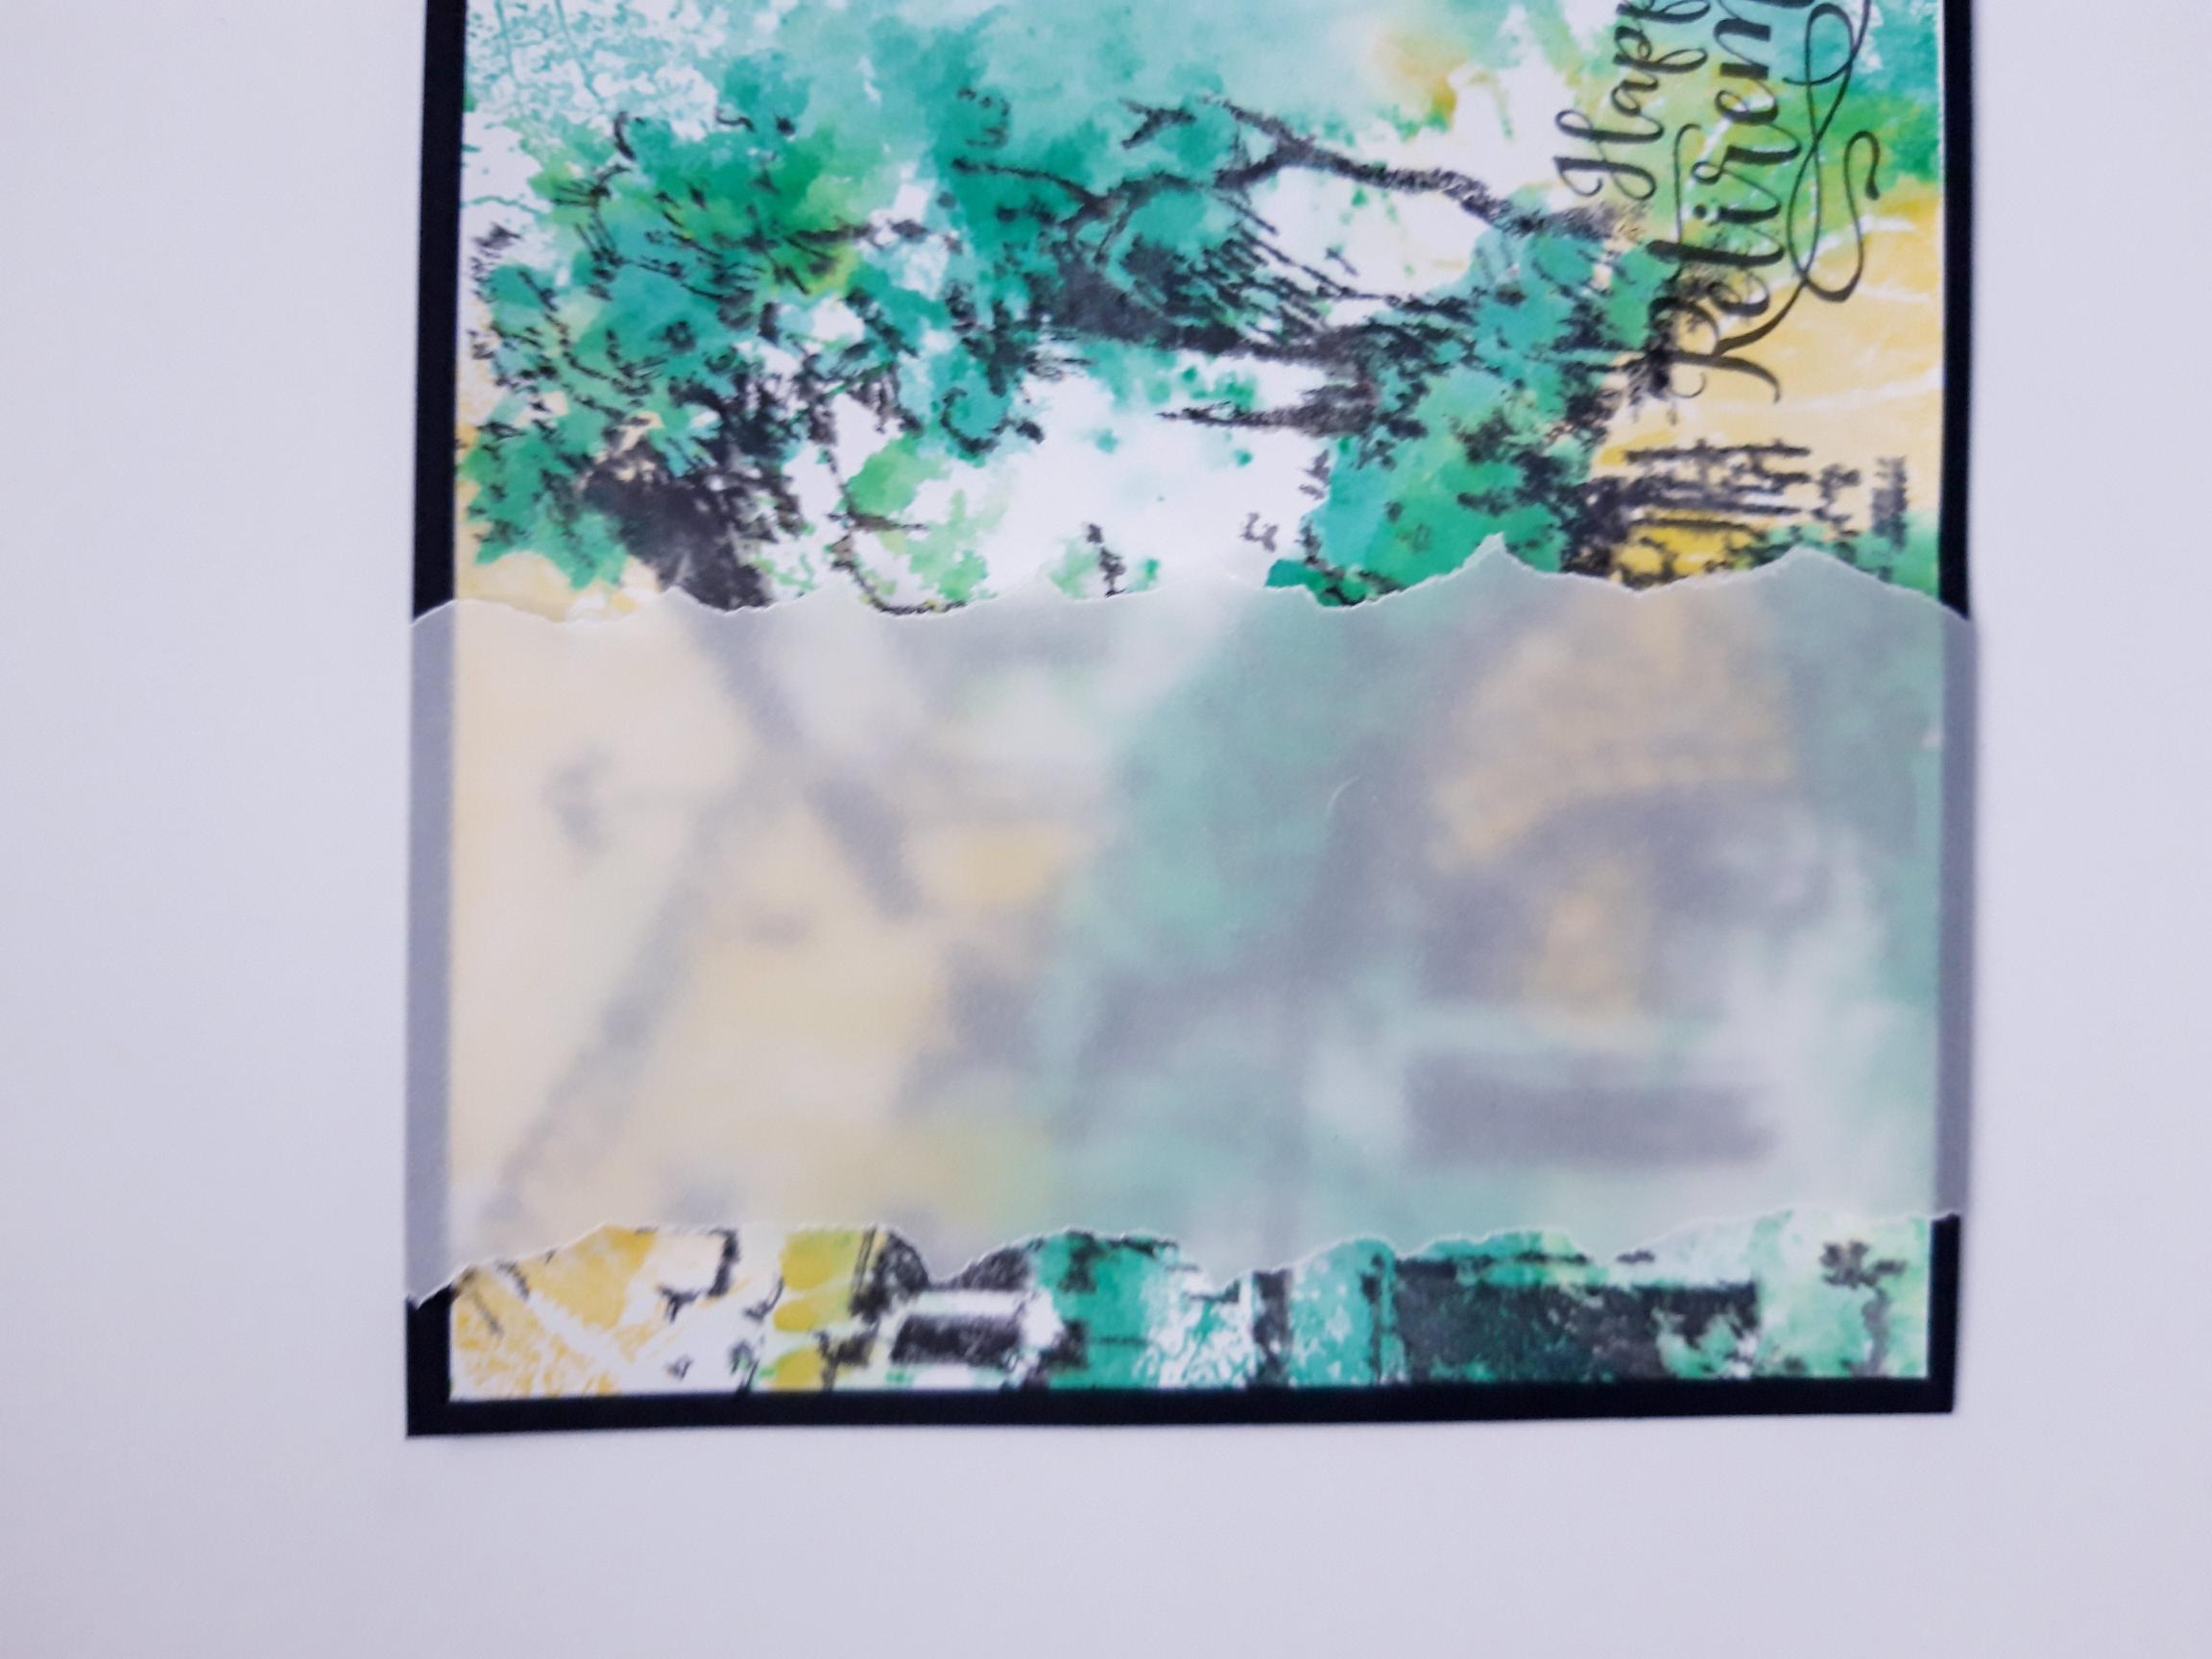
Lay your vellum strip over your artwork. Tuck the ends over the top and bottom, and secure on the back of your artwork with double sided adhesive tape. |
|
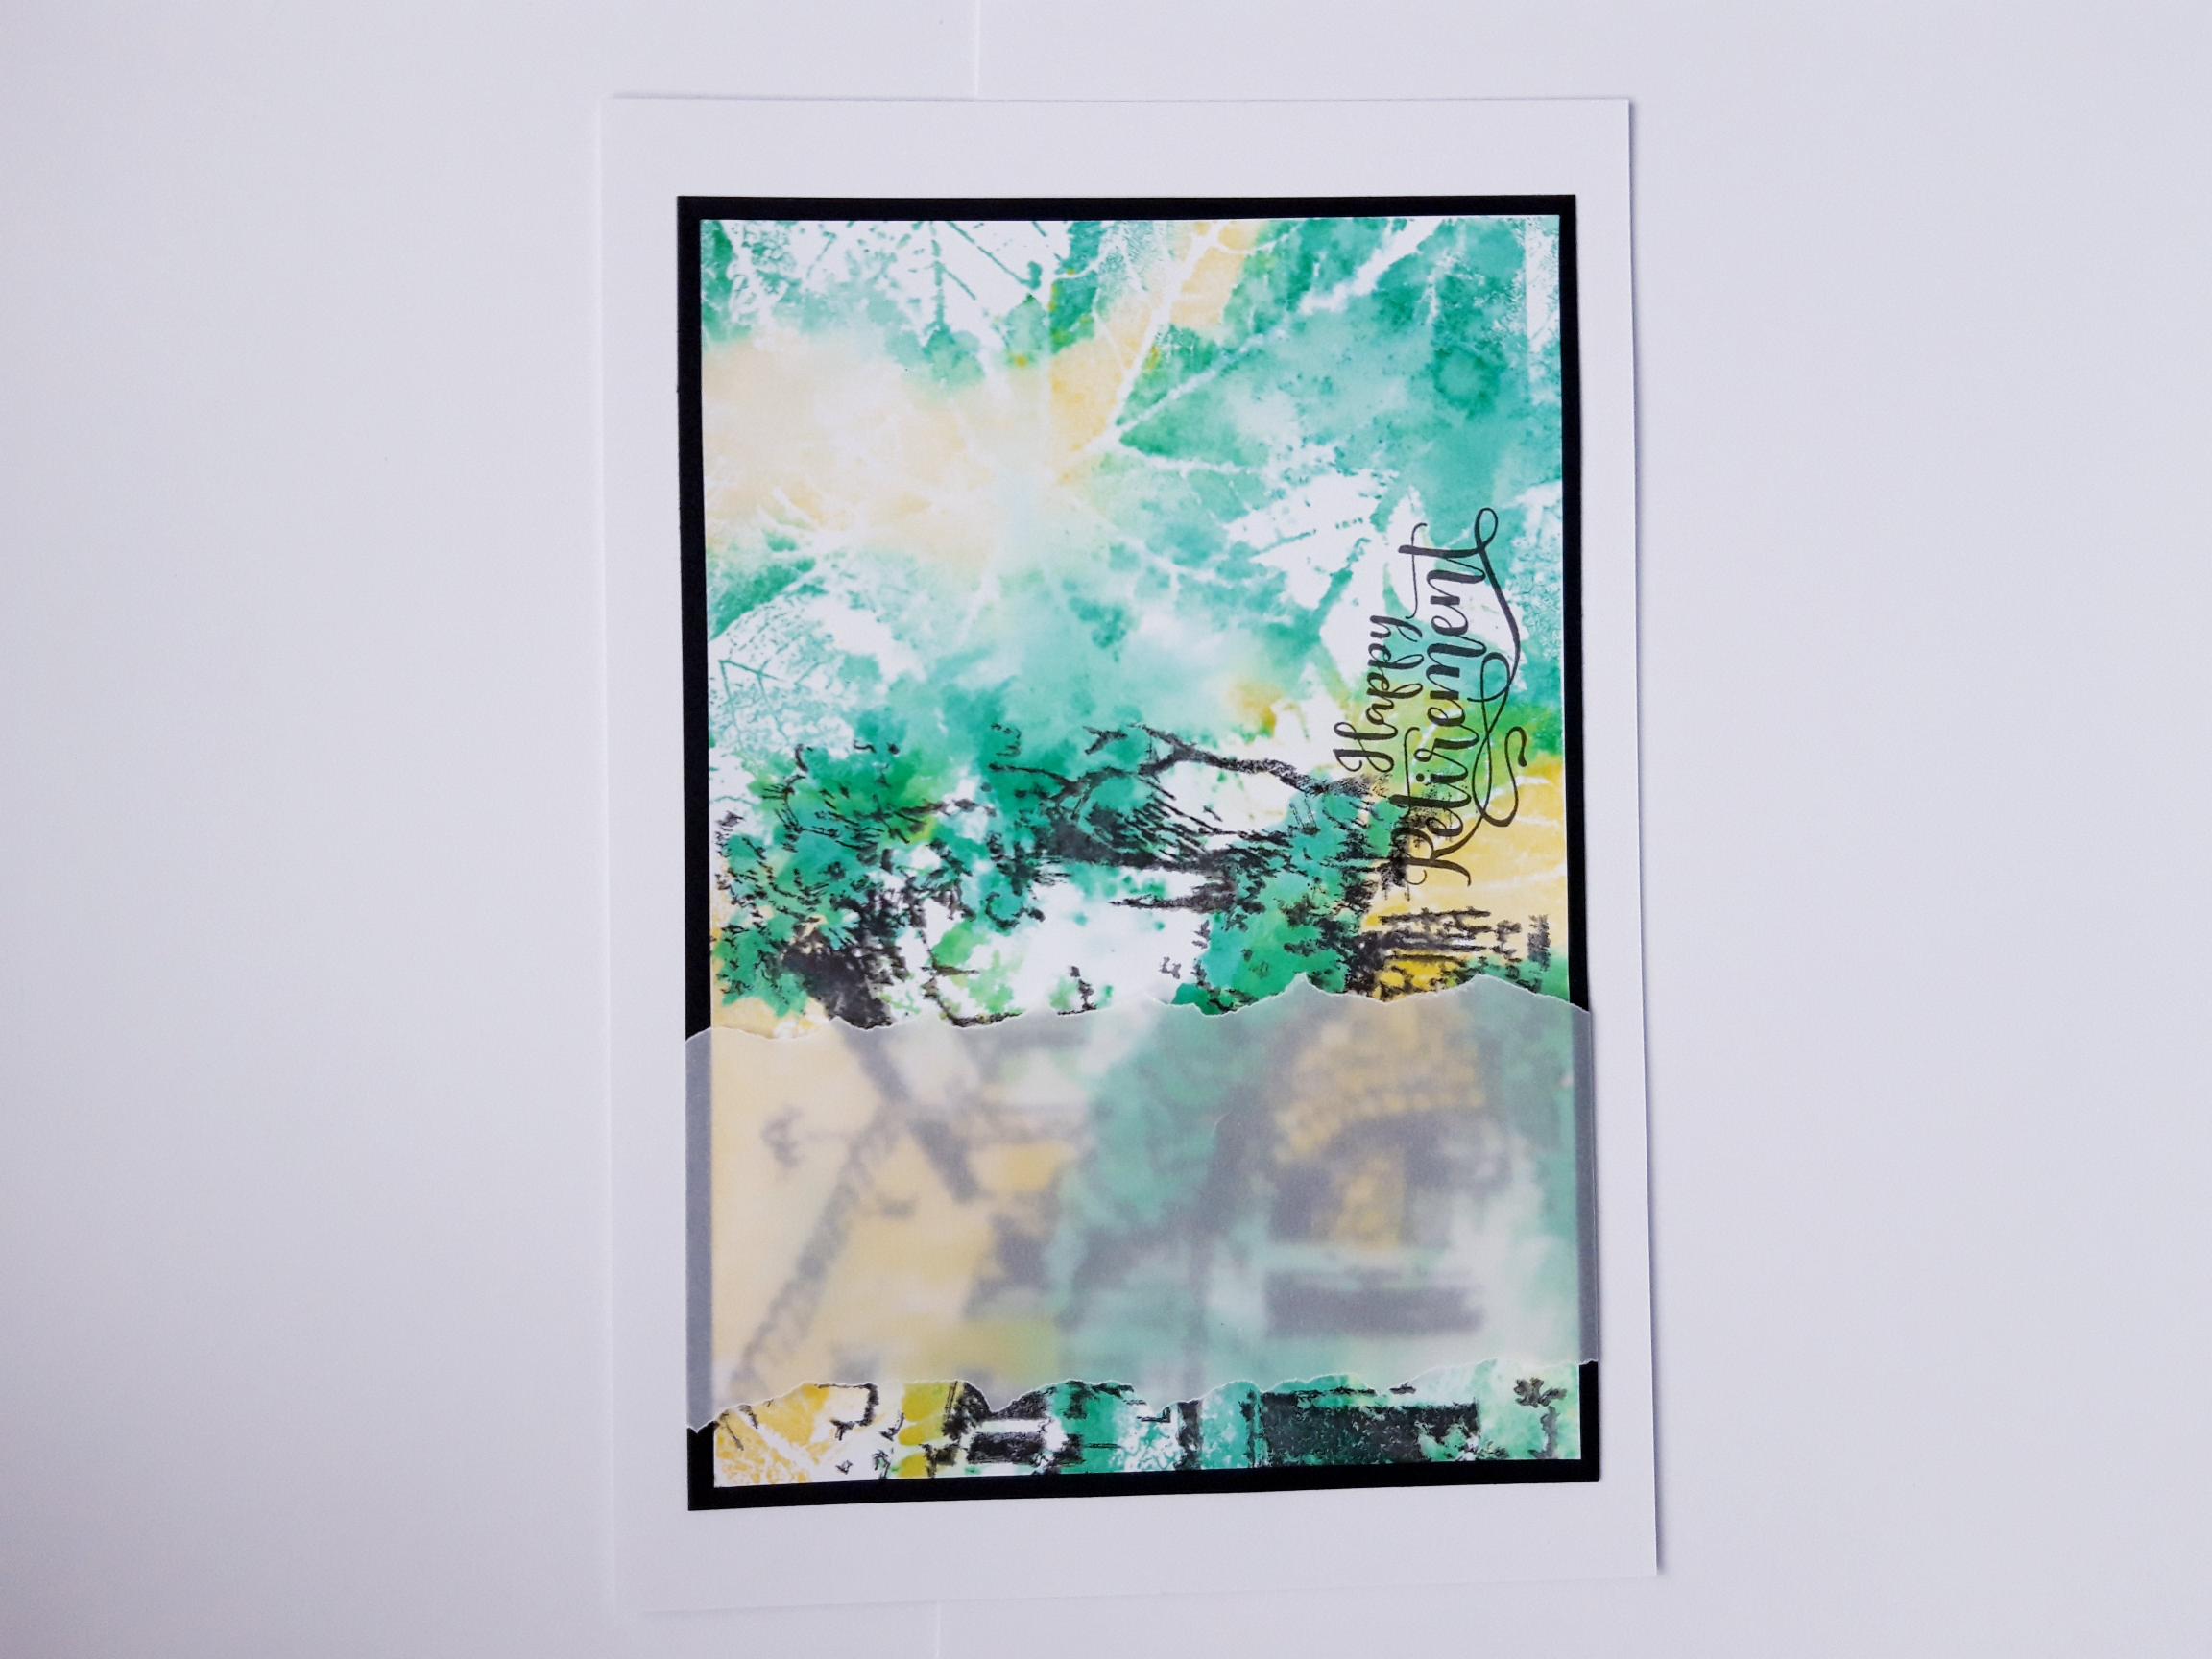
Mat your artwork on to the white card (8 x 5 1/2"). |
|
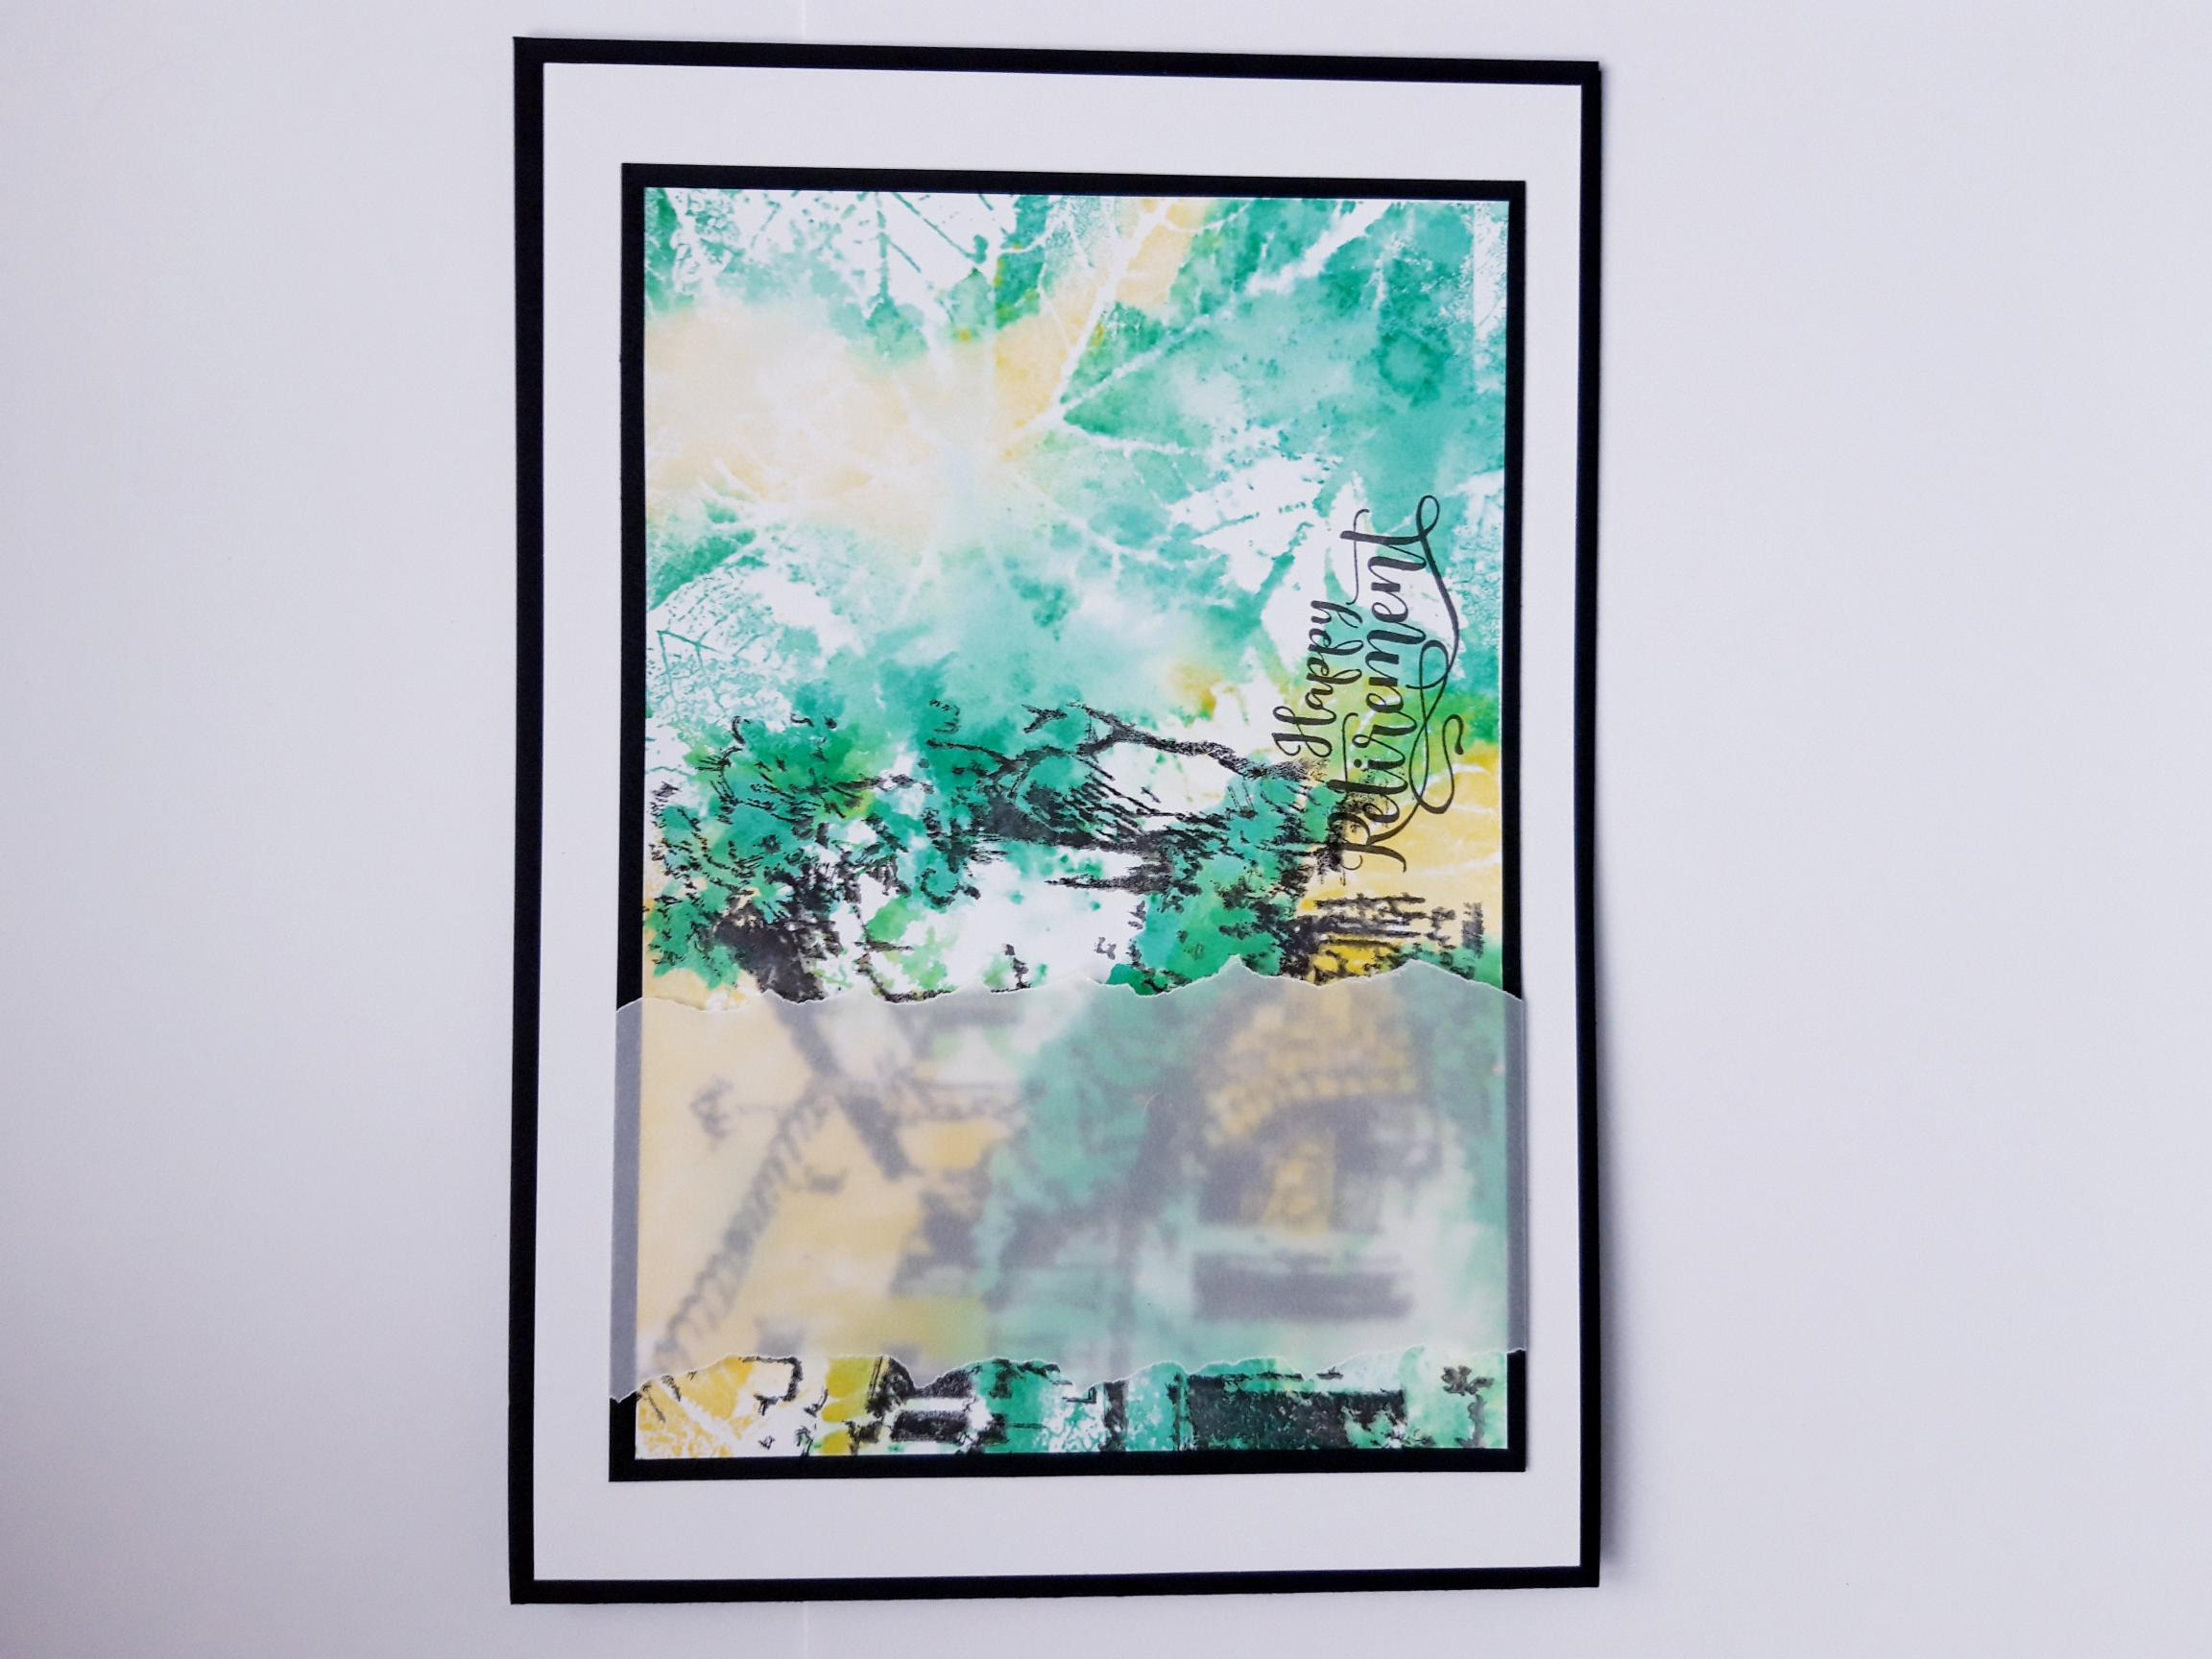
Mat this on to the front of your top folding, landscape view, card blank. |