Give your friends $10 off their first order!
Refer a FRIEND


WHAT YOU WILL NEED:
Pink top folding card blank (8 1/4 x 5 3/4")
Black card (8 x 5 1/2")
White card (7 3/4 x 5 1/4")
Loveables Circle Die Collection
Our Story Stamp And Die Collection
Trust Your Journey Stamp And Die Collection
Dot Frame Stamp Collection
Circle mask approx 1 1/2" diameter (or die cut circle from copier paper)
Versafine Ink Pad: Onyx Black
Izink Pigment Classic Ink Pad Collection: Yellow, red
Izink Dye Ink Pad: Cerise, Menthe, Emeraude
Paint brush
Blending tool
Eureka 101
Paper Trimmer
Perfect Together Glue
Low tack tape
Die Cutting/embossing machine
[click image to enlarge] 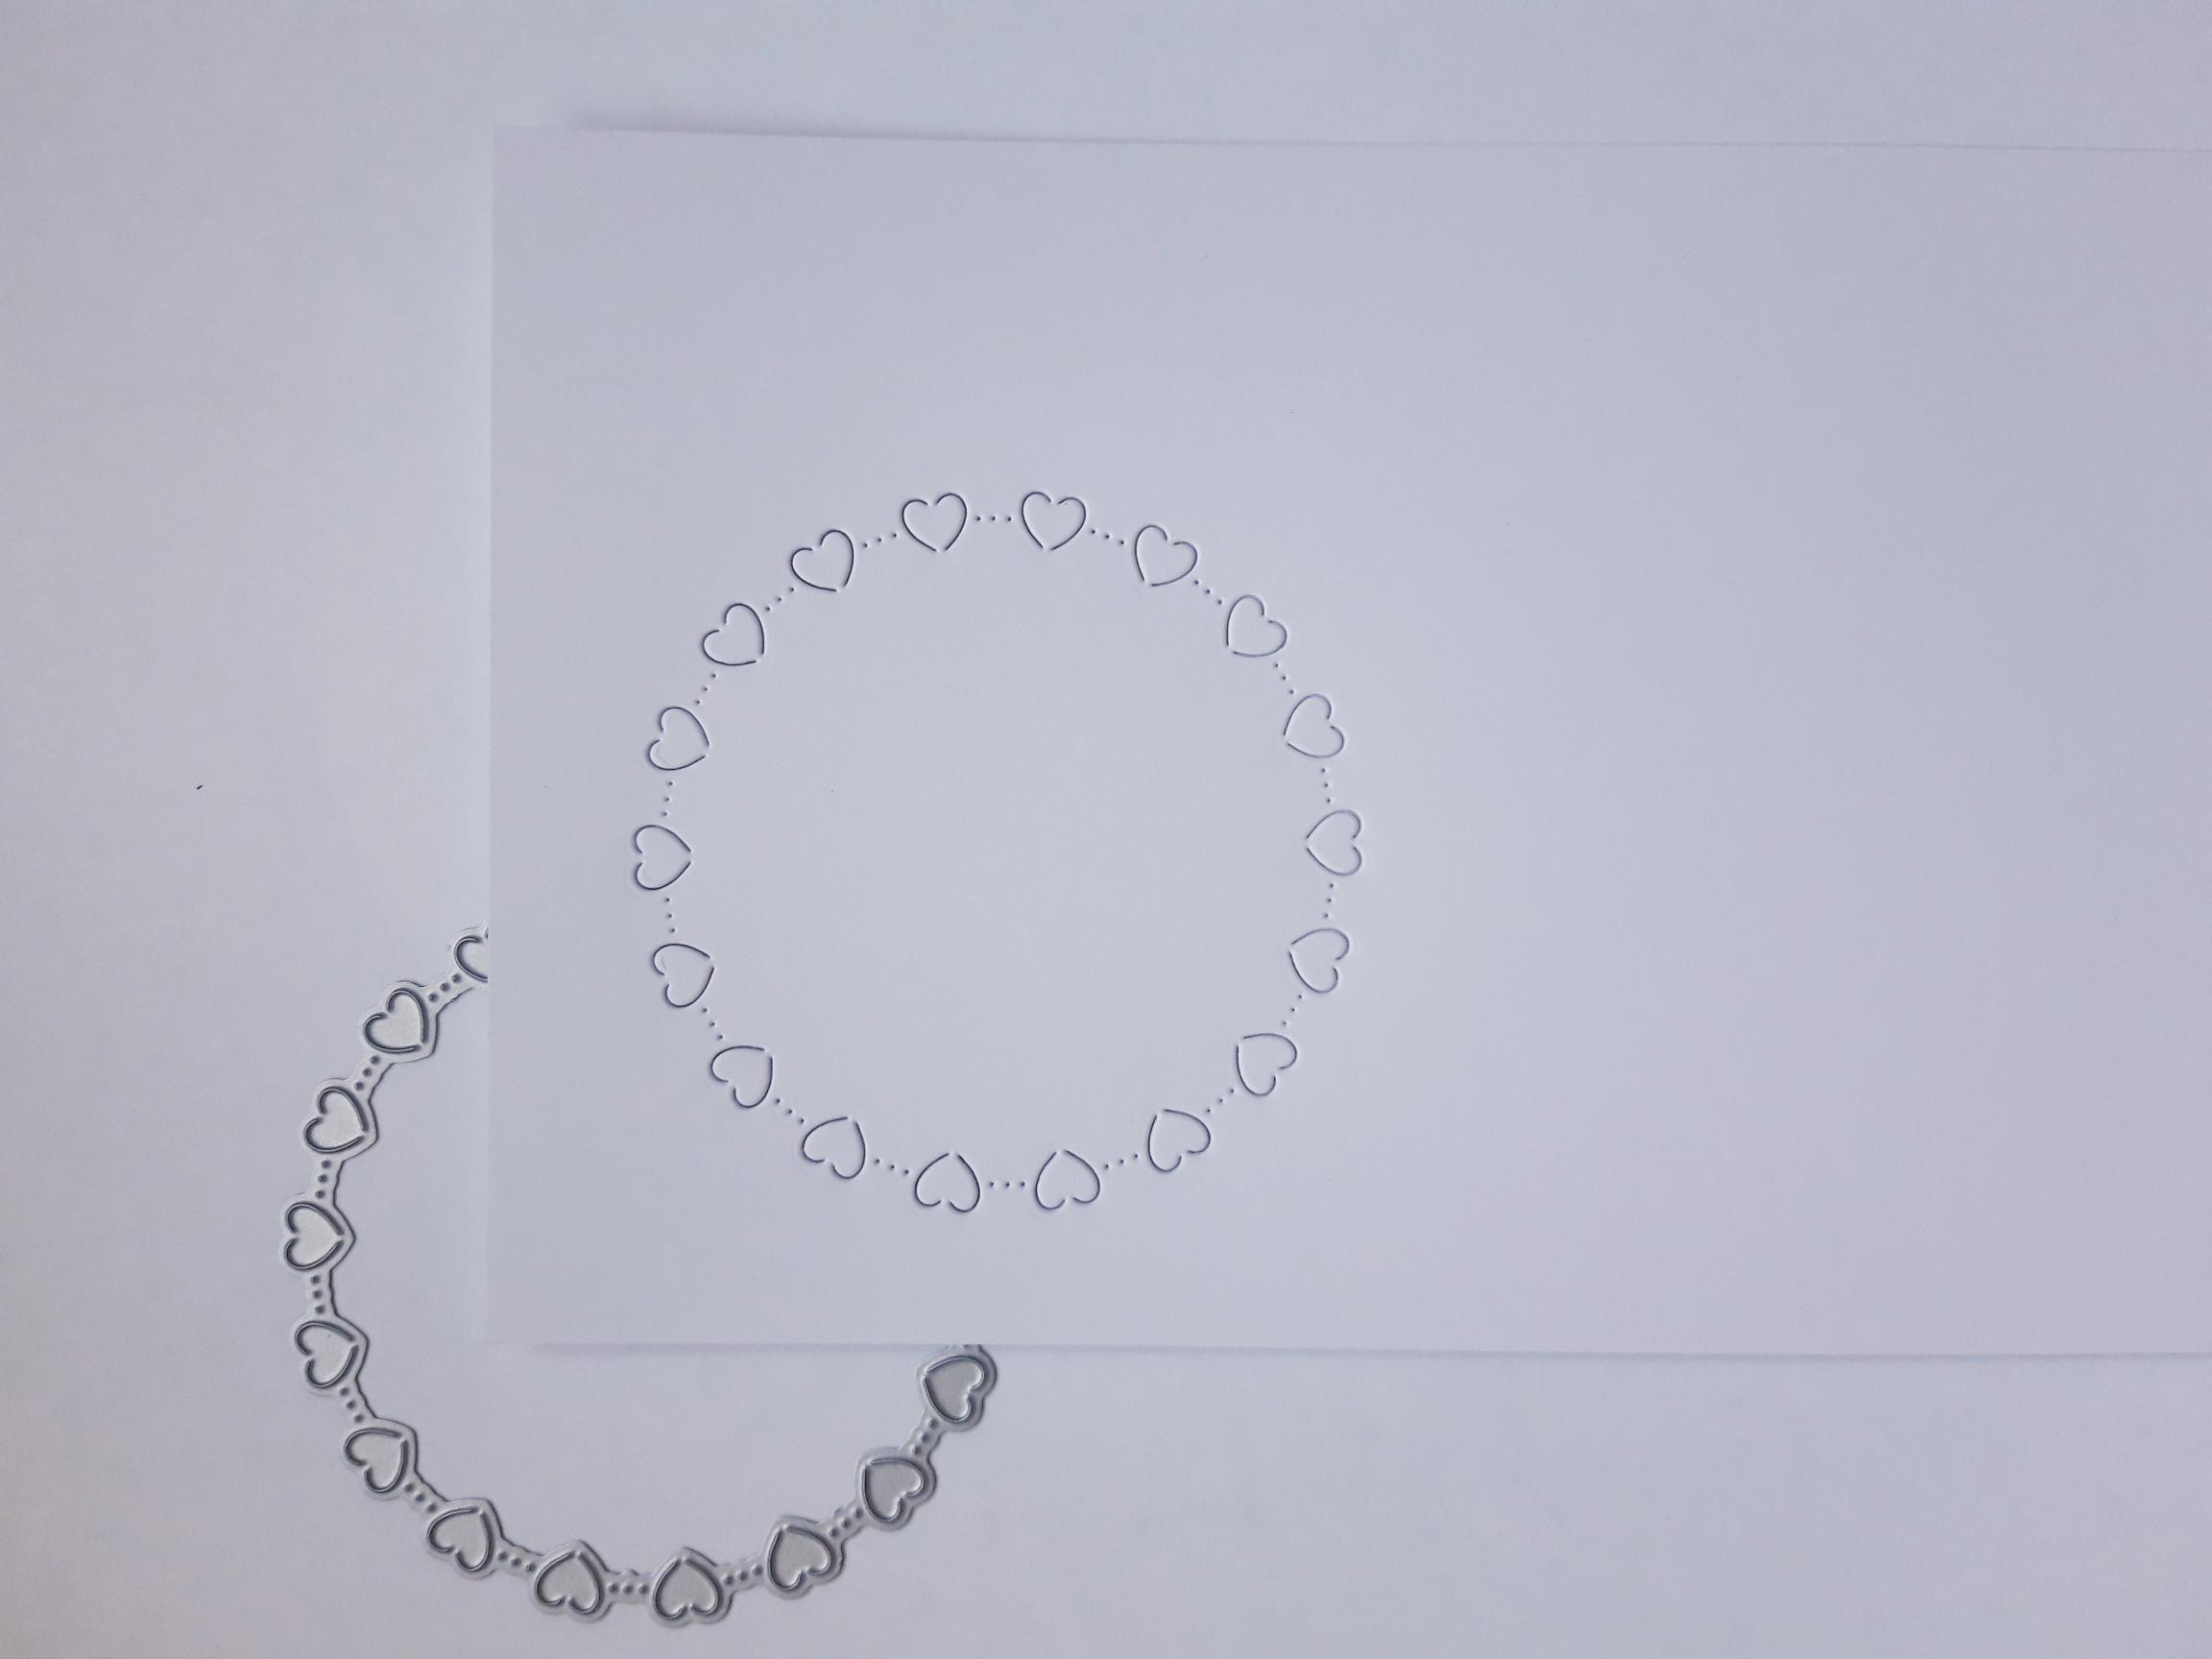
|
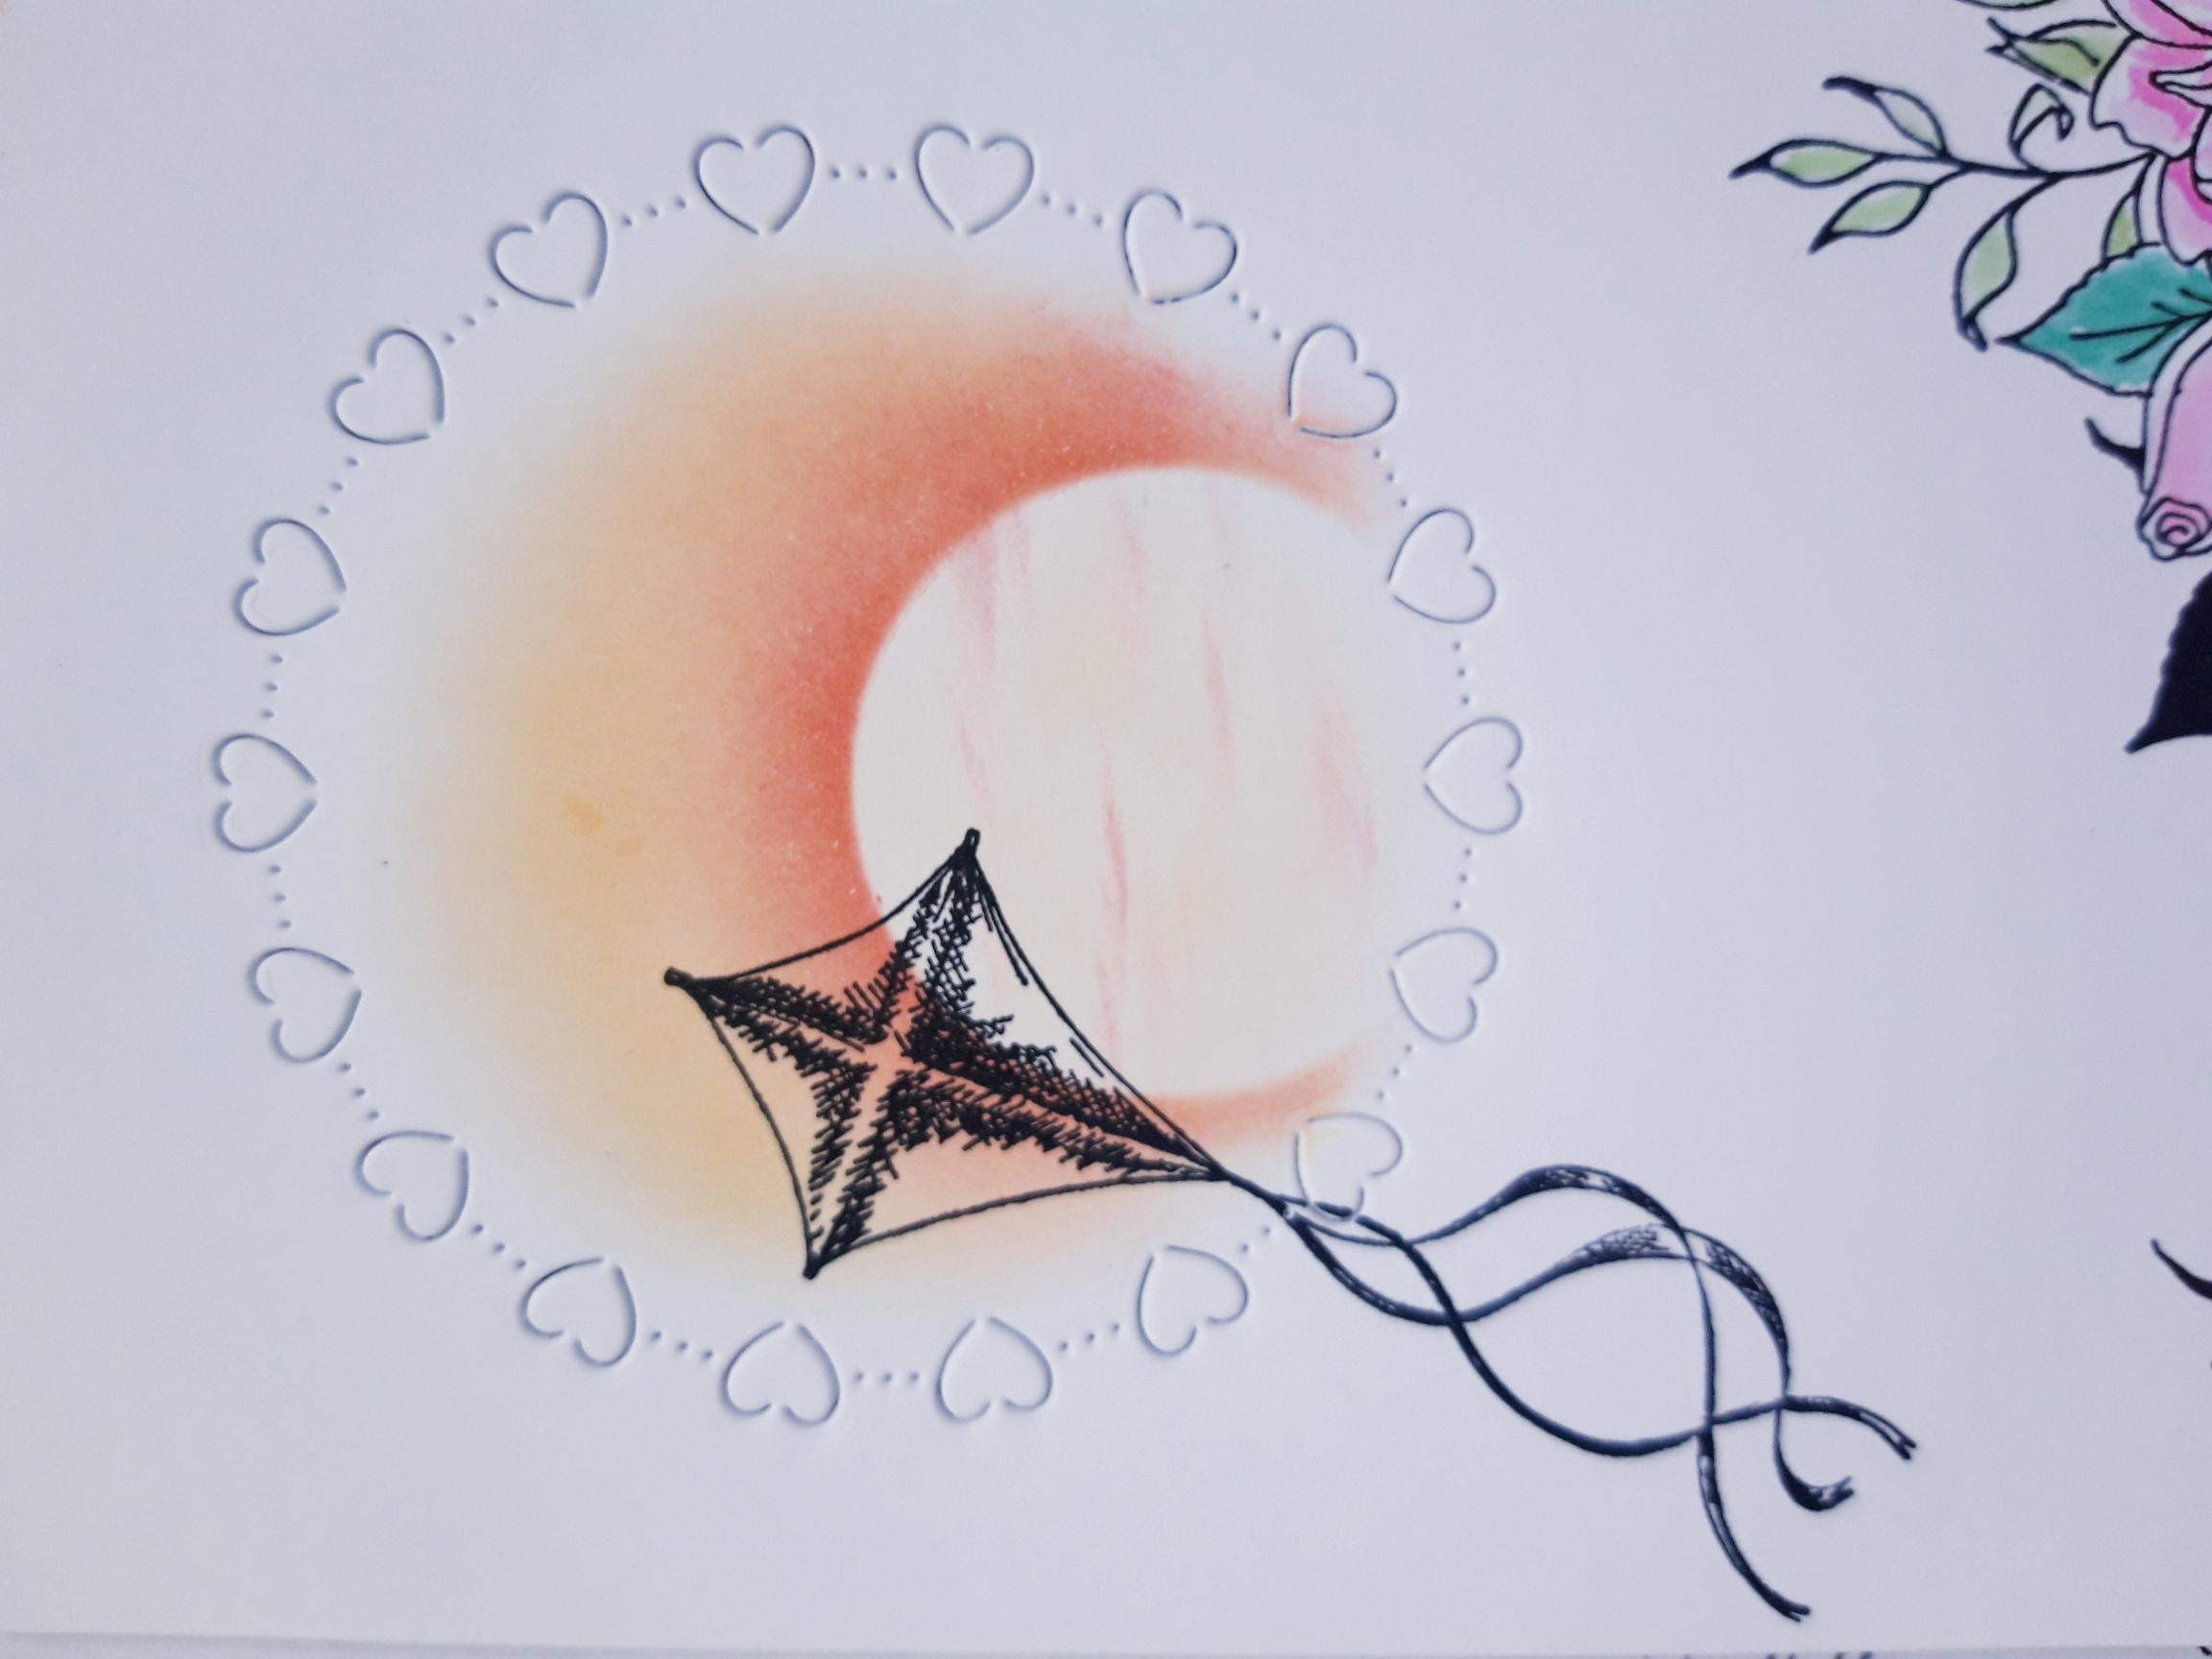
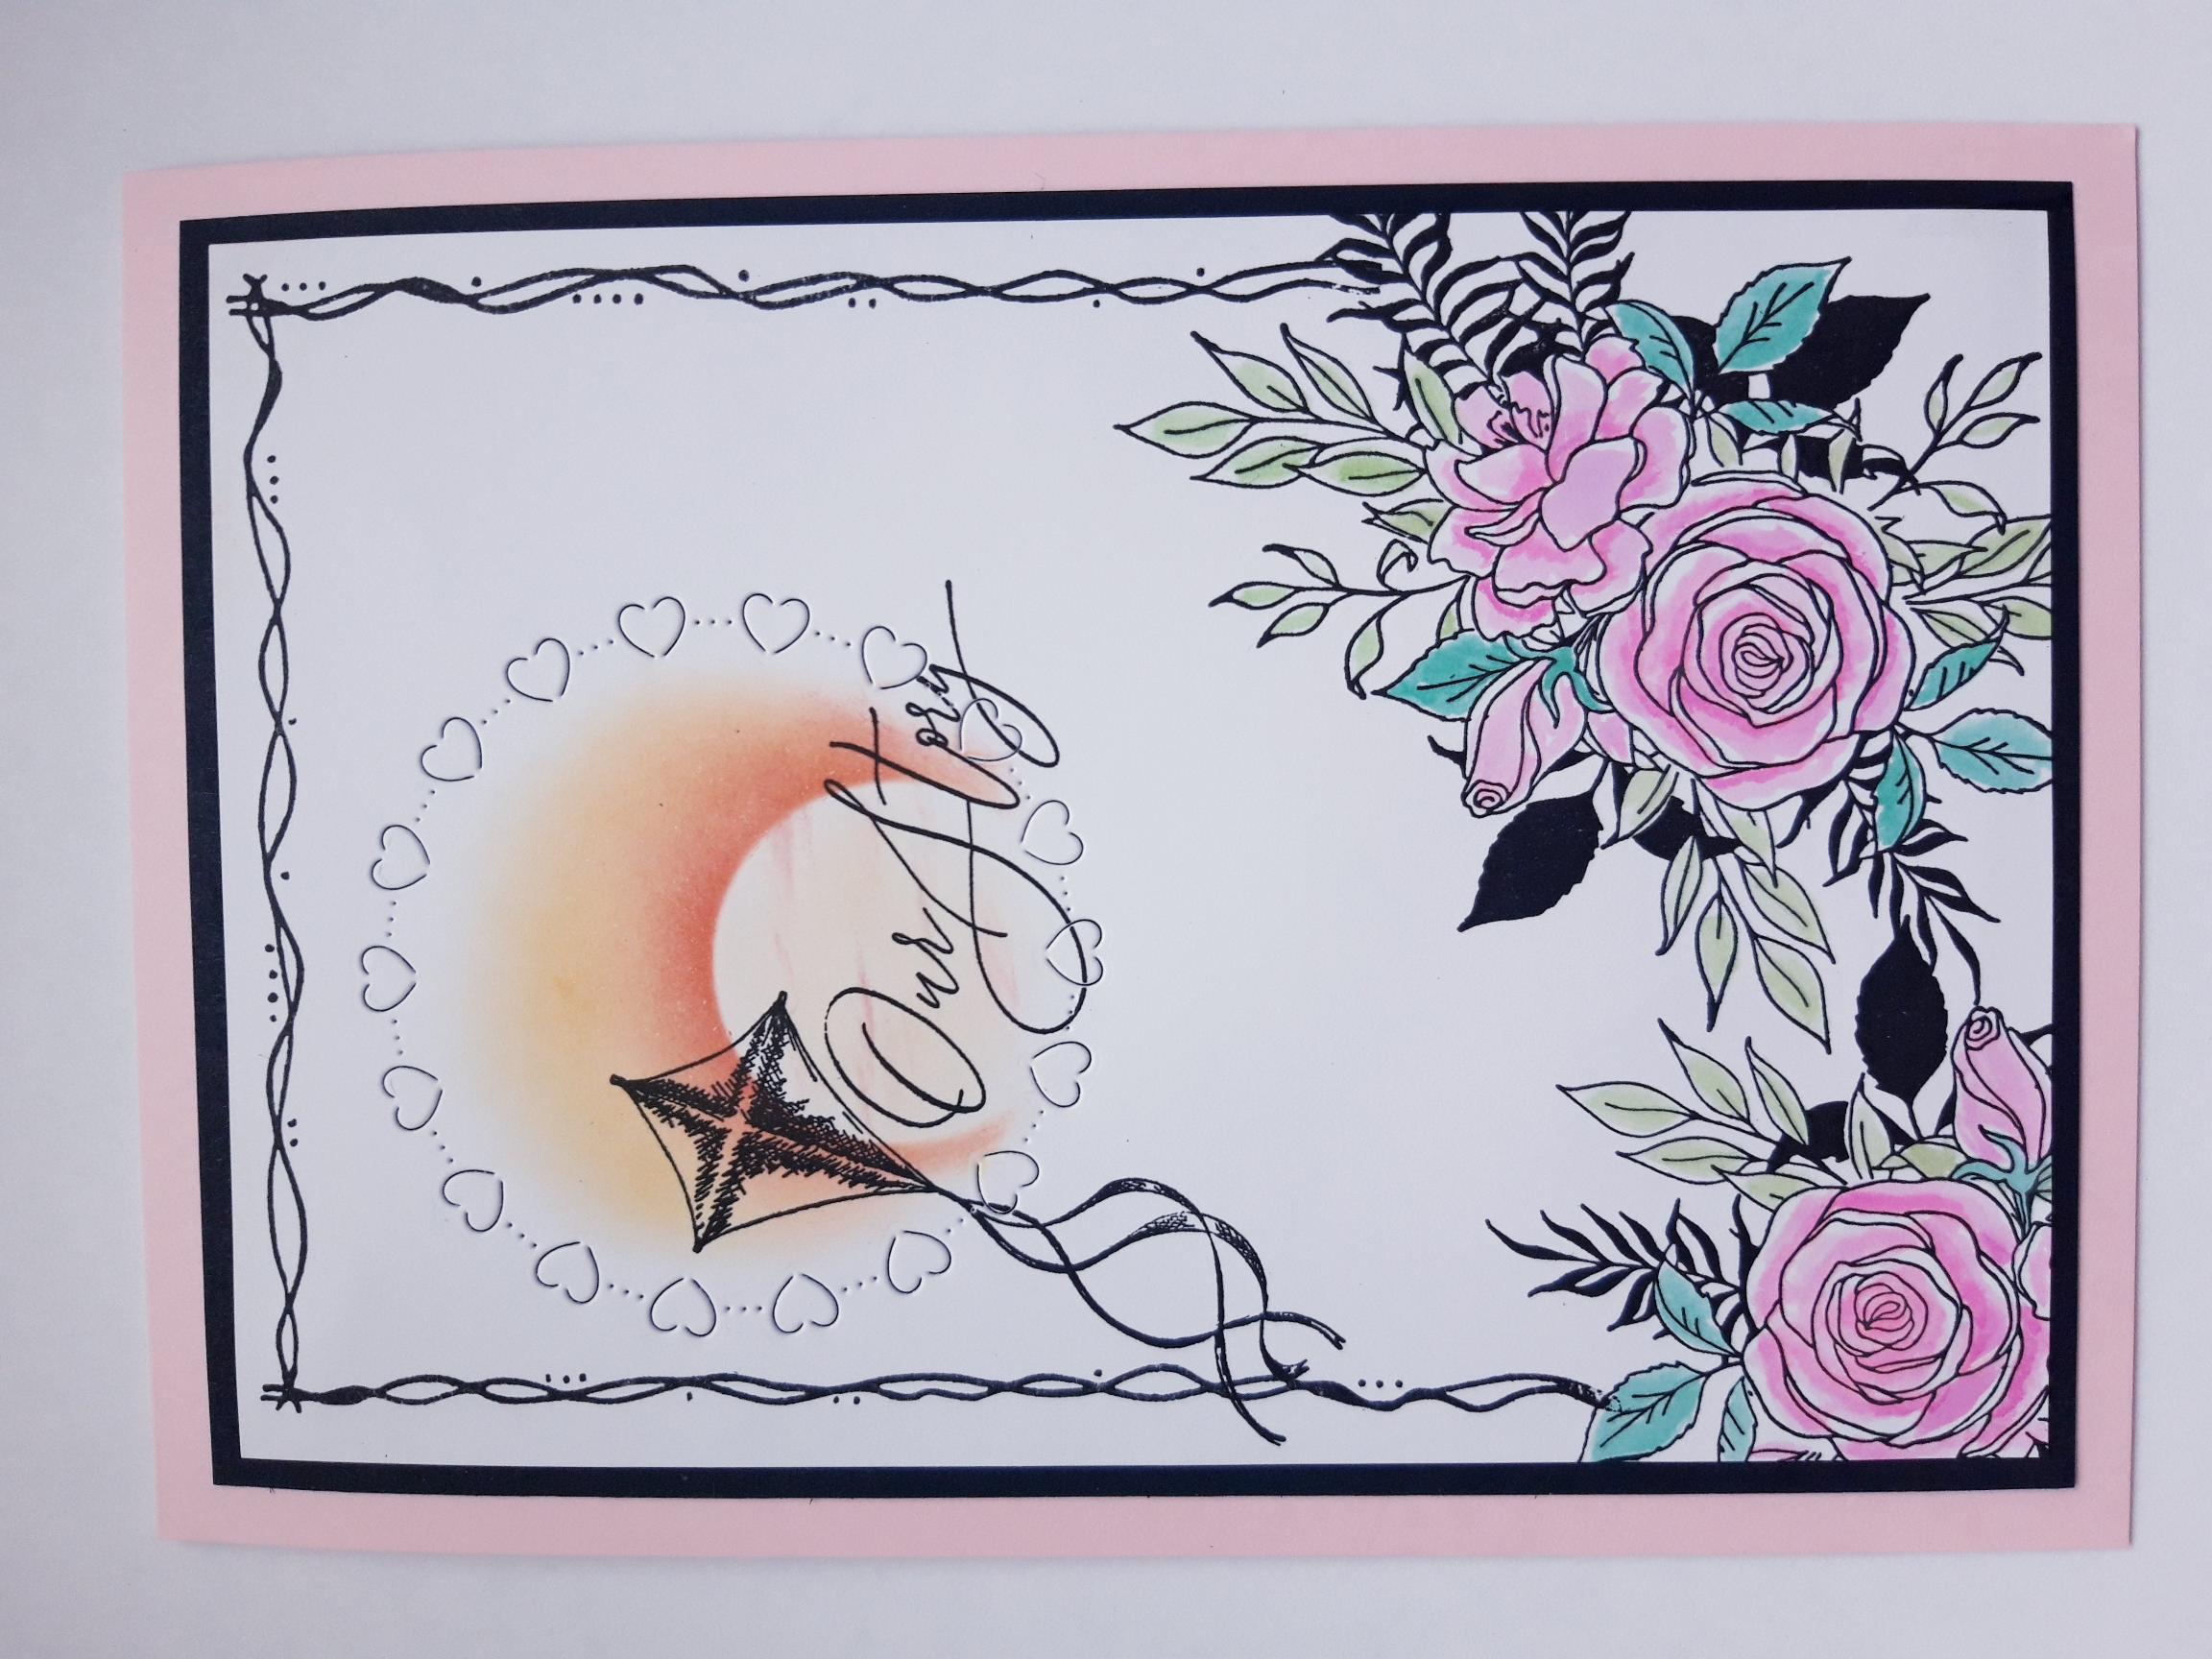
Place the circle die that's approx 3" in diameter, from the Loveables Circle Die Collection, on to the top left of the white card (7 3/4 x 5 1/4"). Hold in place with low tack tape and run it through your die cutting machine. Carefully remove the tape to reveal this beautiful die cut/embossed design, that stays within the card. |
|
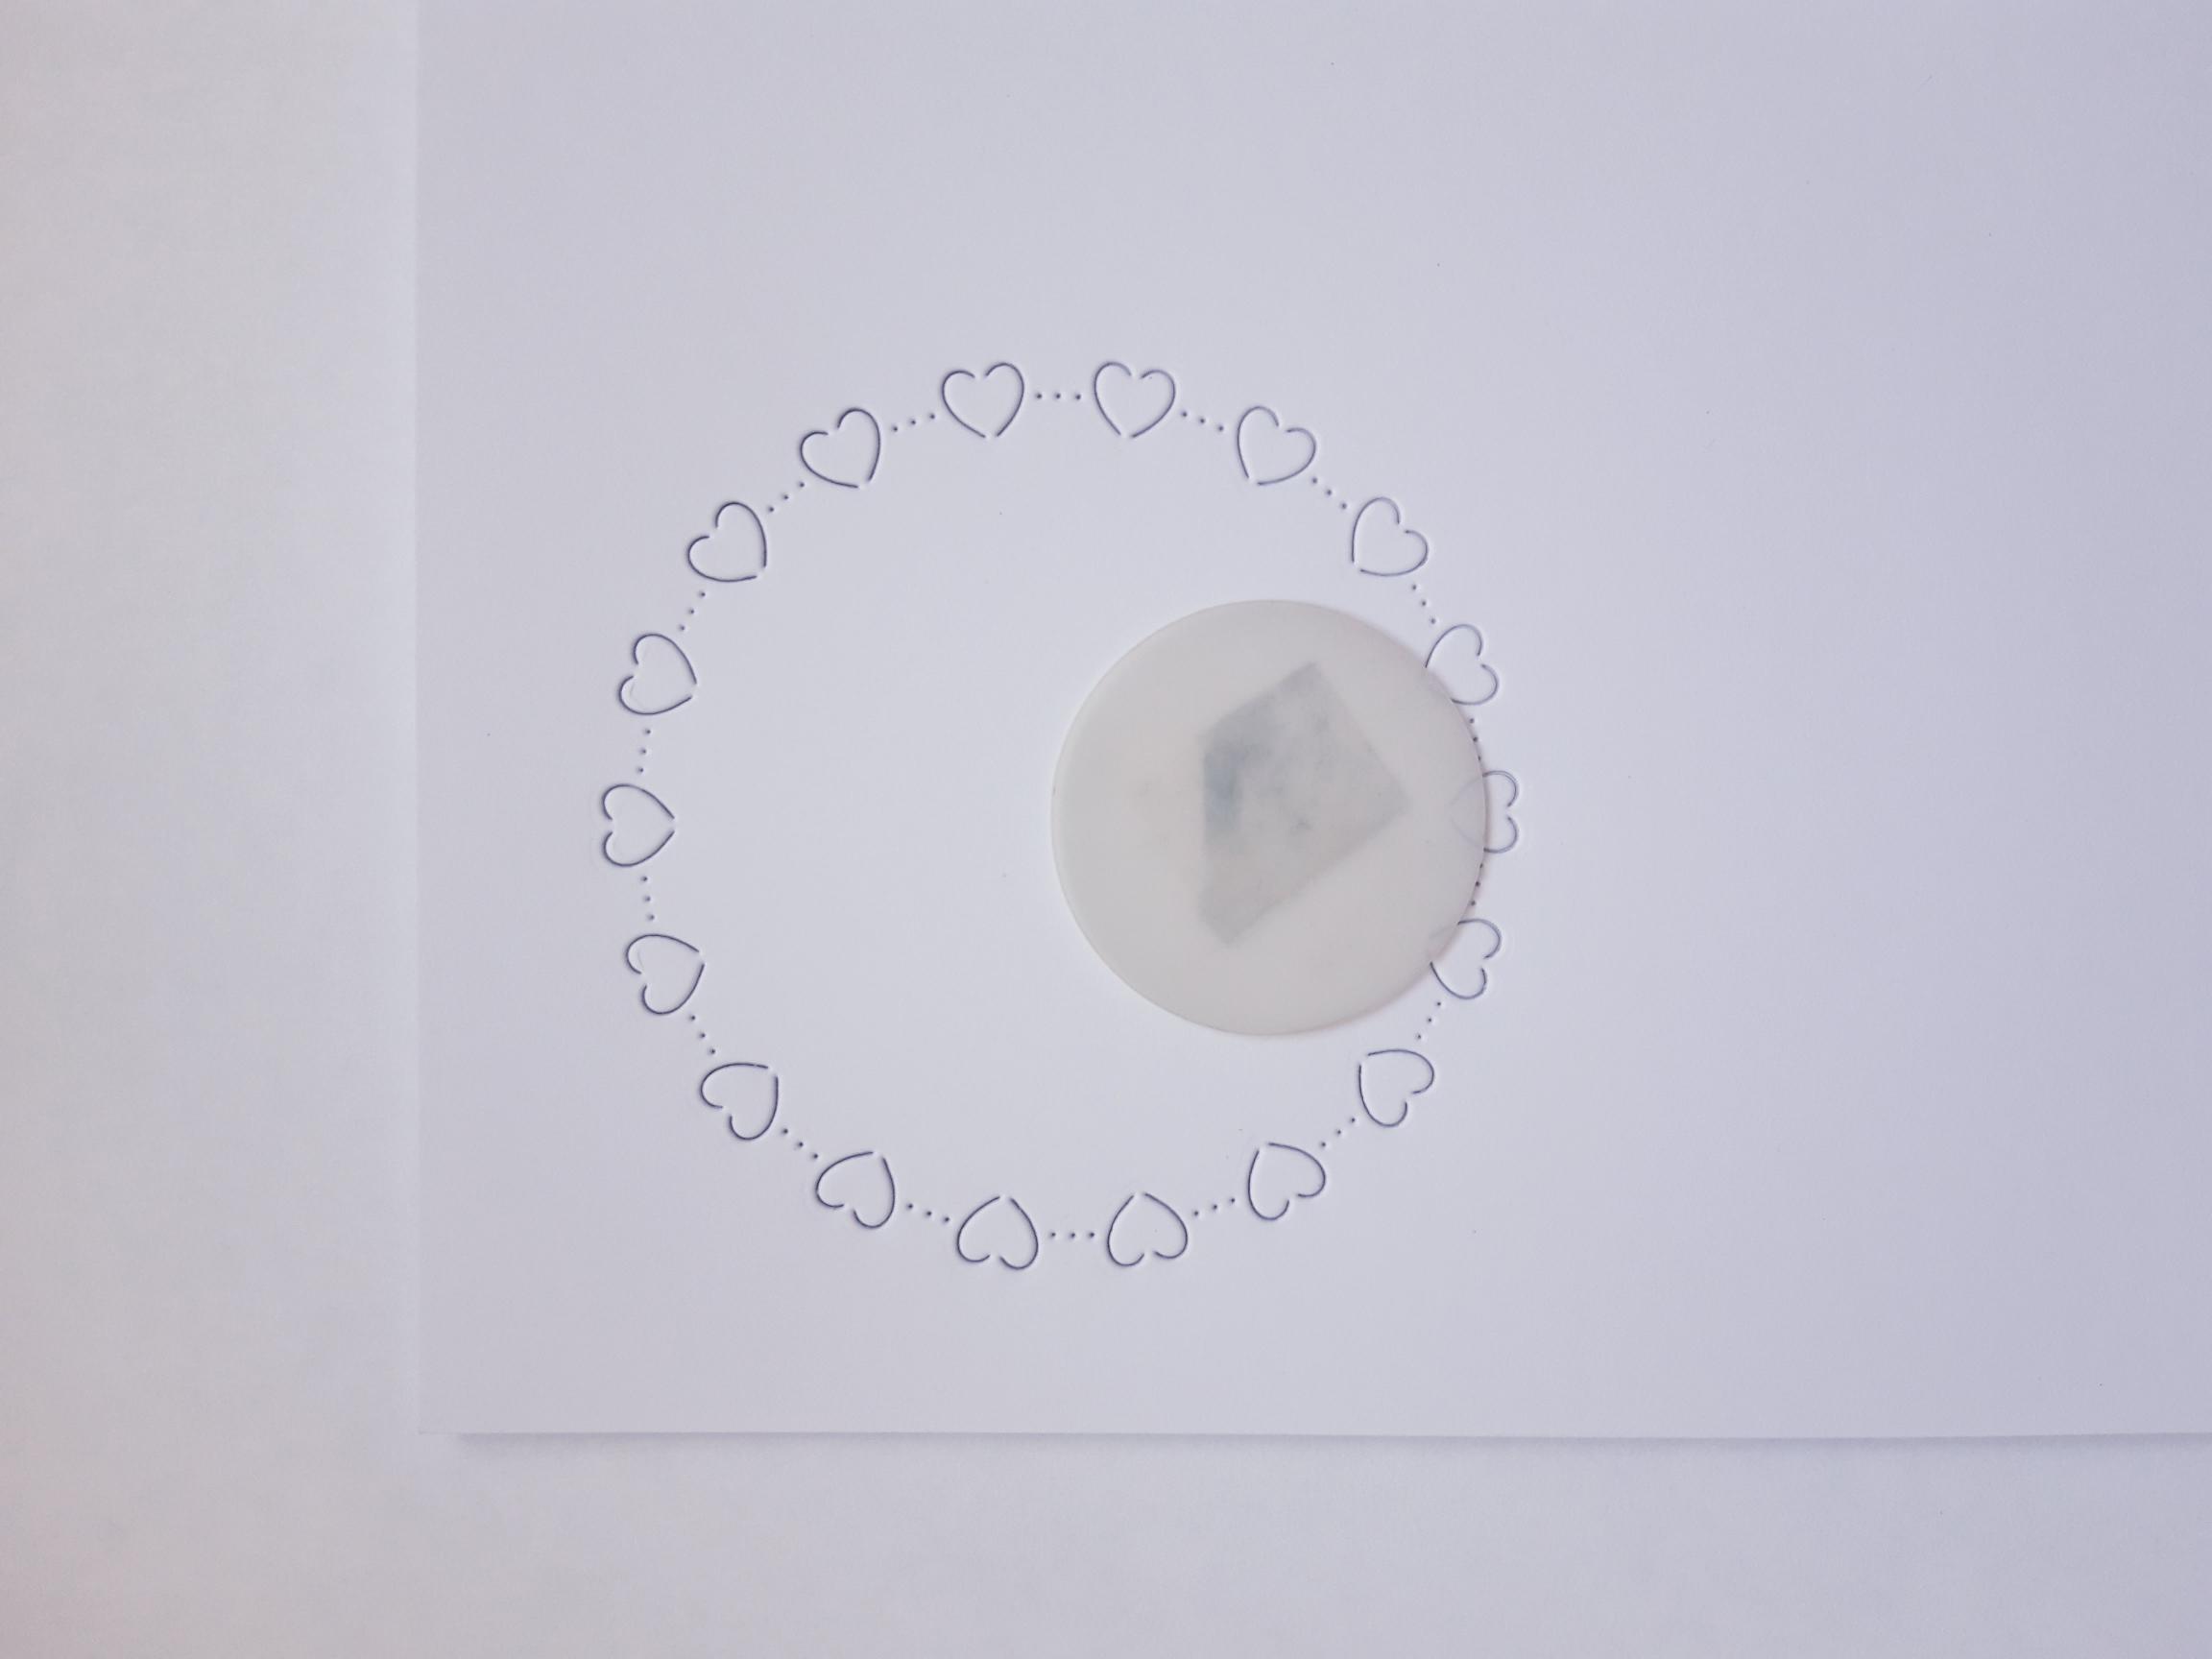
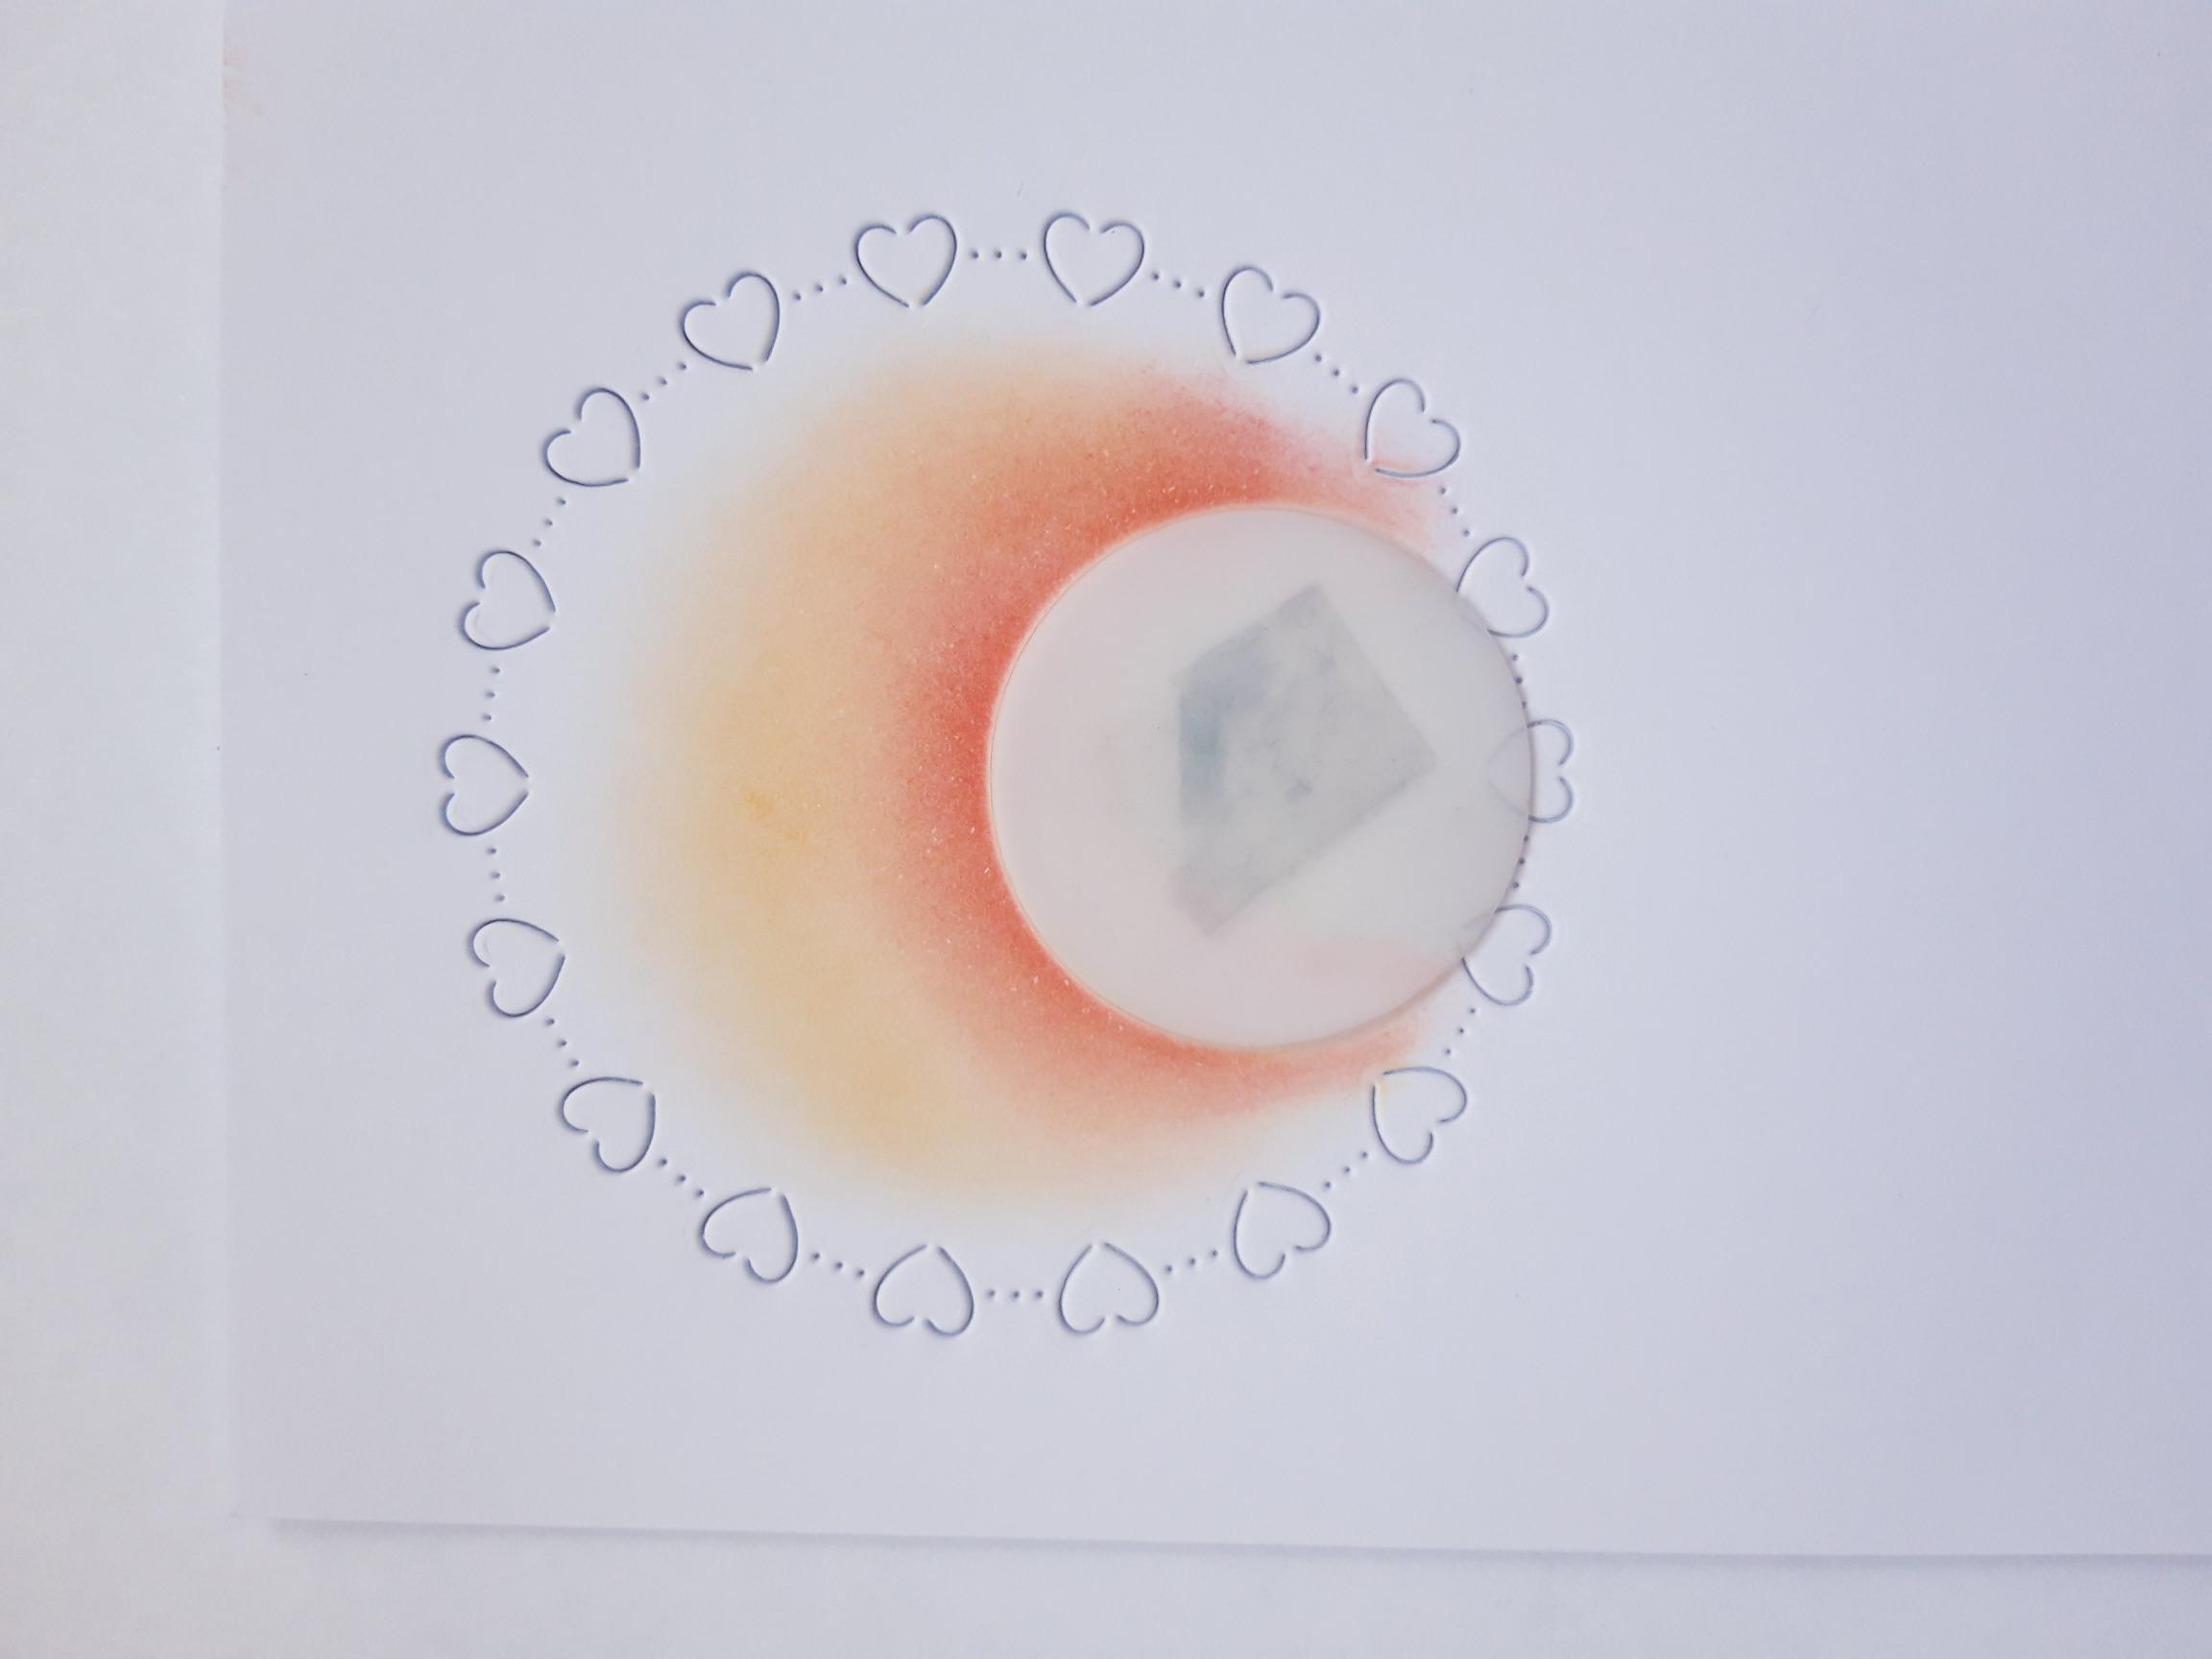
Place the circle mask centrally and at the bottom, of the embossed circle. Secure with low tack tape on the back, if preferred. |
|
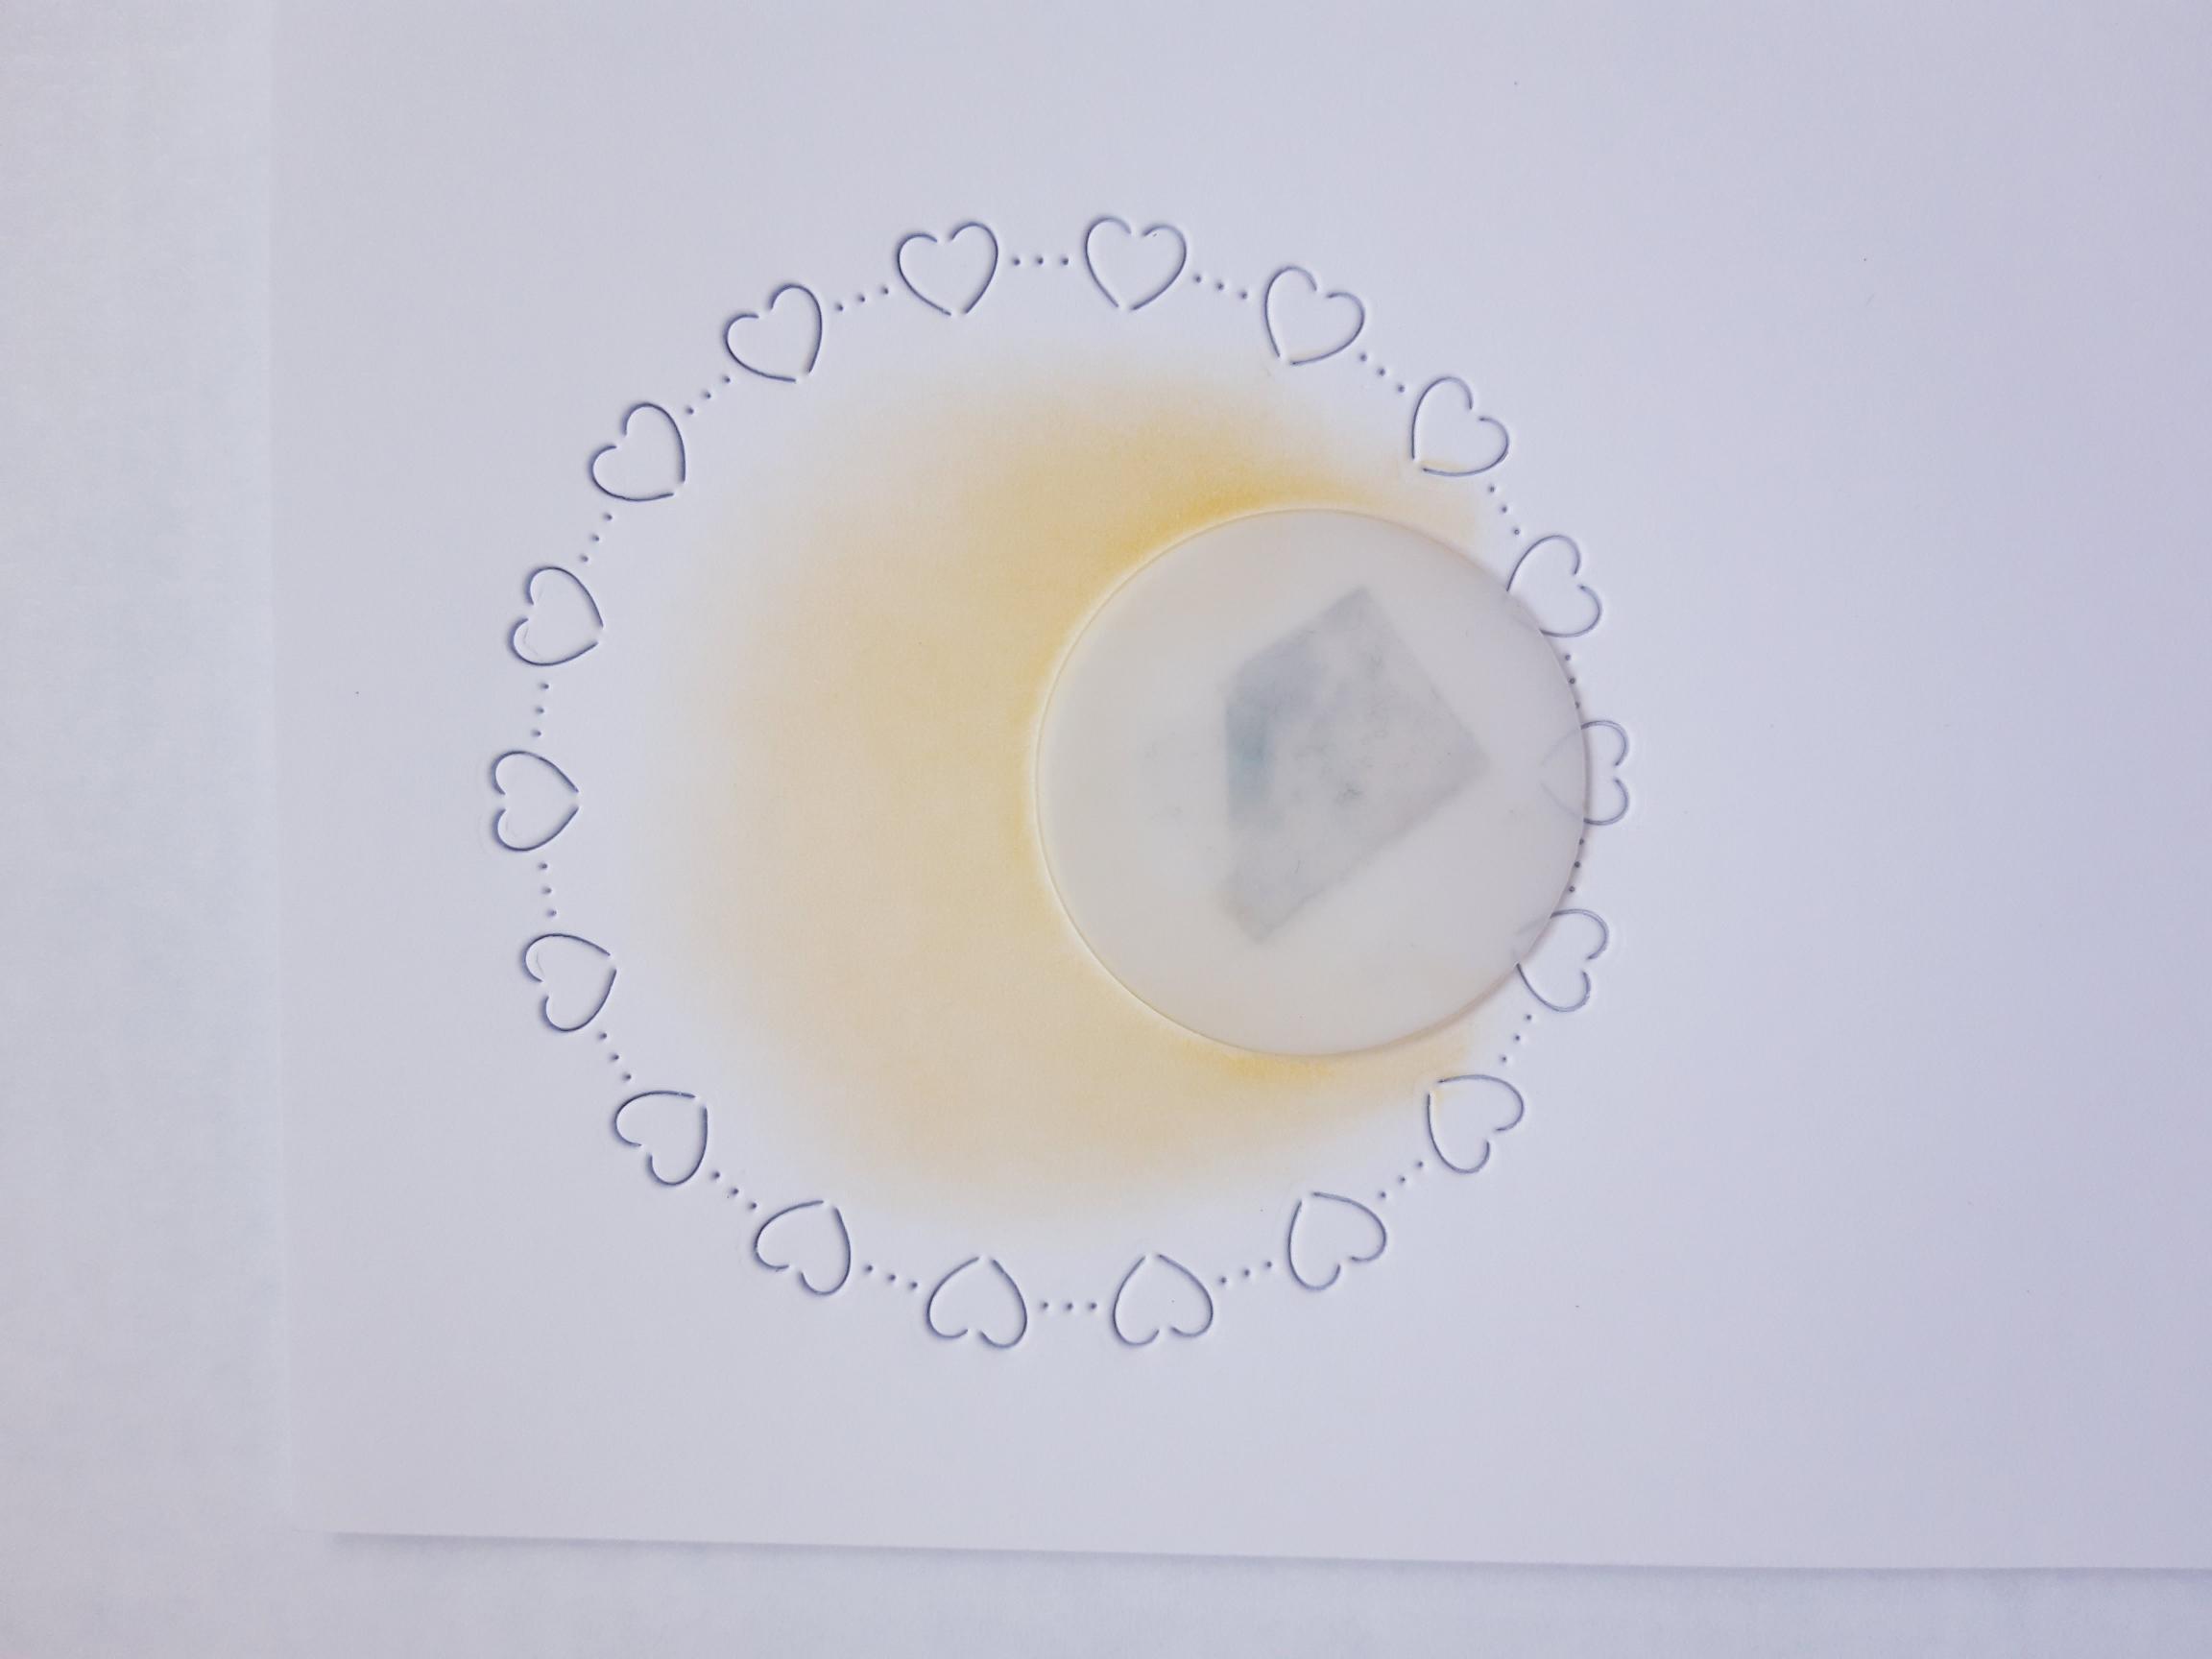
Blend the yellow Izink Pigment ink coming outwards from the circle mask, keeping the ink within the embossed circle. |
|
Blend the red Izink Pigment ink so it's just peeking outwards, from the circle mask, as shown here. Remove the circle mask and dry off the ink, as Pigment ink is slow drying. |

|
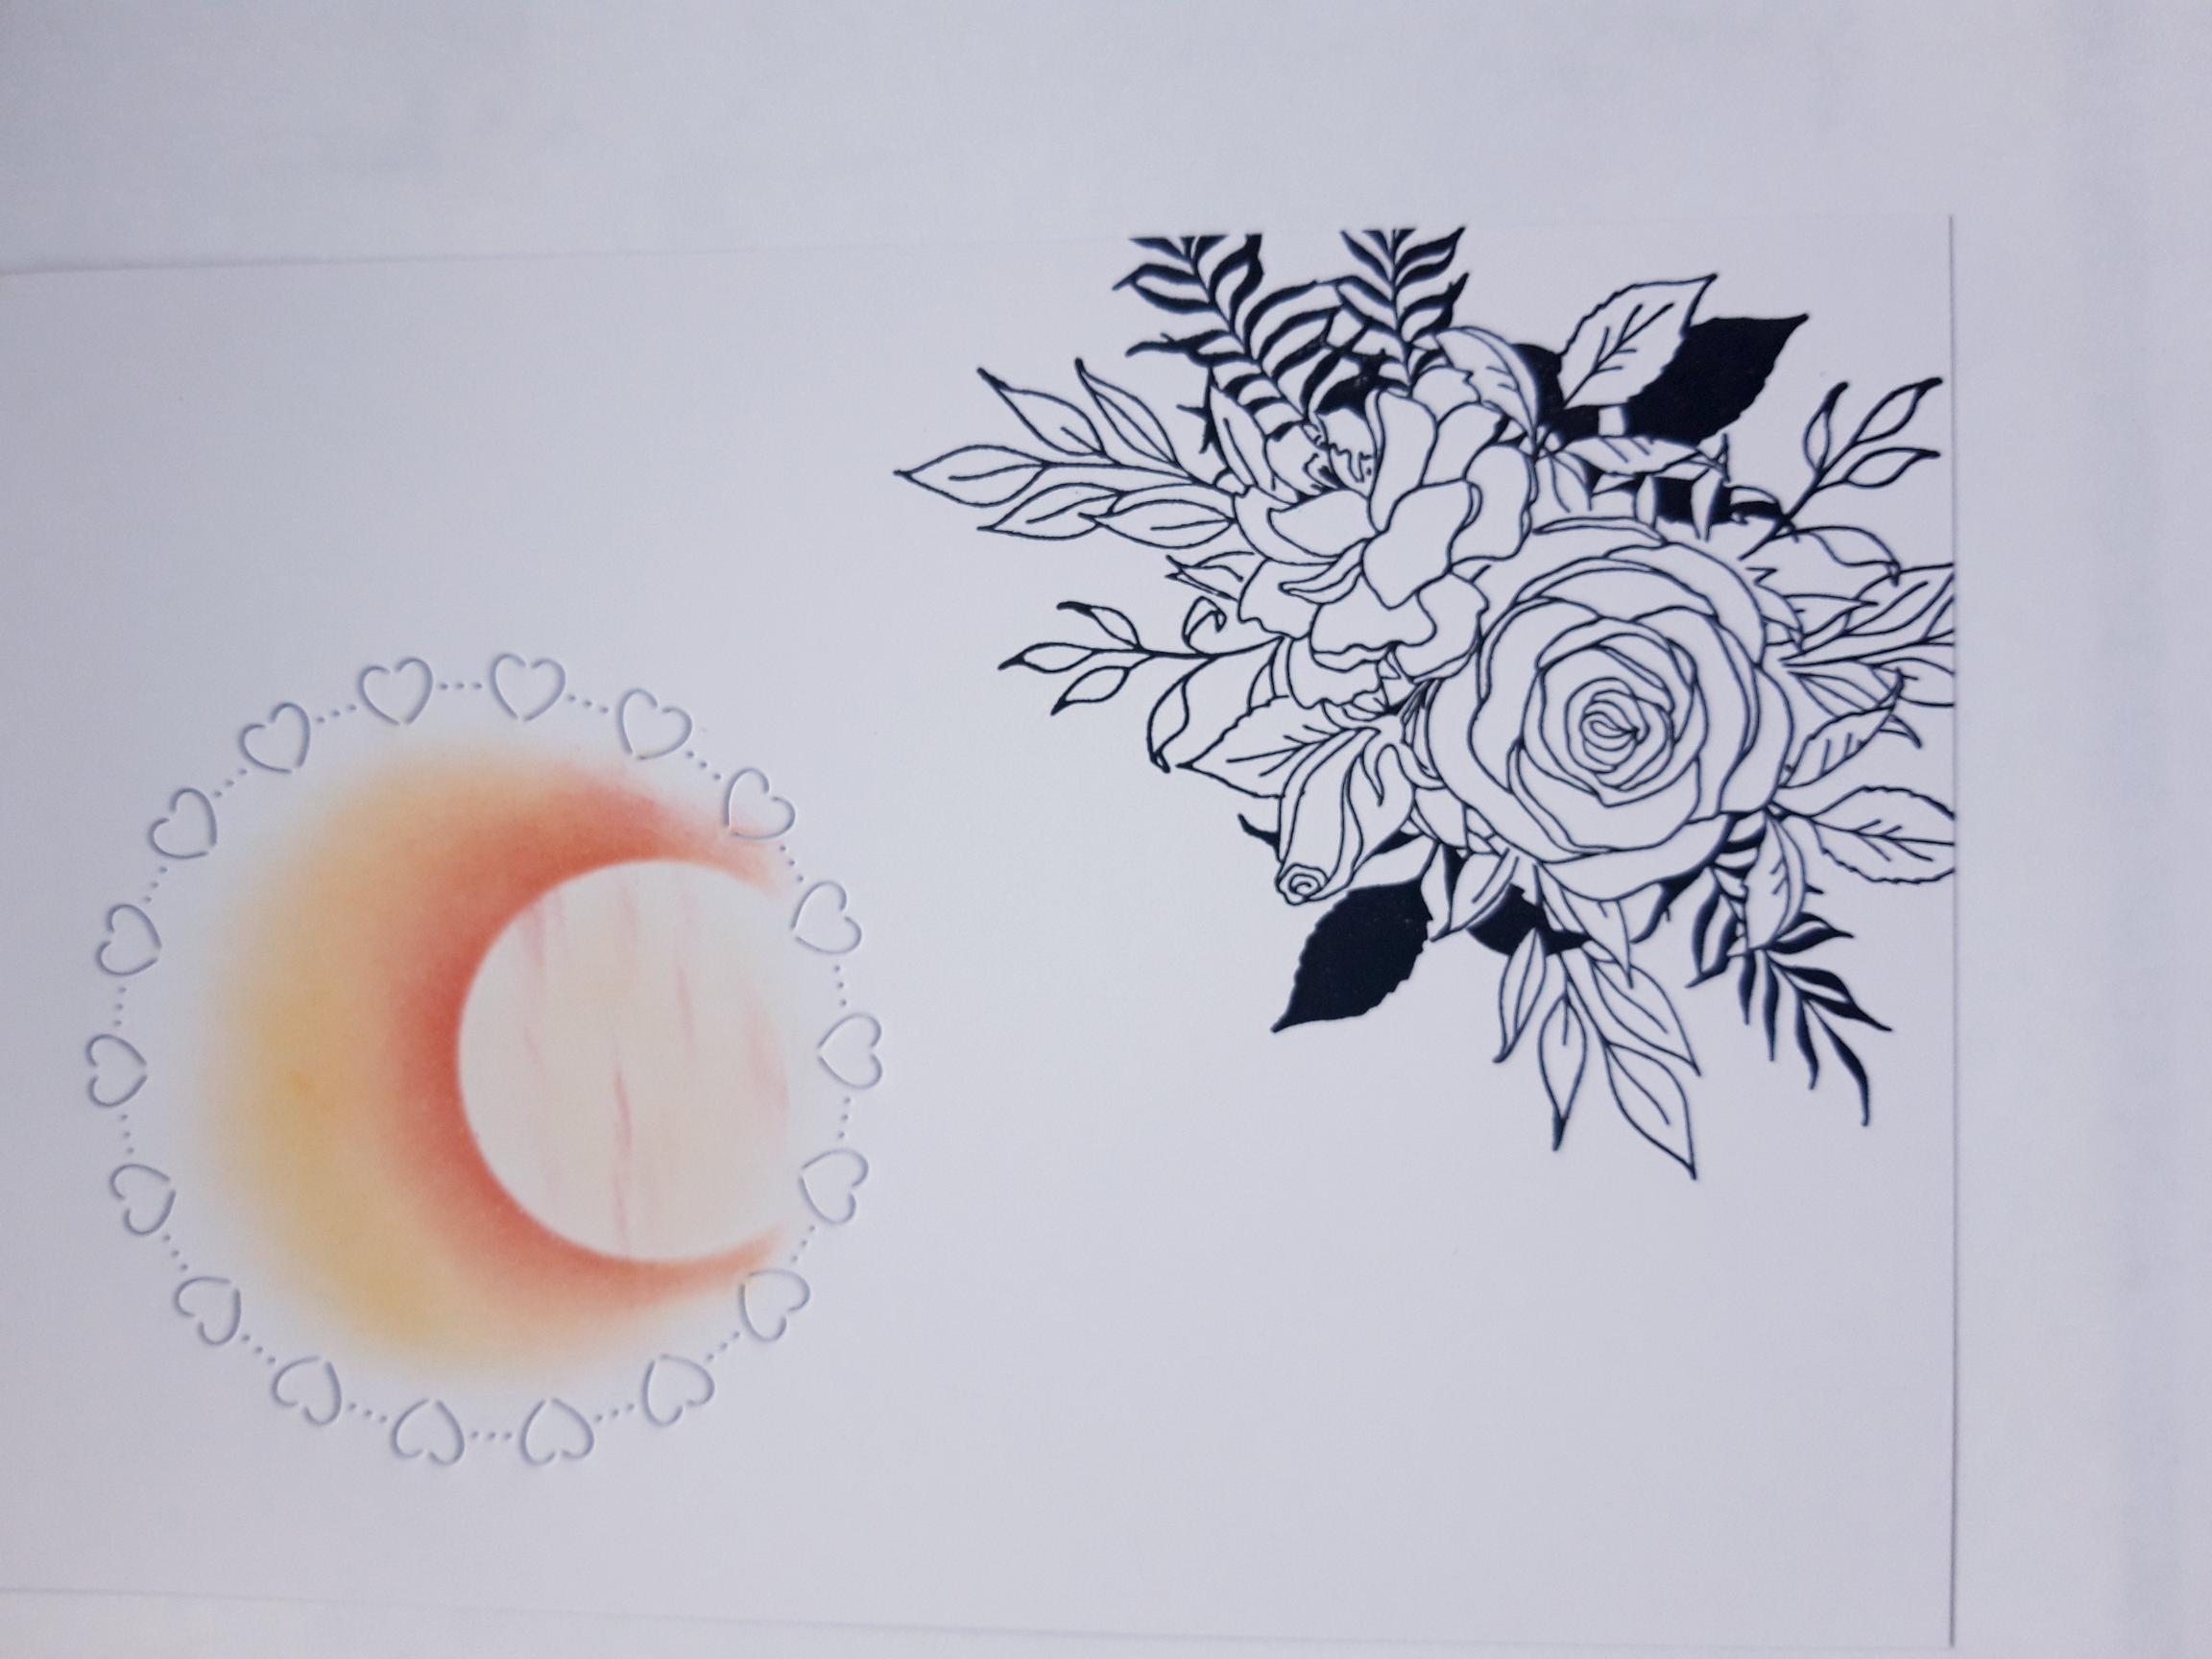
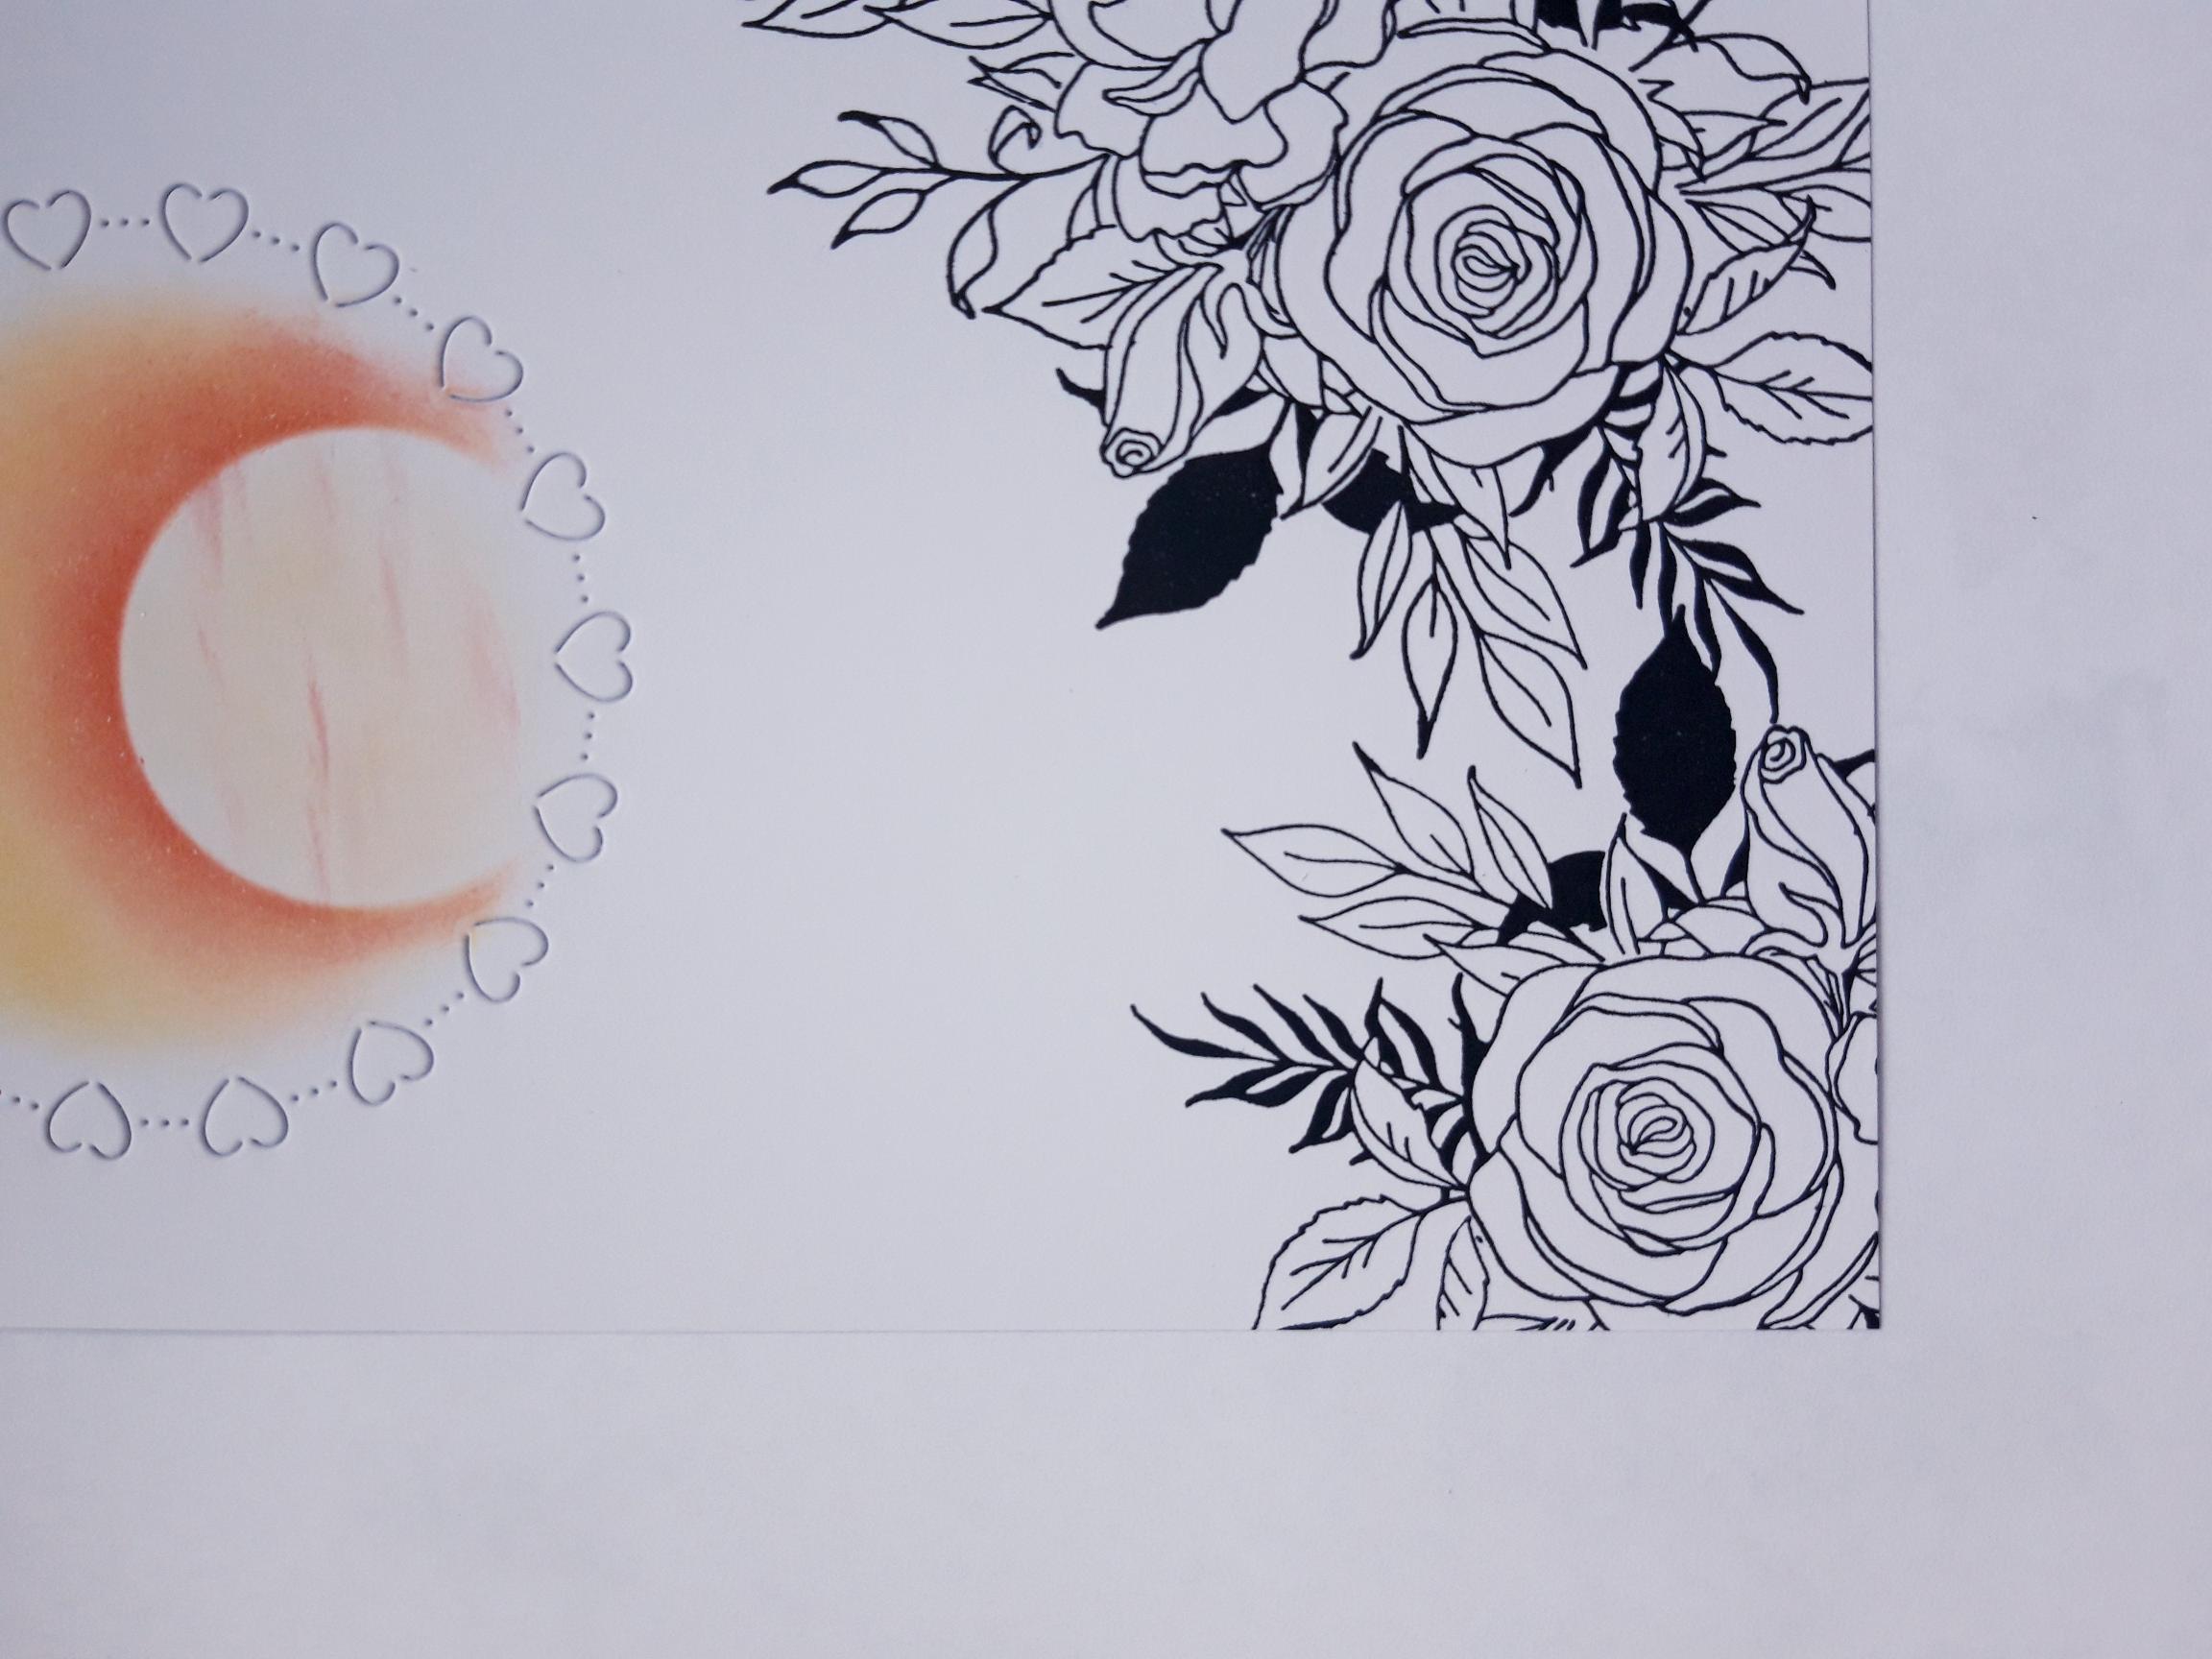
Blend the yellow Izink Pigment lightly within the sun, to take away the harshness of the white card. Using the side of your blending tool, drag the red Izink Pigment ink across the sun, to depict wispy clouds floating by! |
|
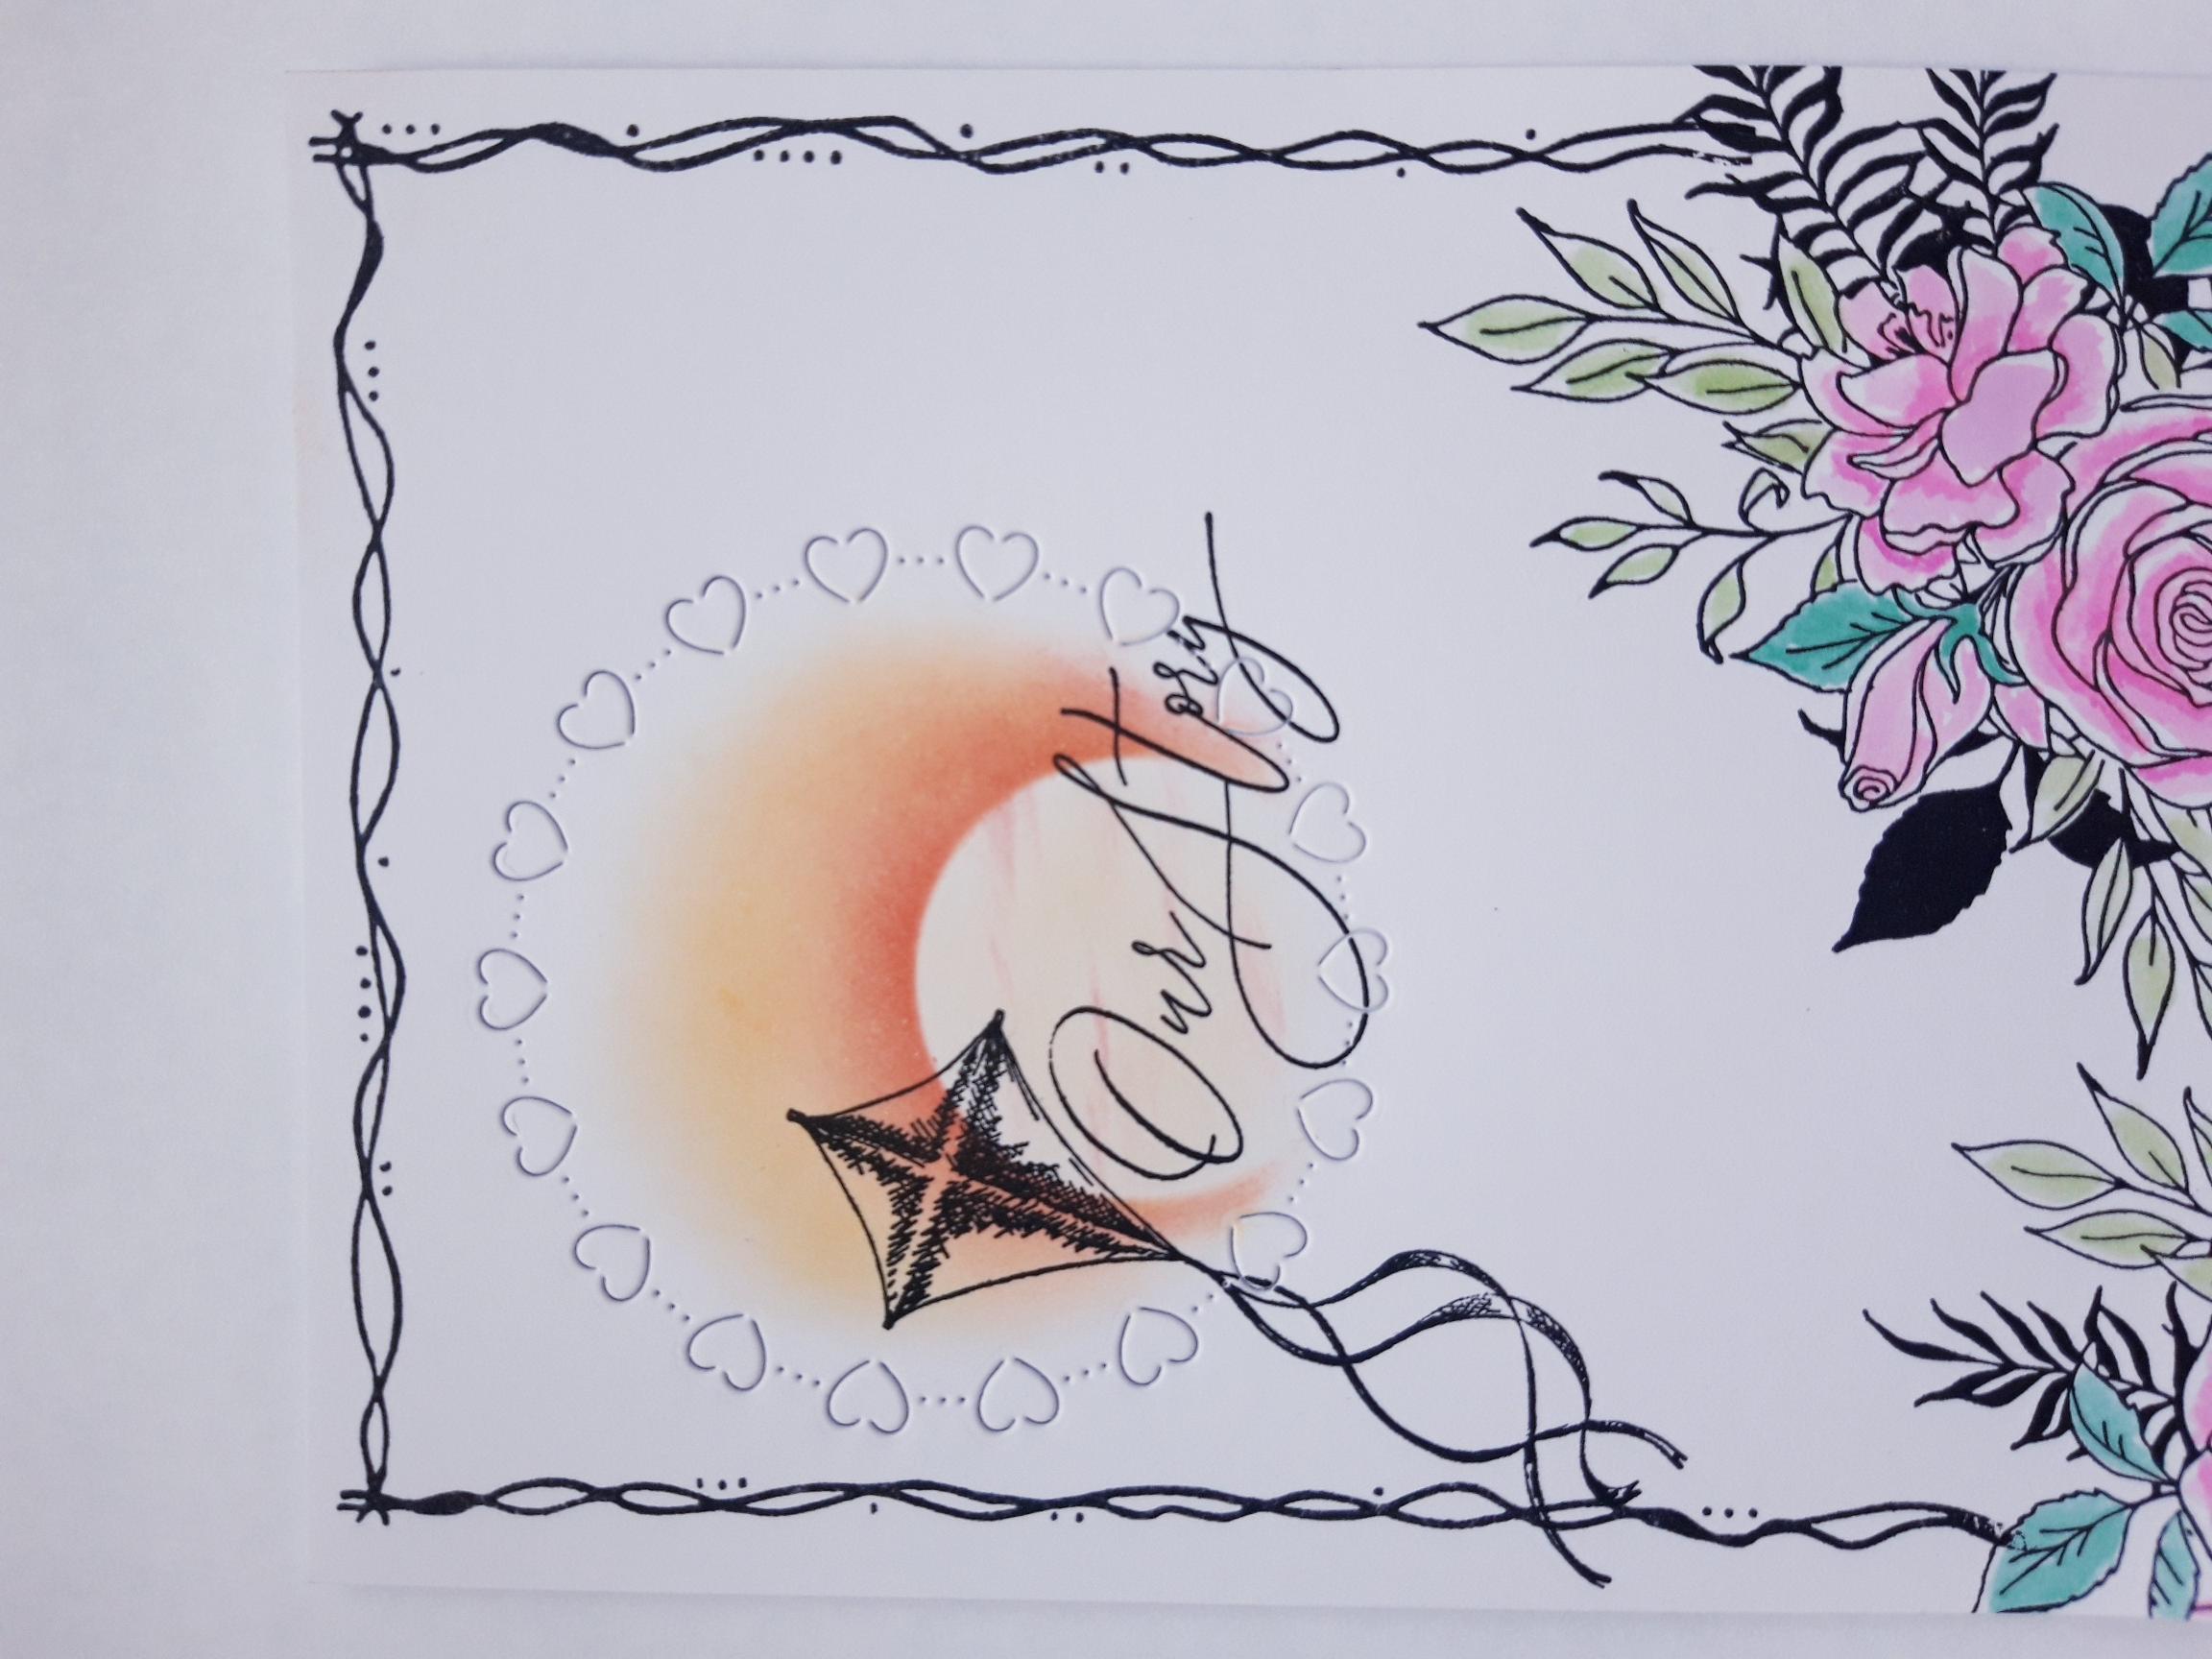
Ink up one of the floral stamps from Our Story Stamp And Die Collection, with the Onyx Black Versafine. Stamp it in the bottom right hand corner of your card. |
|
Reink it and stamp along the bottom, adjacent to the other stamped image, to extend the design. |
|
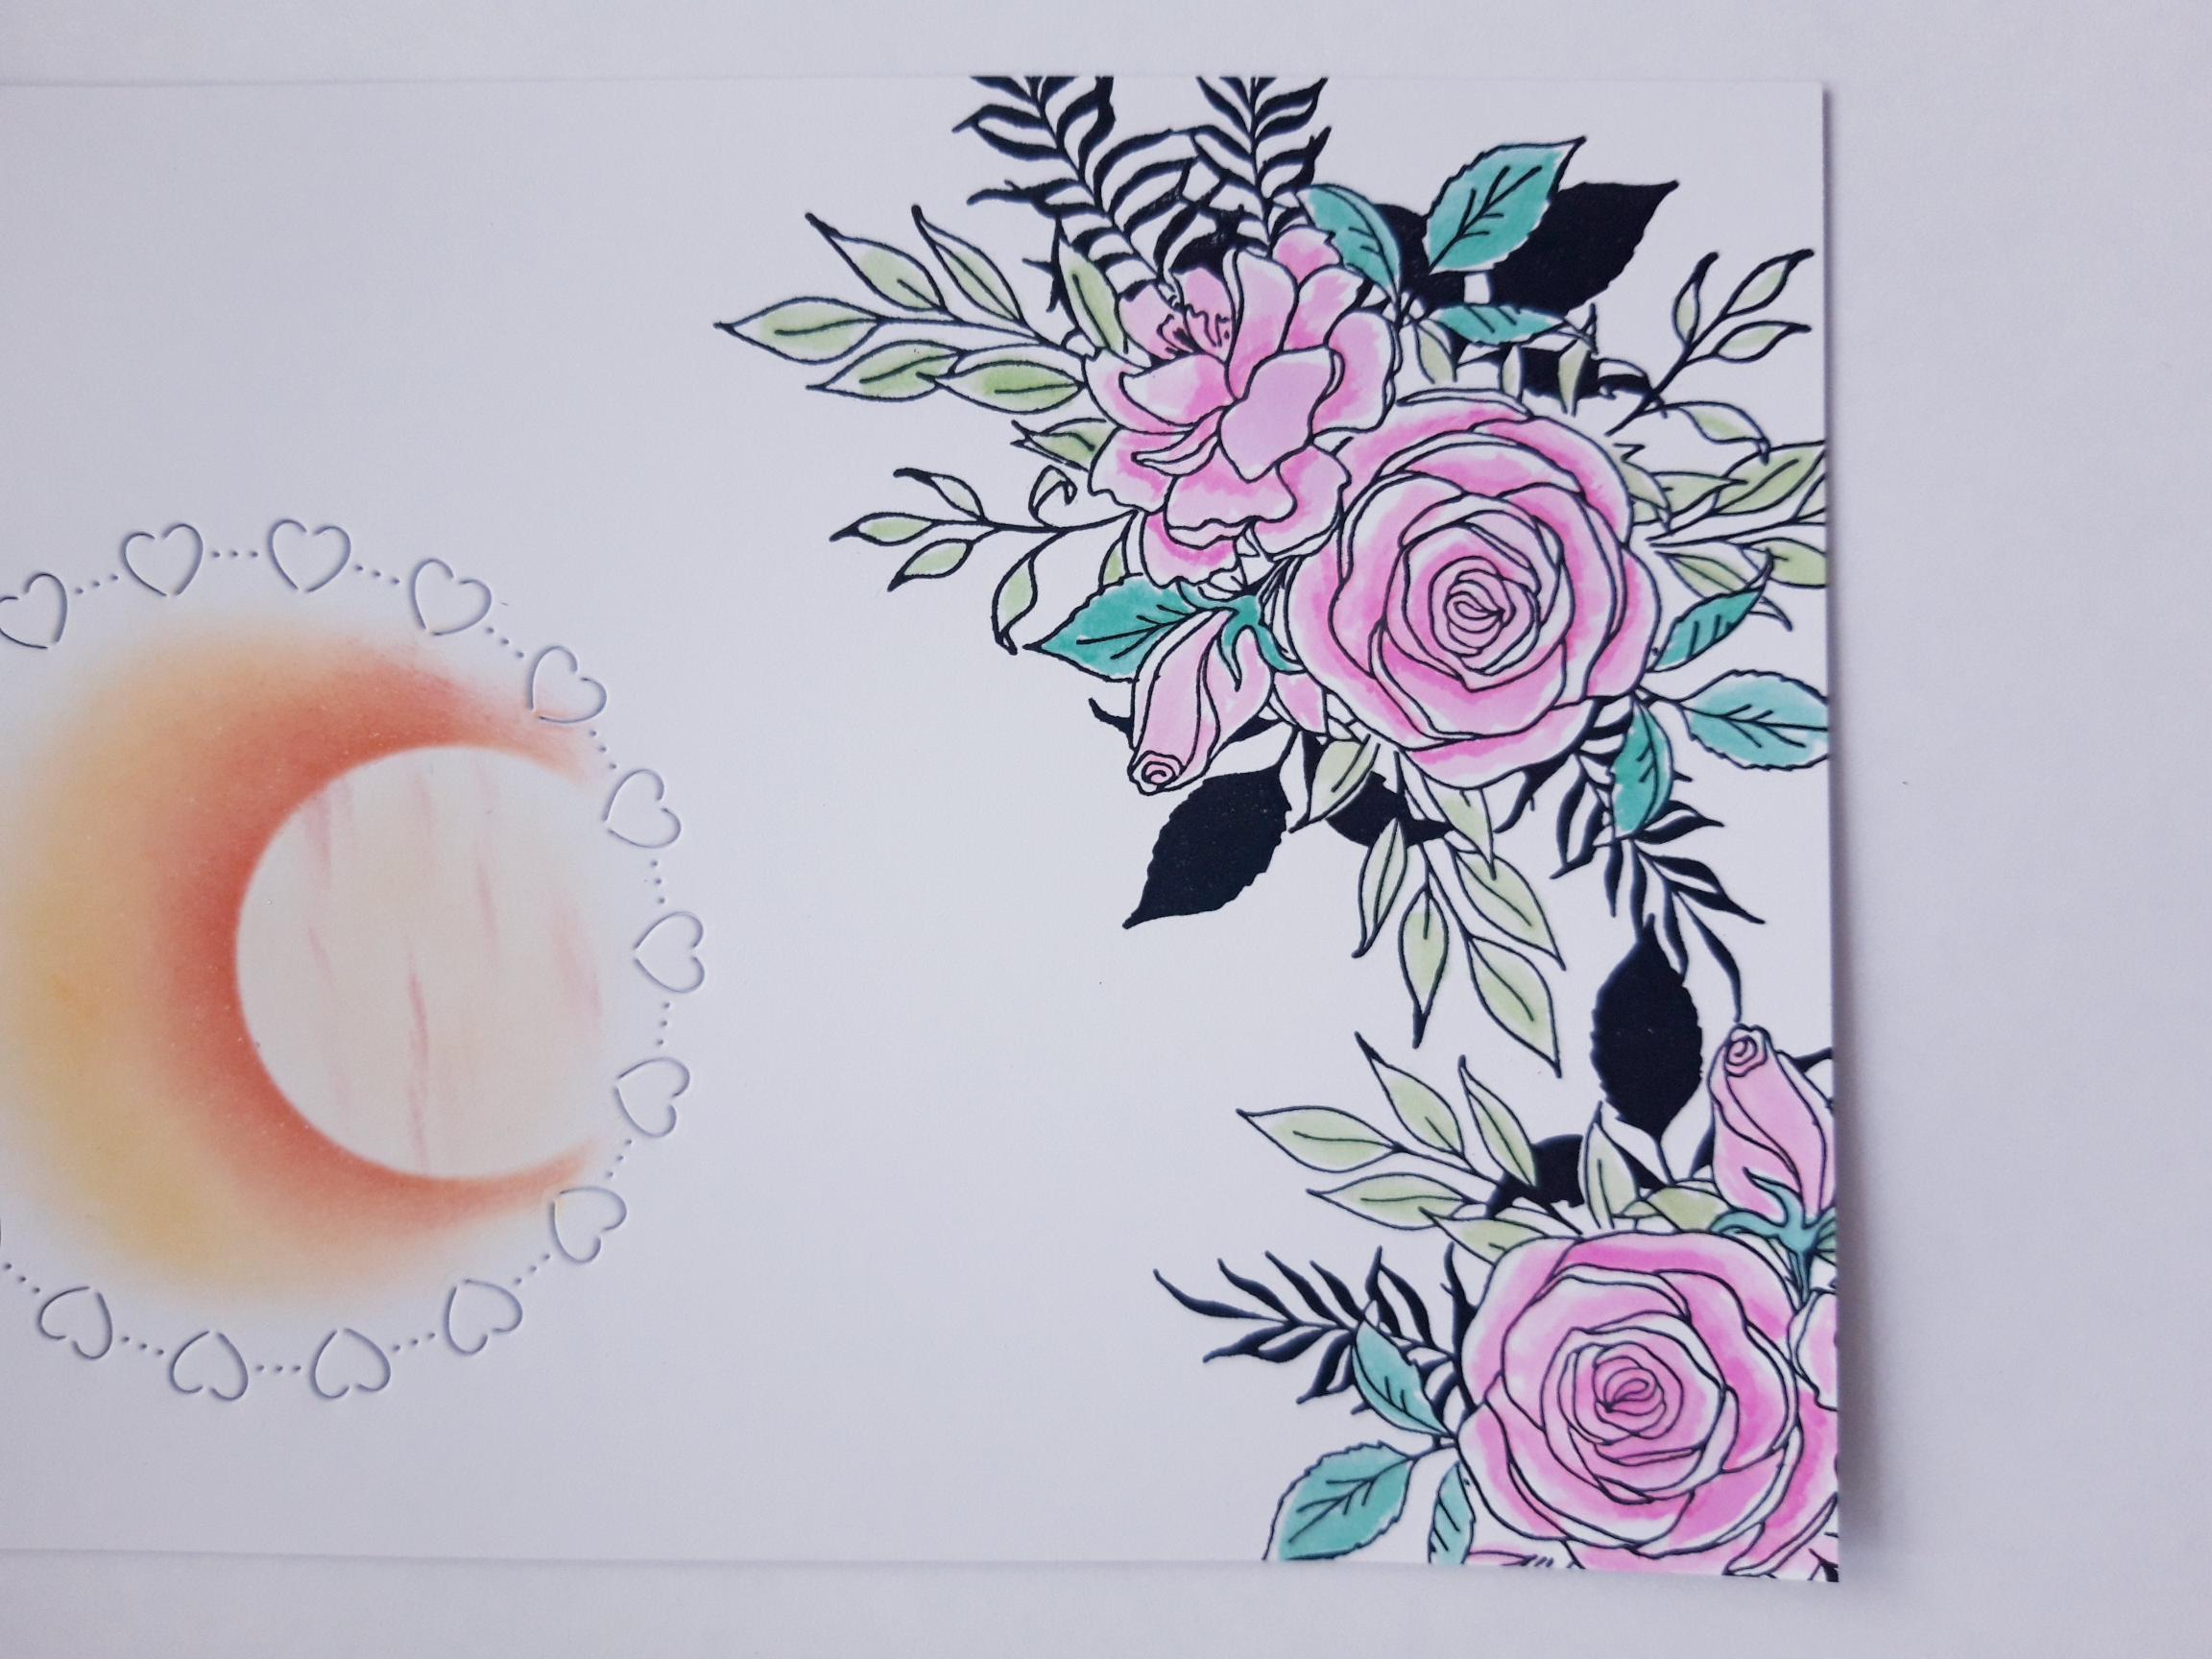
Apply the Izink Dye ink pads to your craft mat, add a little water and paint your stamped floral images. |
|
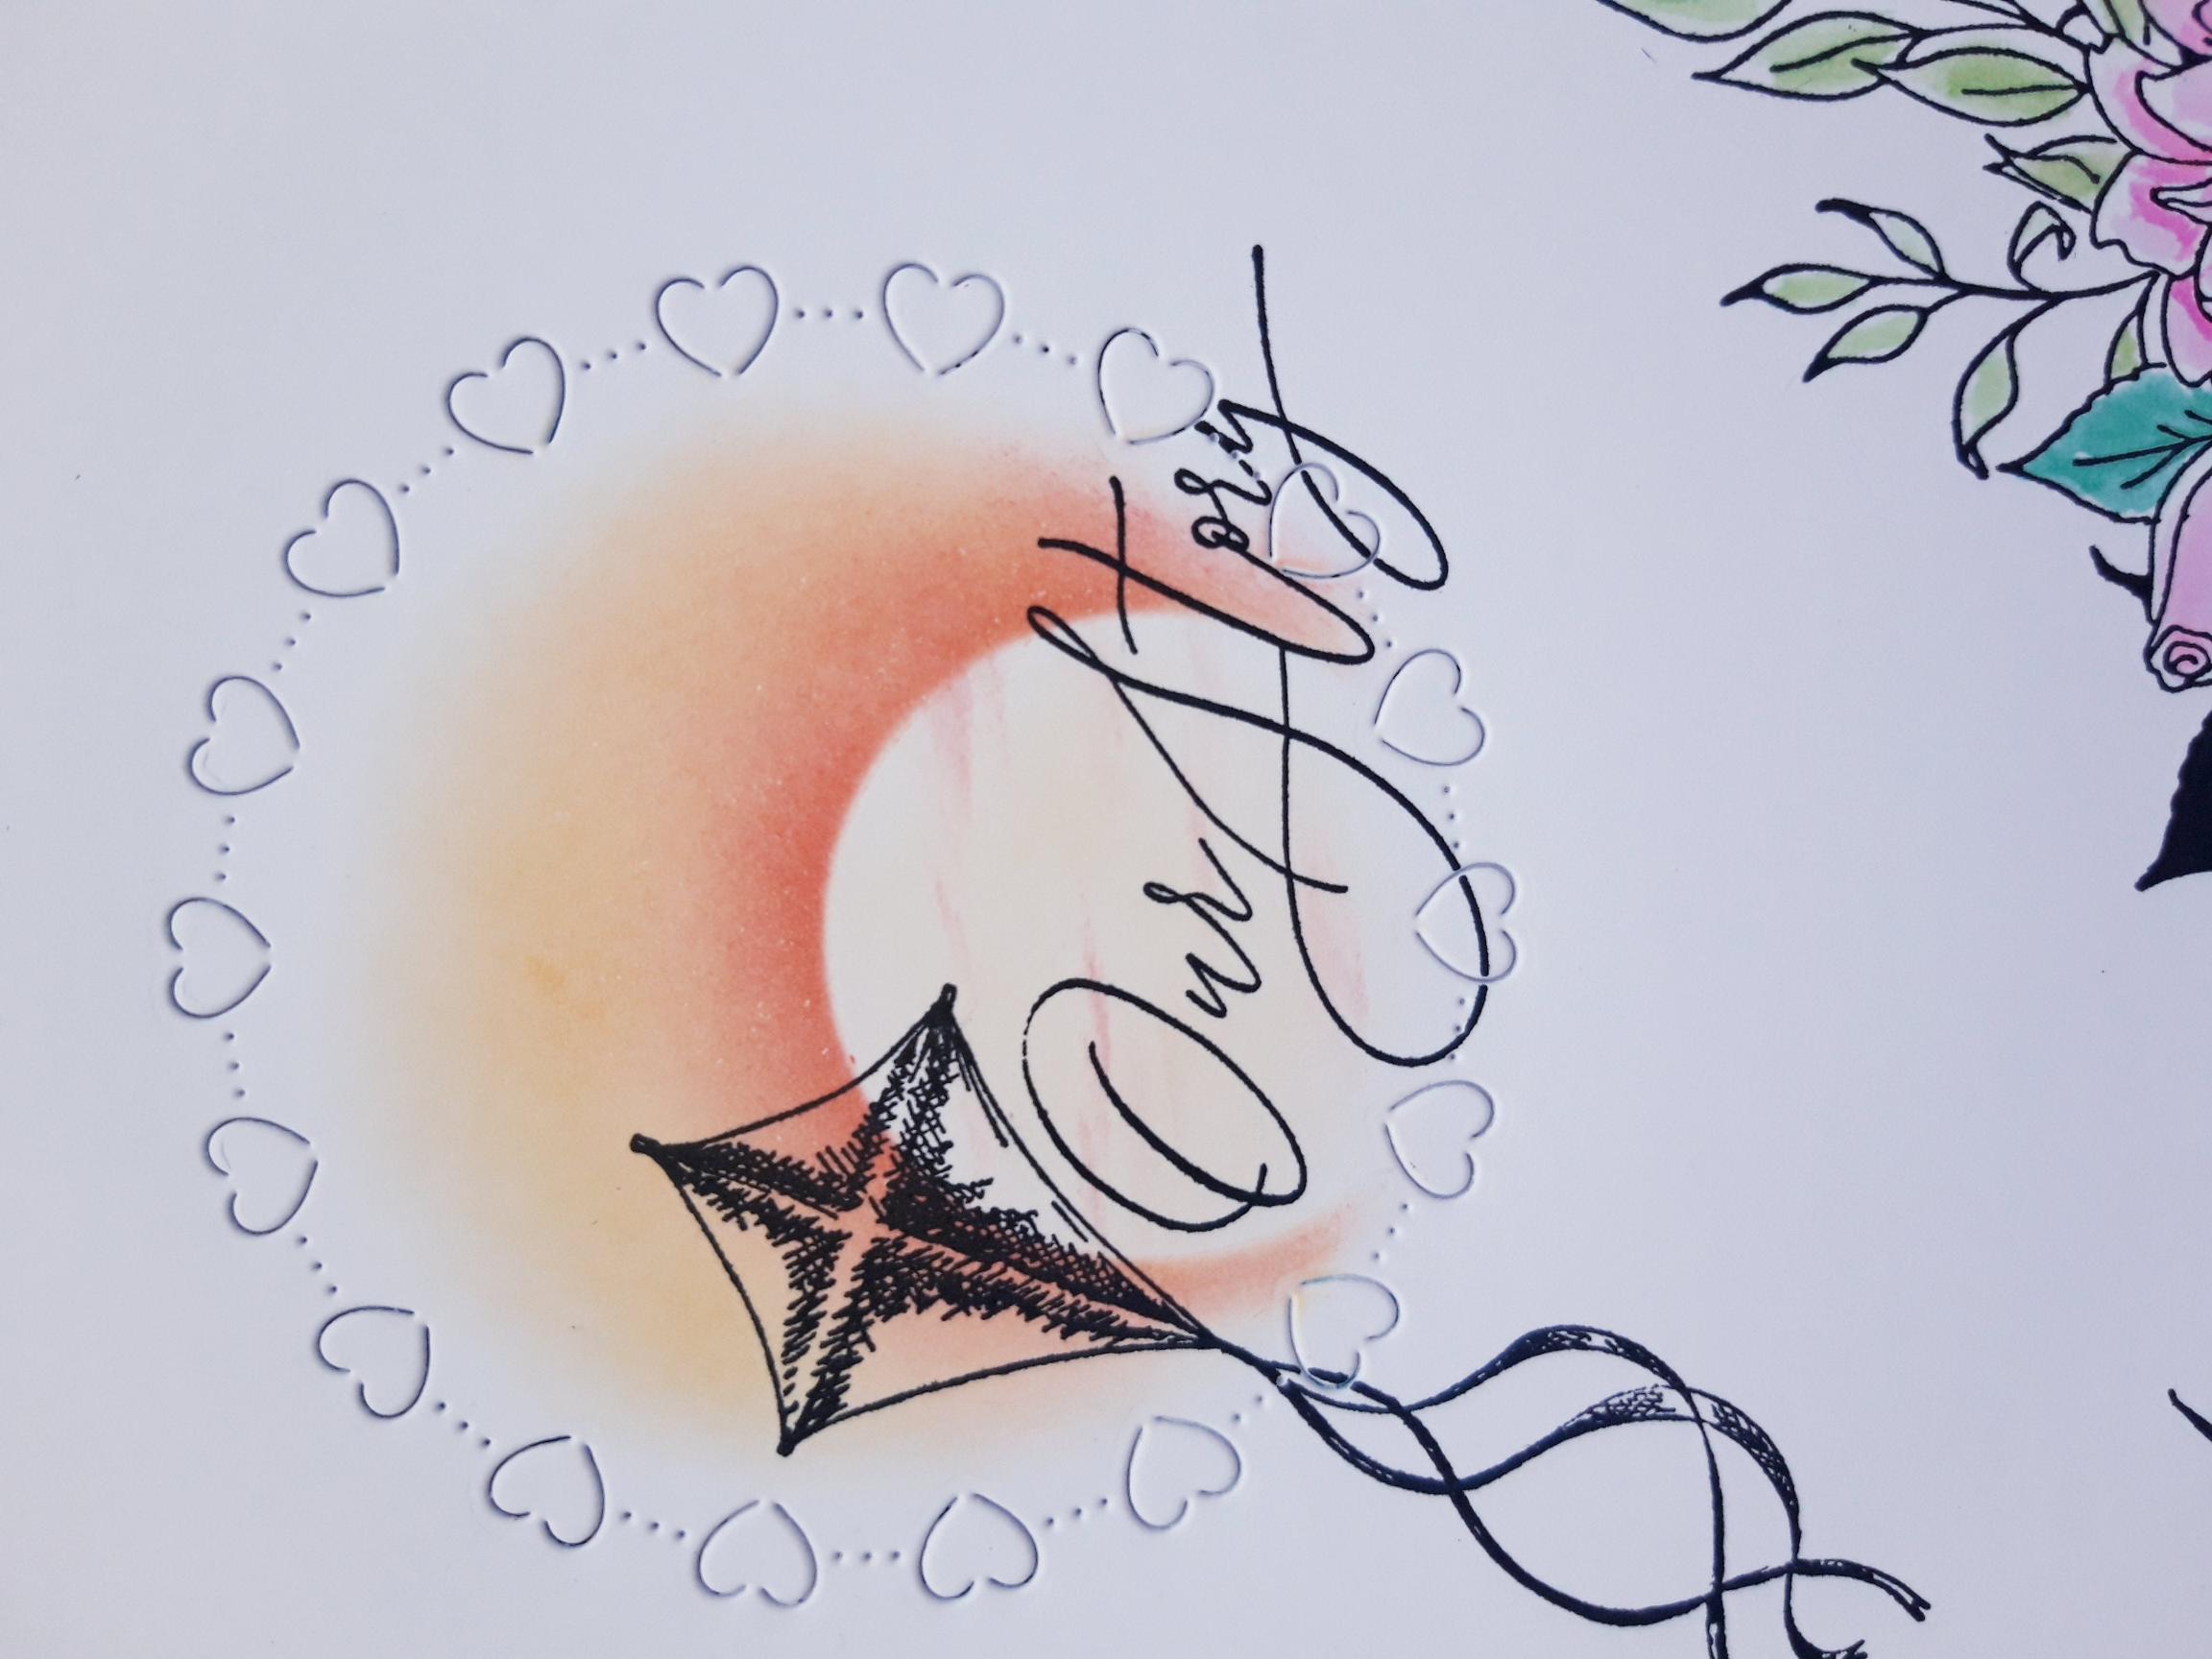
Ink up one of the kite stamps, from Trust Your Journey Stamp And Die Collection, with the Versafine. Stamp it flying across your sun. |
|
Ink up Our Story sentiment stamp, from the collection of the same name, and stamp adjacent to the kite. |
|
Ink up the biggest frame stamp, from the Dot Frame Stamp Collection, with the Versafine. You need to mask off or wipe away the ink from the bottom of the frame, so when stamped it doesn't stamp on to the floral images. |
|
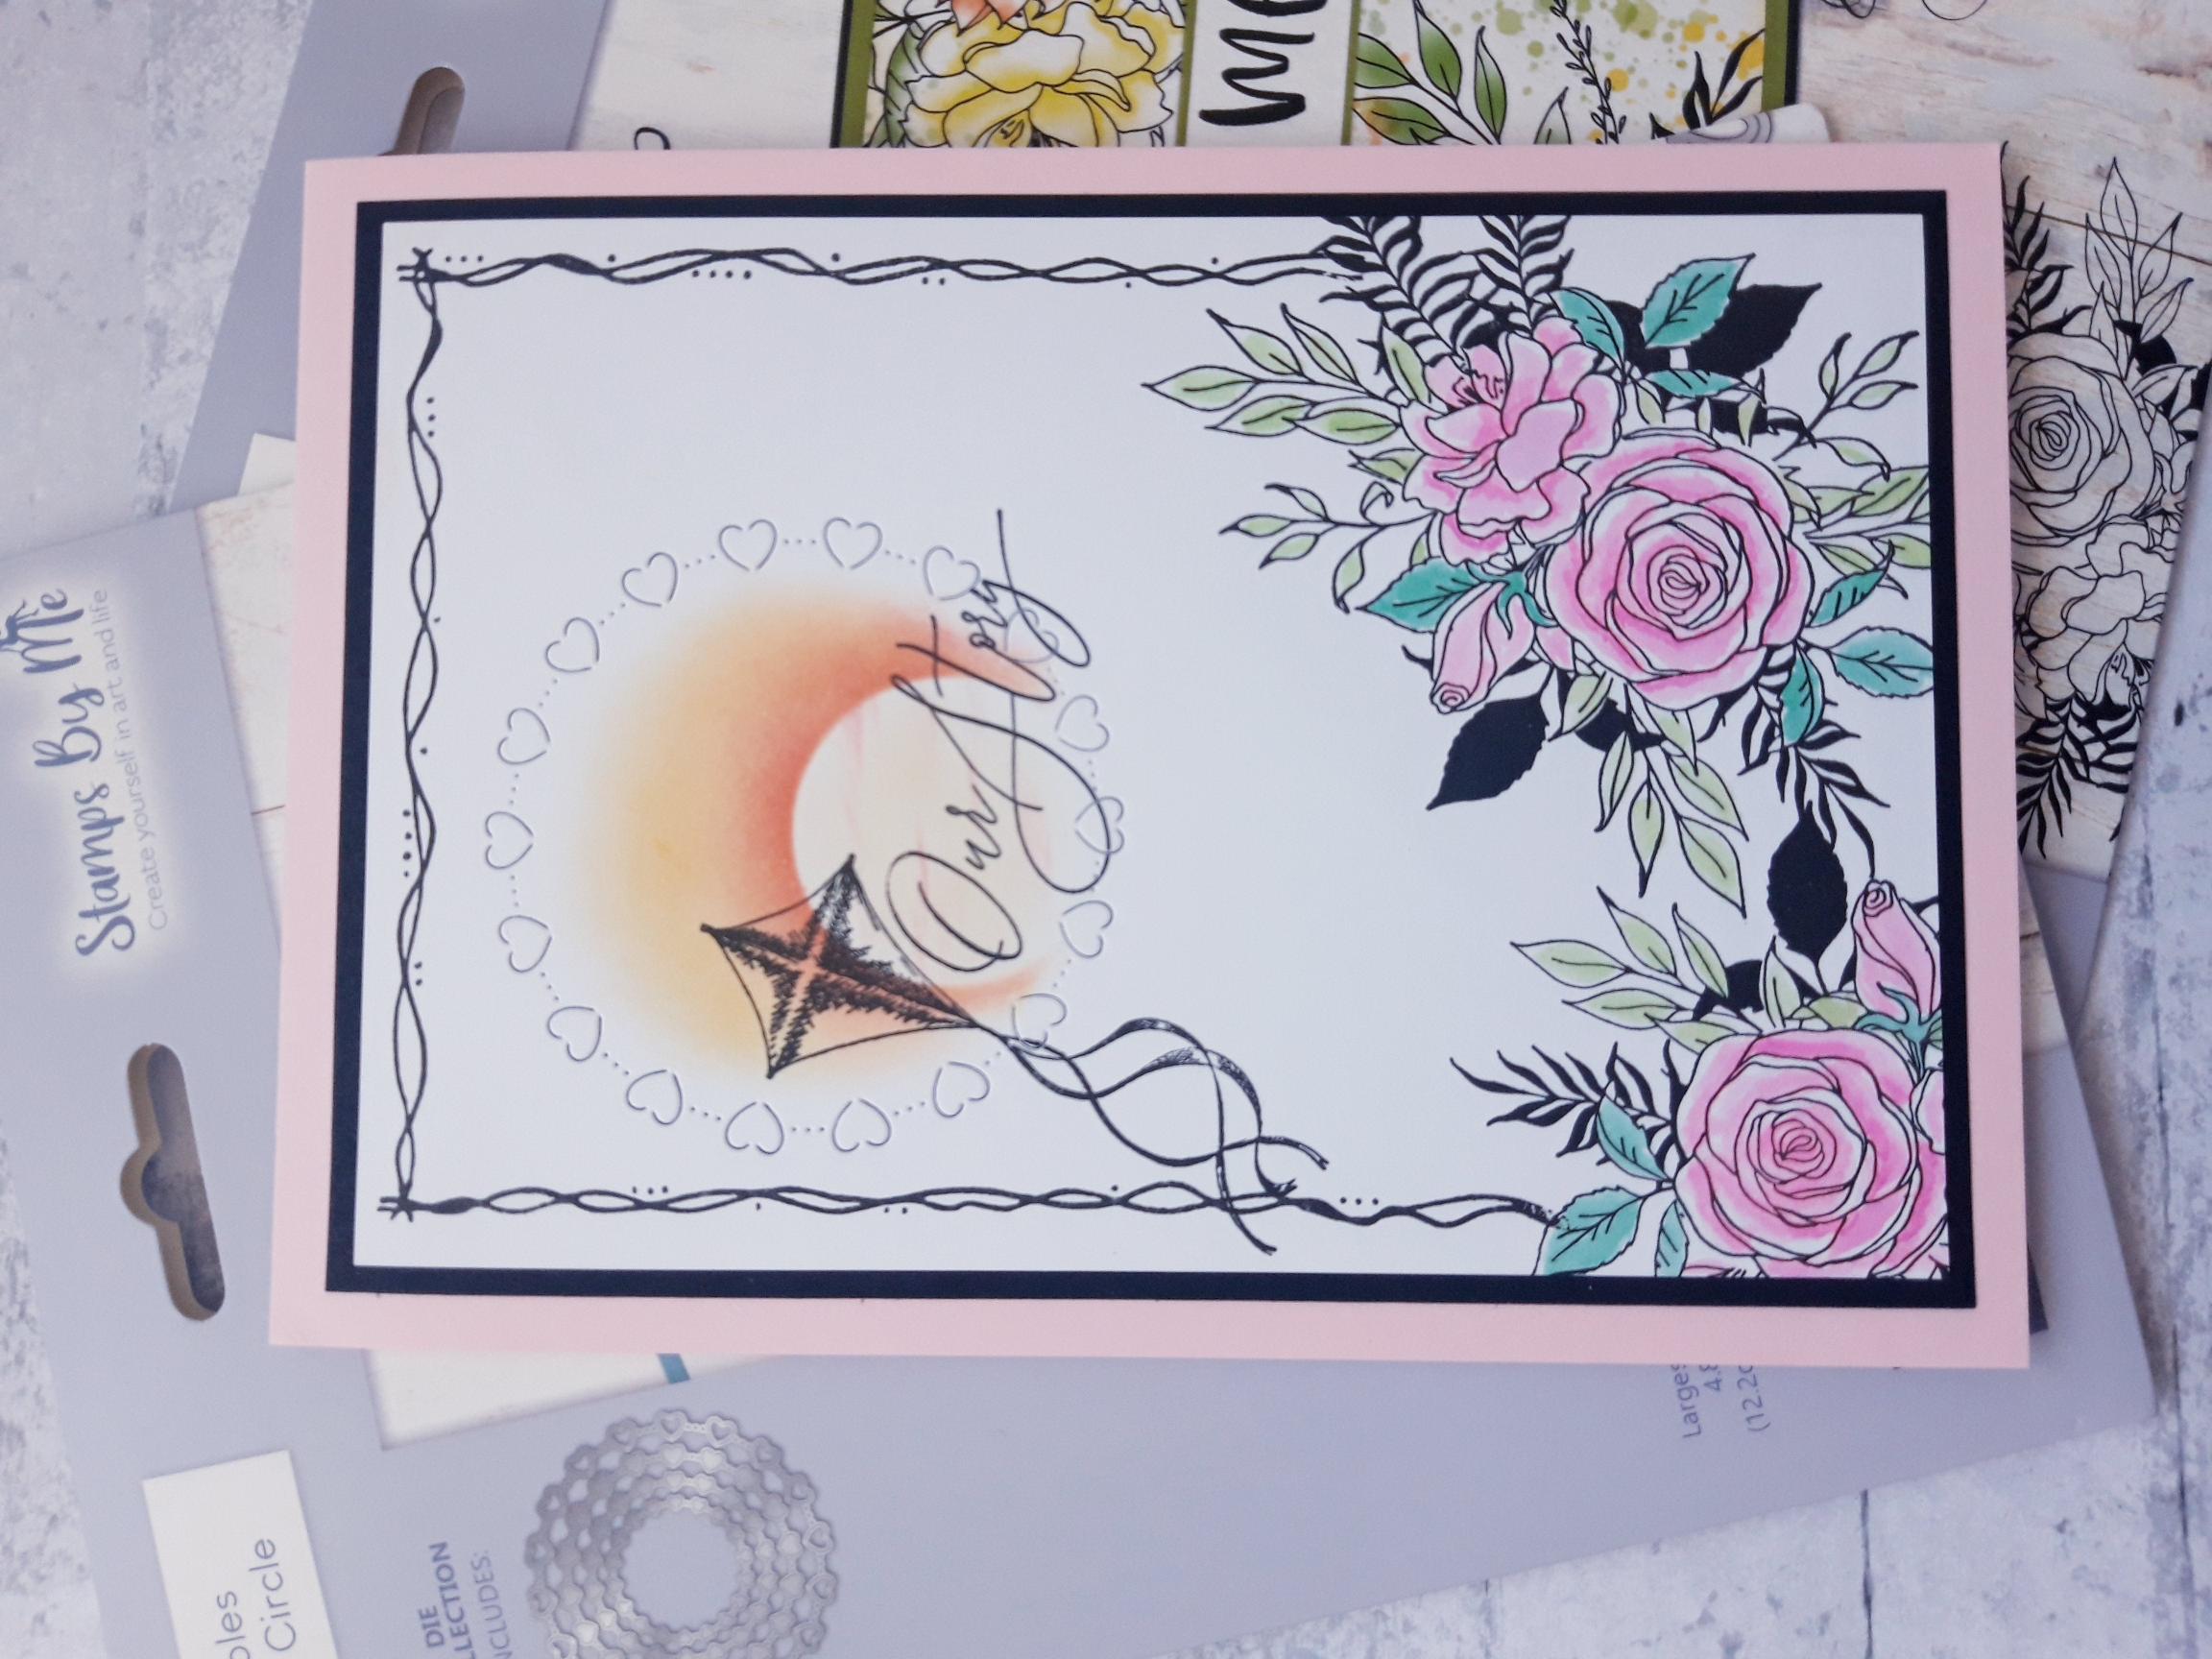
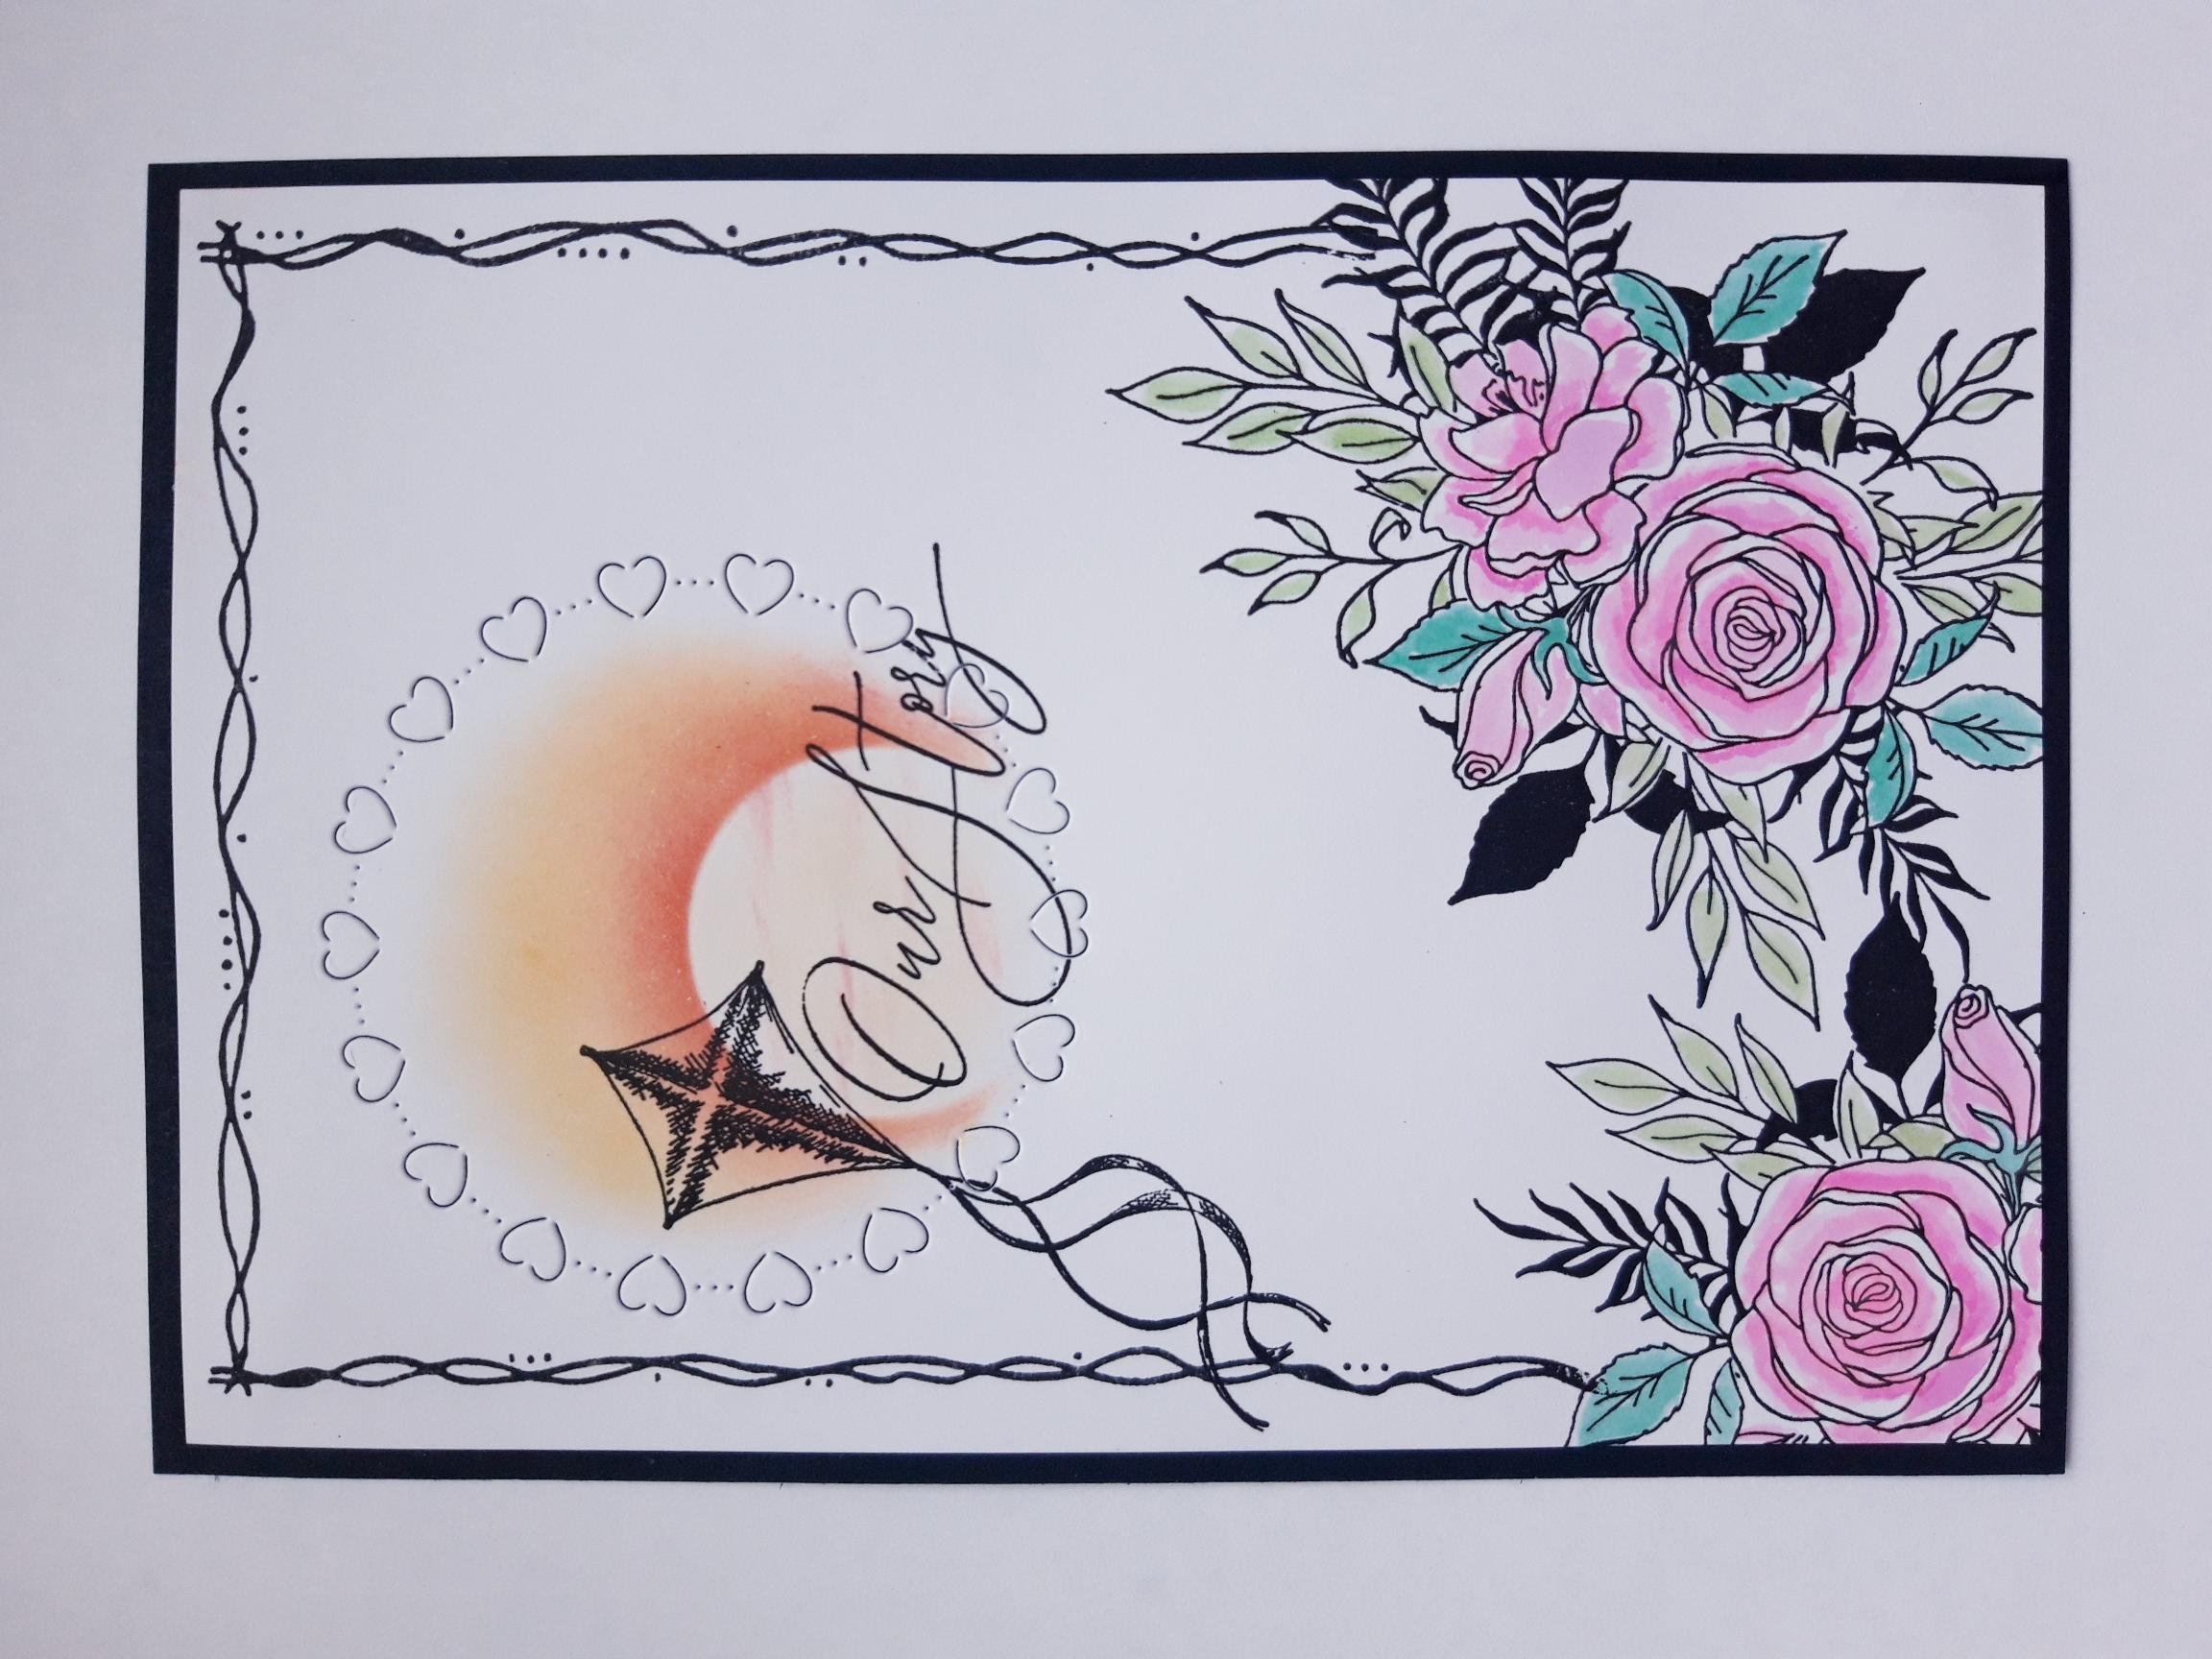
Once your artwork is dry, adhere on to the black card. |
|
Adhere on to the front of your pink, top folding card blank to finish. |