Give your friends $10 off their first order!
Refer a FRIEND


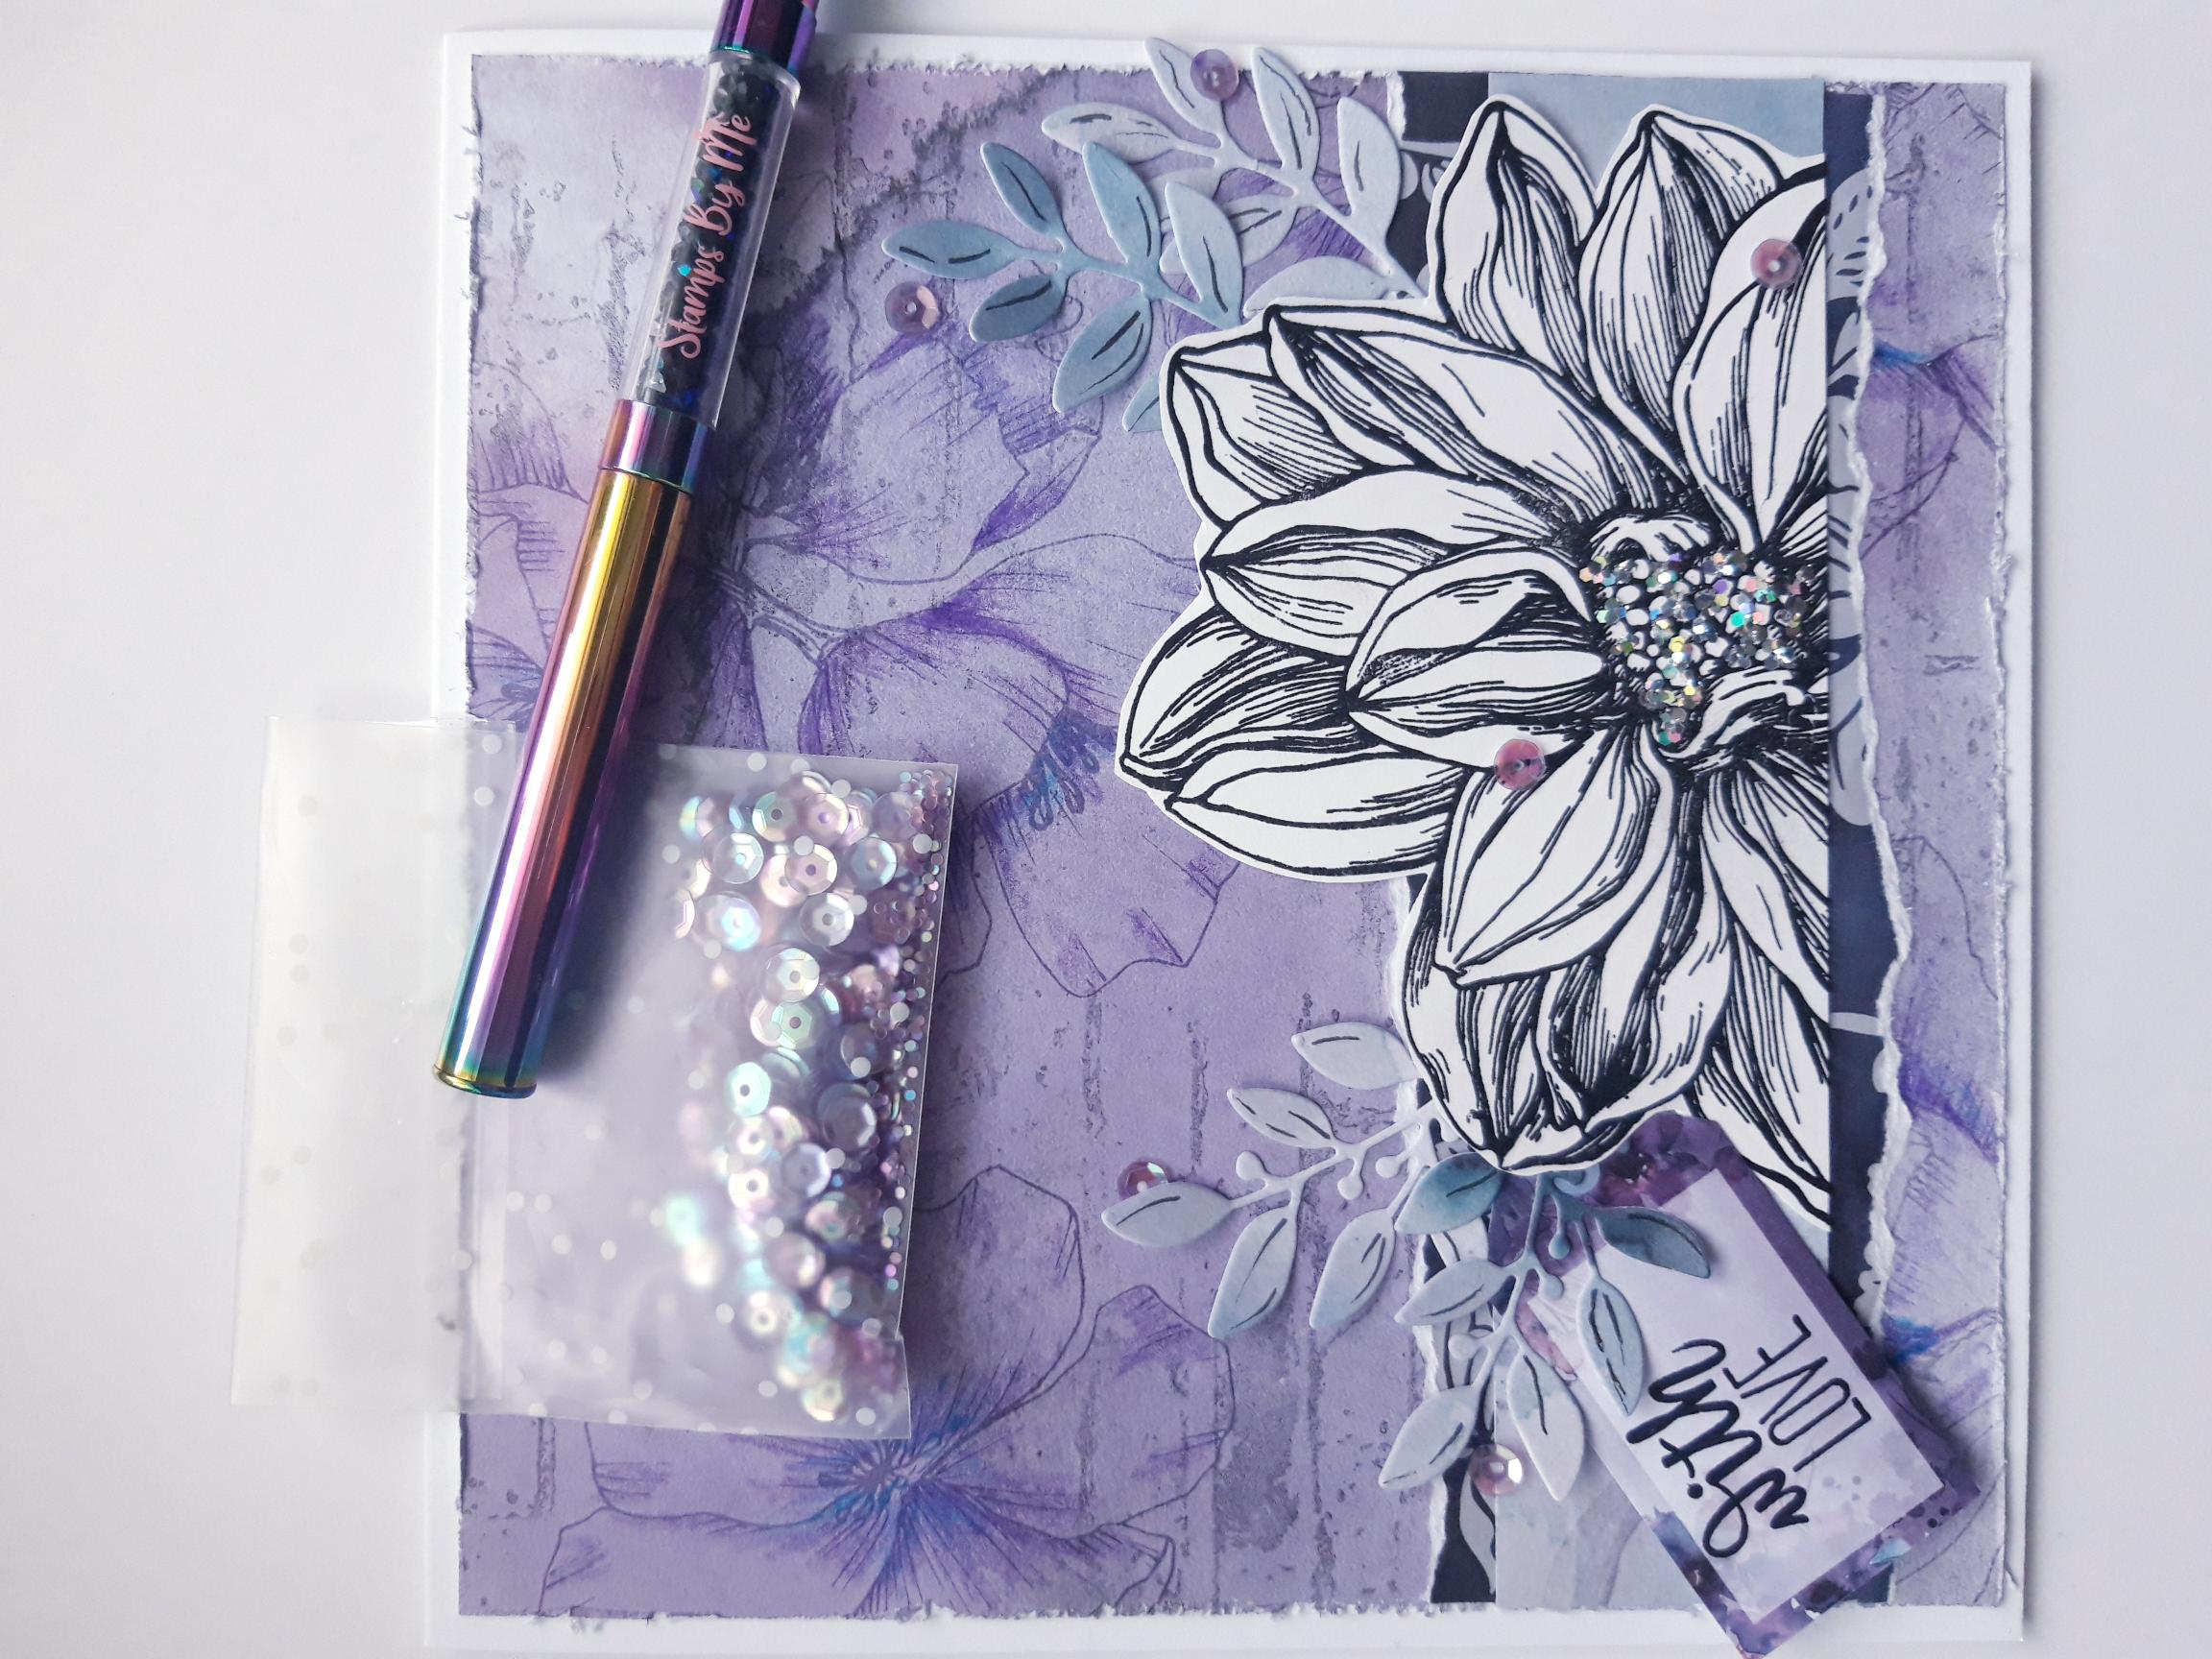
WHAT YOU WILL NEED:
White card blank (7 x 7")
White card (6 x 5 1/2")
Subtle Tranquility 8 x 8" Paper Pad
Stamps from Beautiful Birthday Stamp Collection
Stamps from Beautiful Moments Lamination Stamp Collection
Stamp from Textured Wall Stamp Collection
Dies from Pressed Flowers Die Collection
Versafine Ink Pad: Onyx Black
Izink Dye ink pad: Reglisse
HIMI Oil Pencils: 5115 light purple, 5063 dark purple, 5122 turquoise
Midas Glitter: Salsa
Sequins: Amethyst
Petronus Gem pick up and pokey tool
Black pen
Eureka 101
Paper Trimmer
Perfect Together Glue
Foam pads
Die Cutting machine
[click image to enlarge] 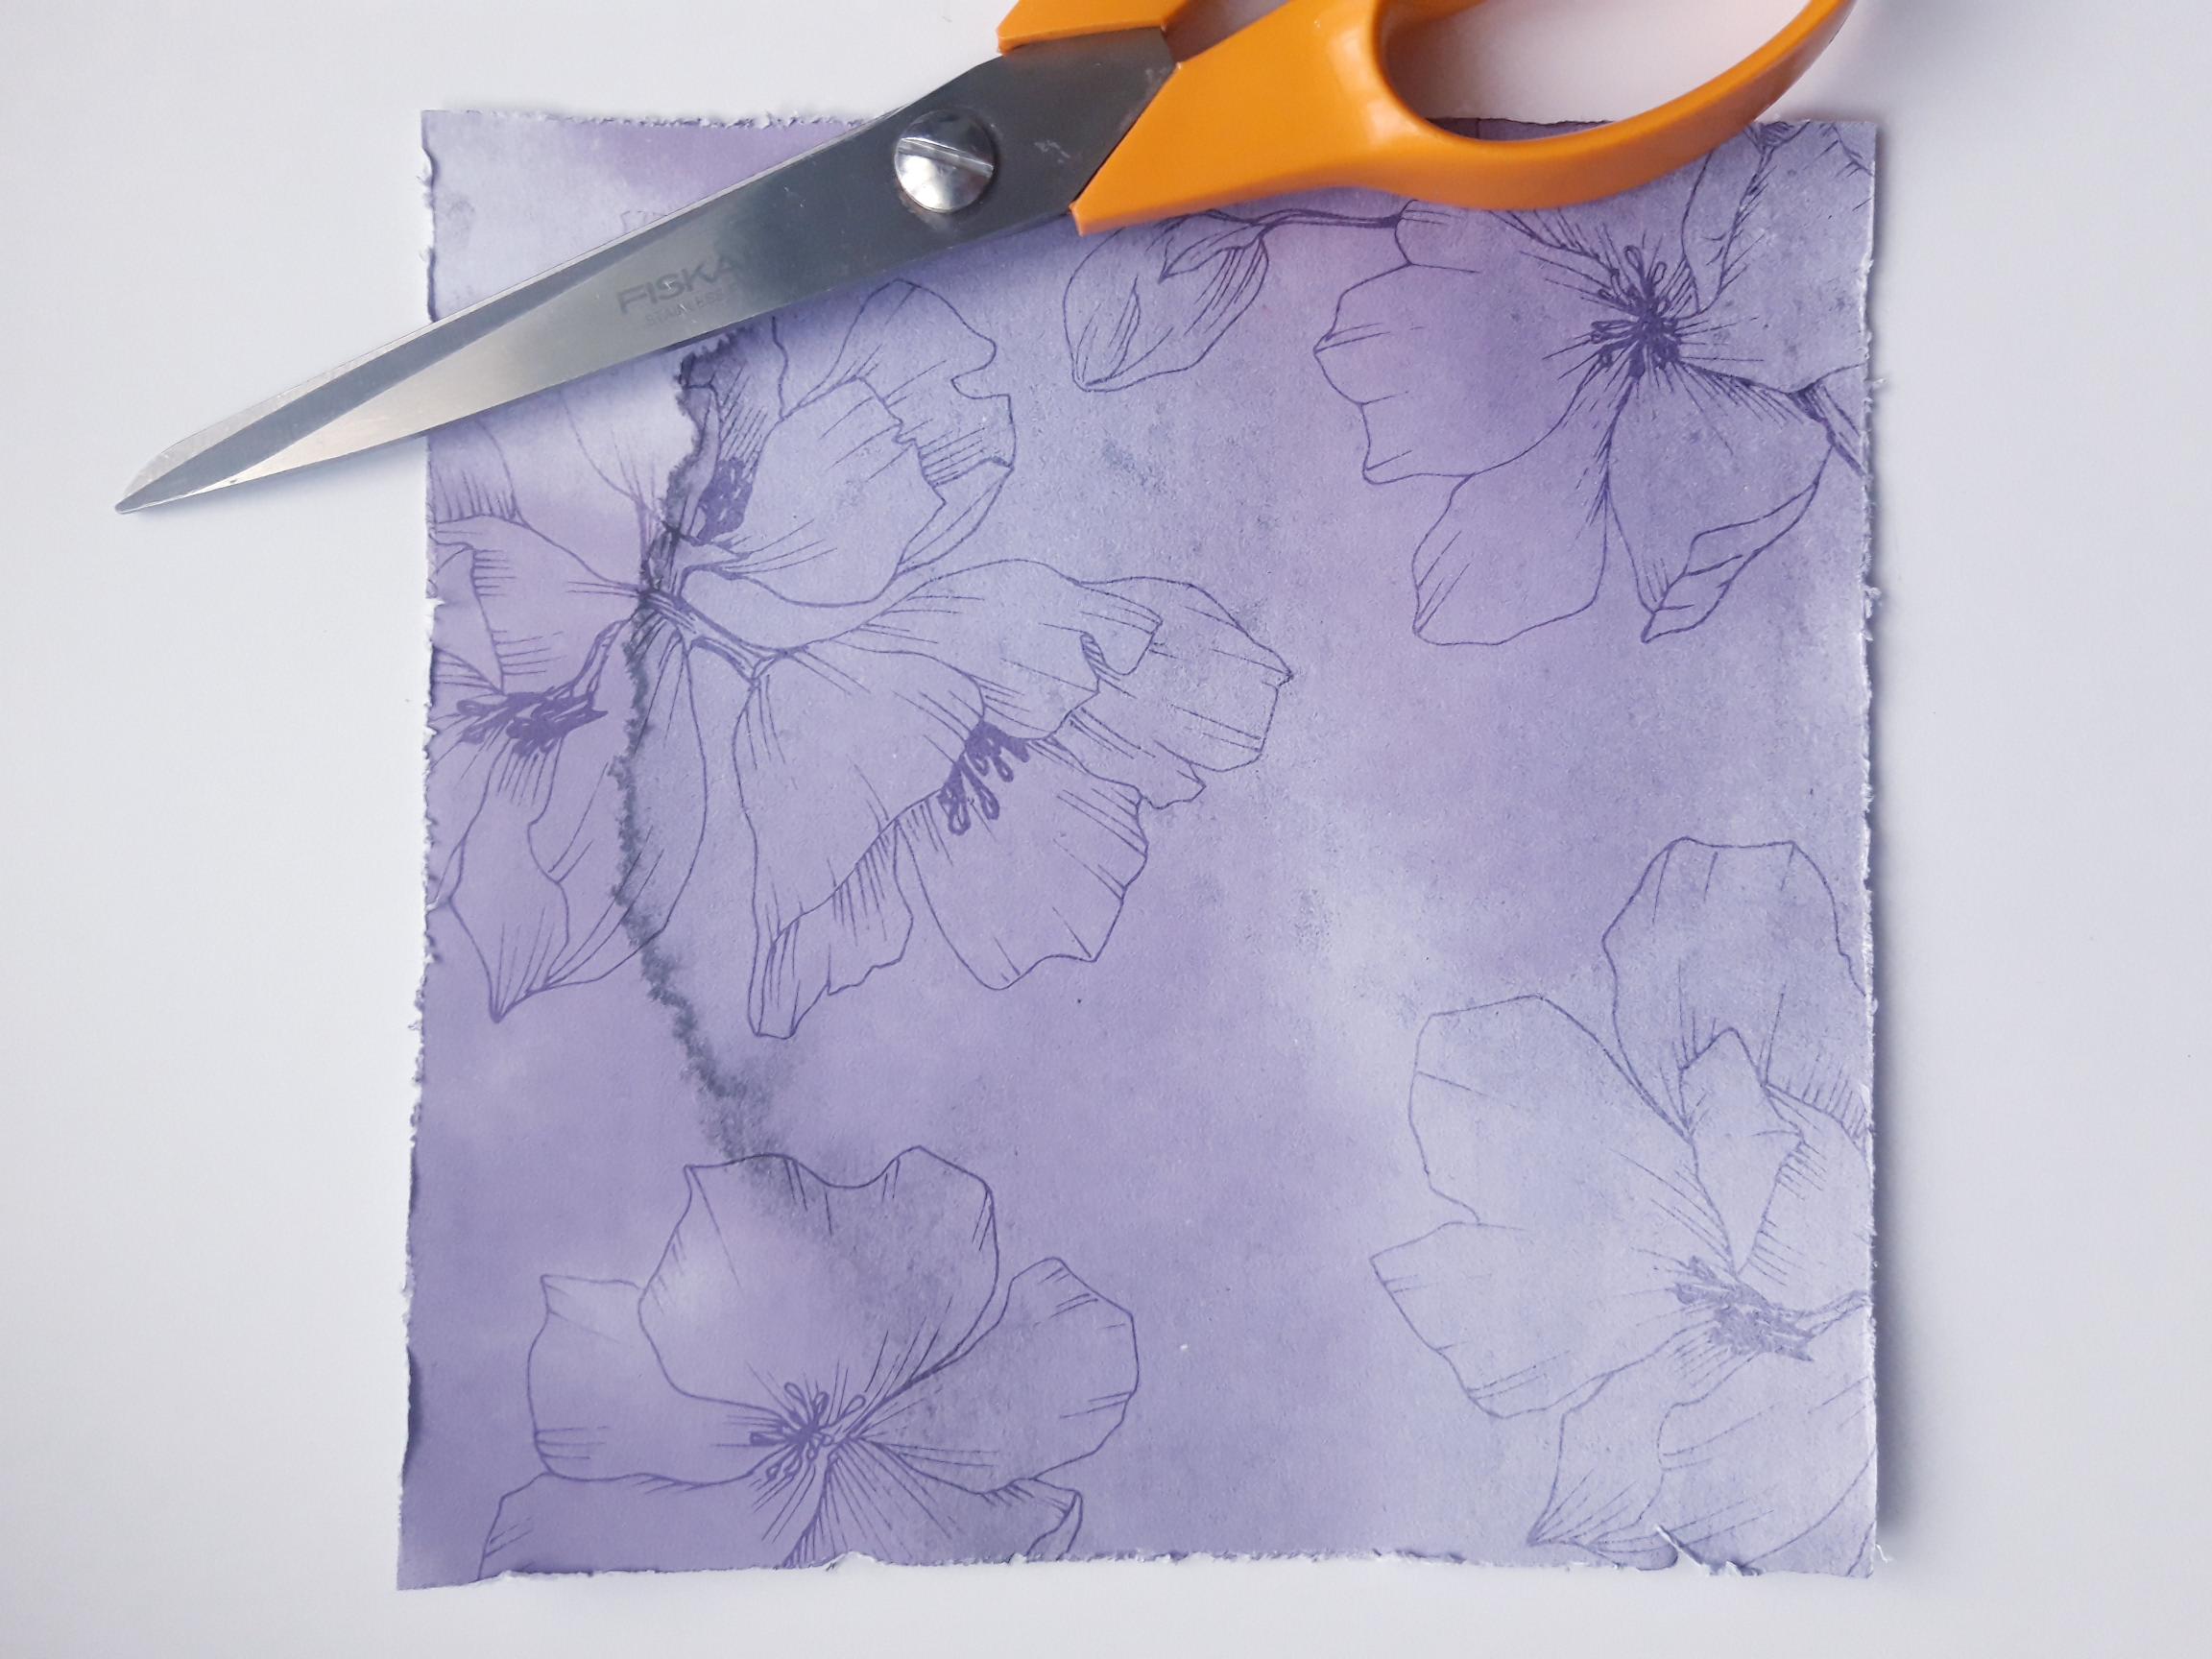
|
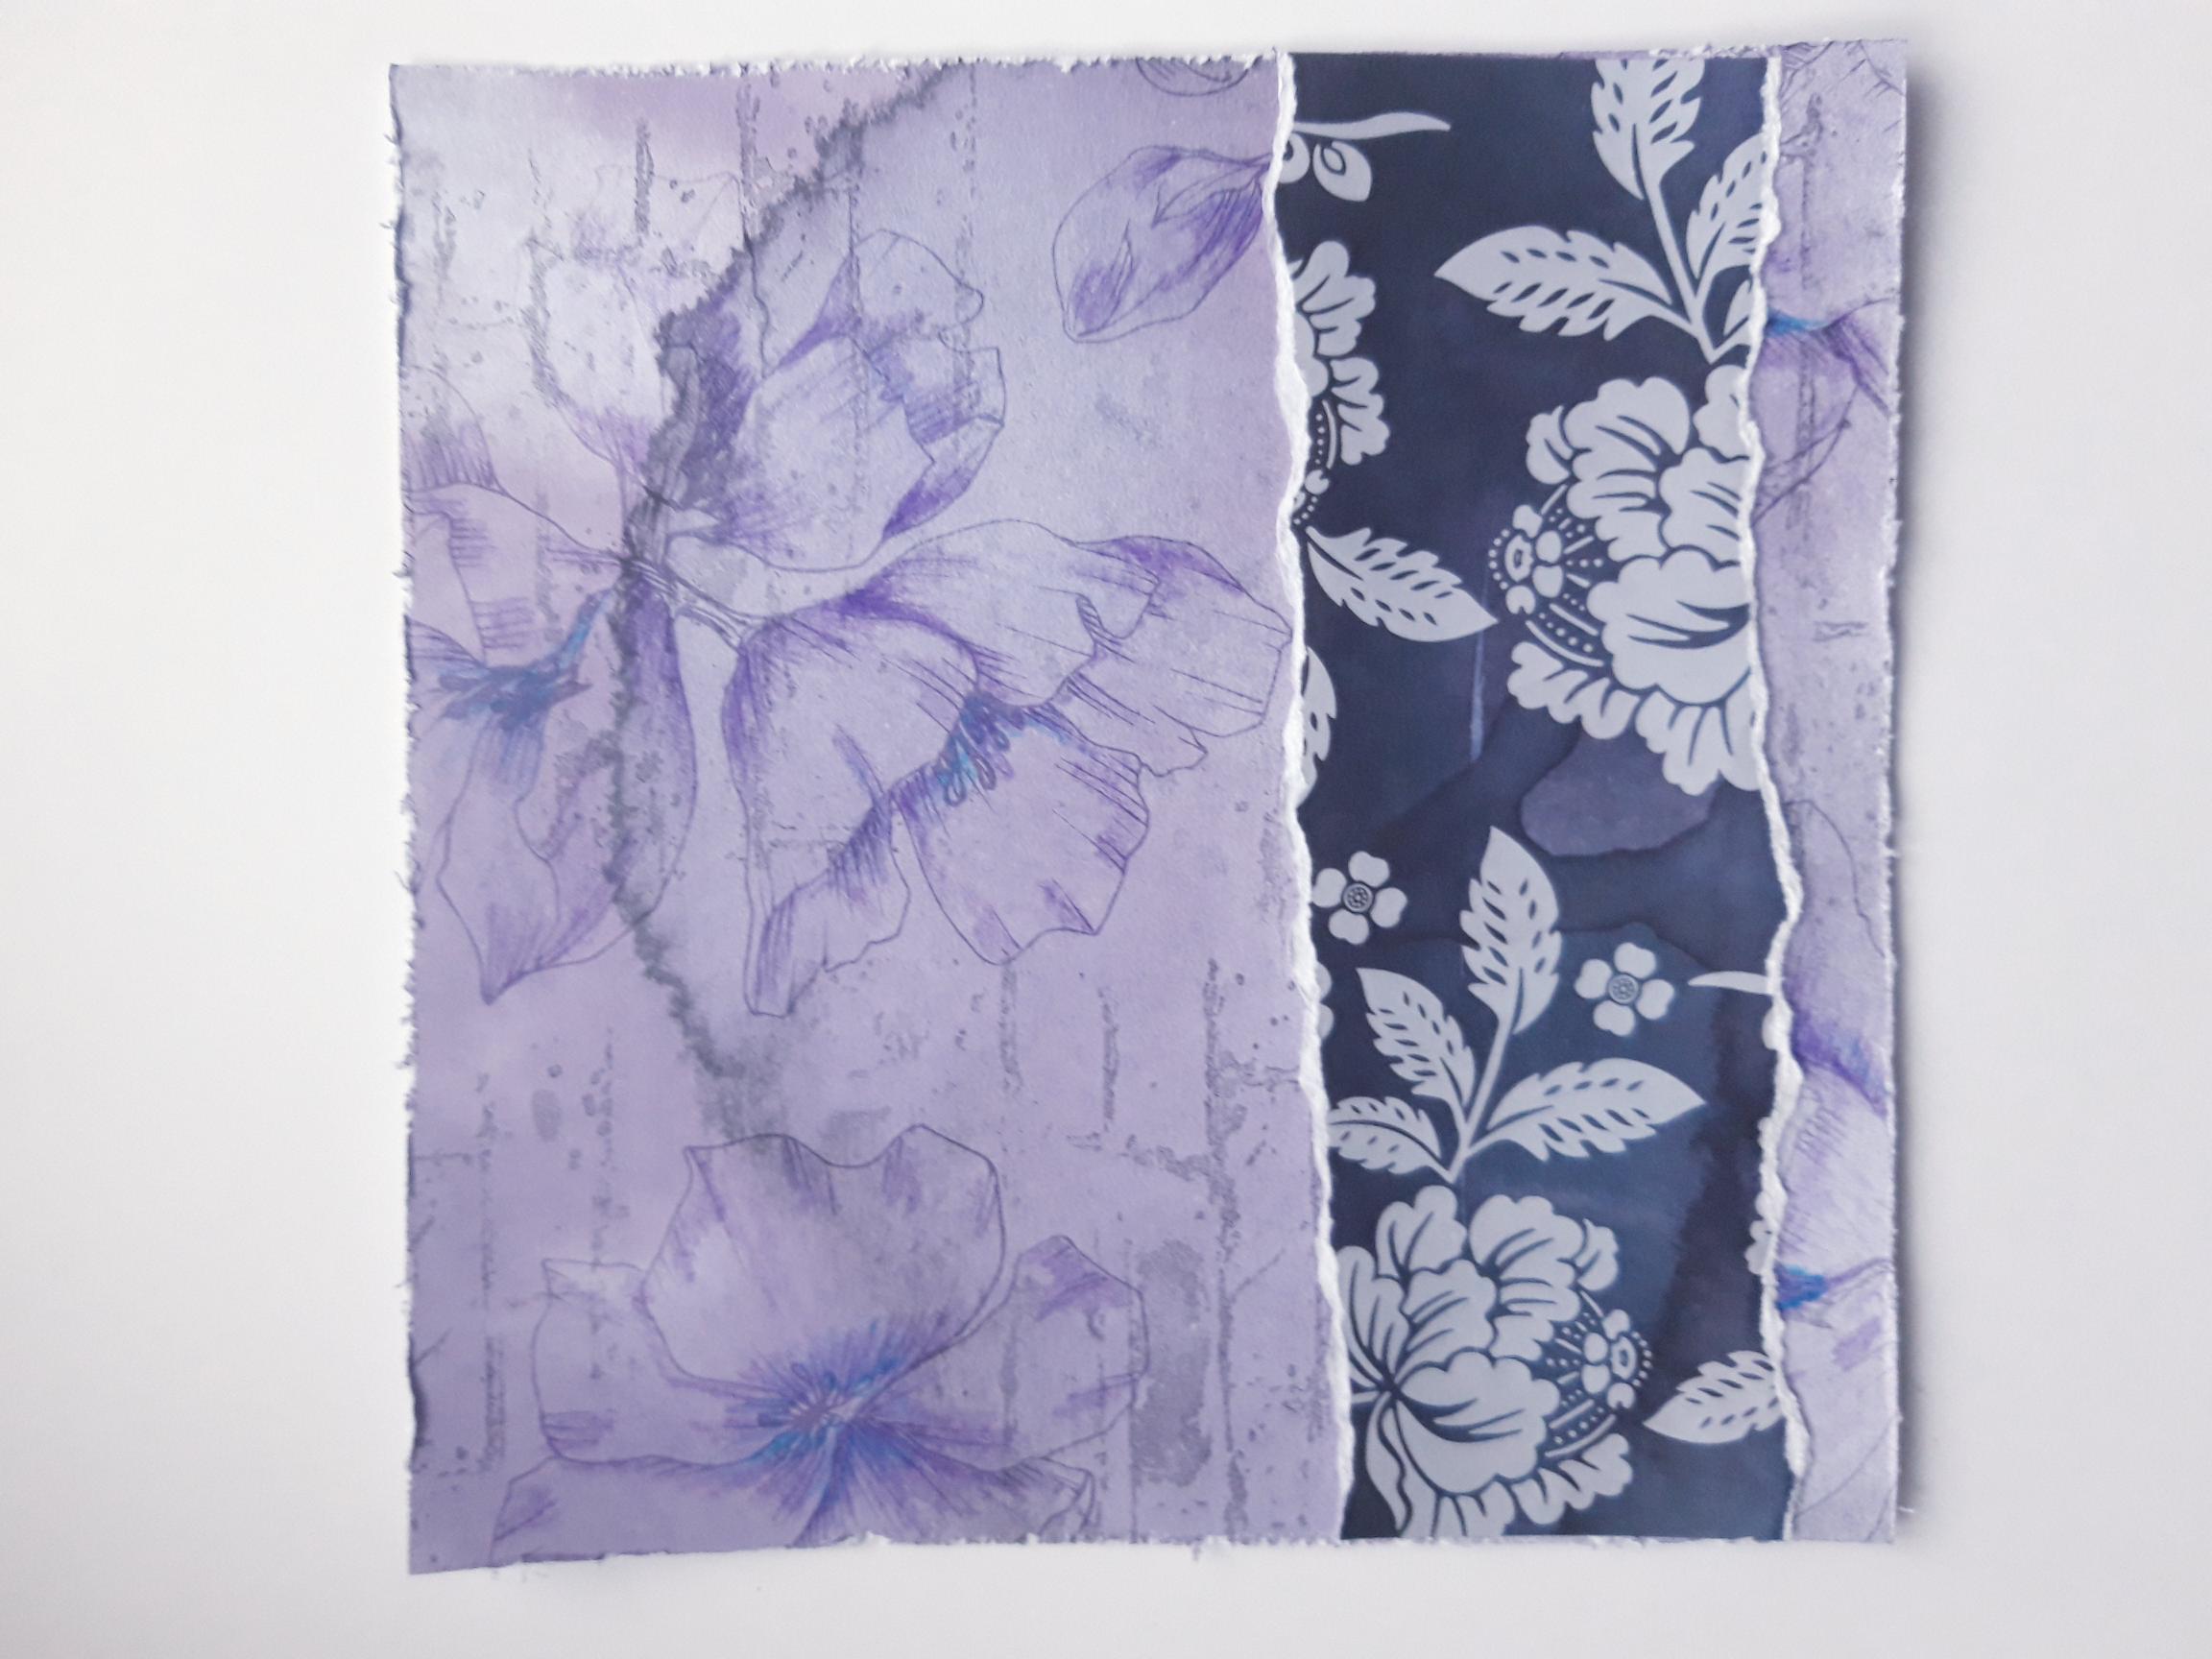
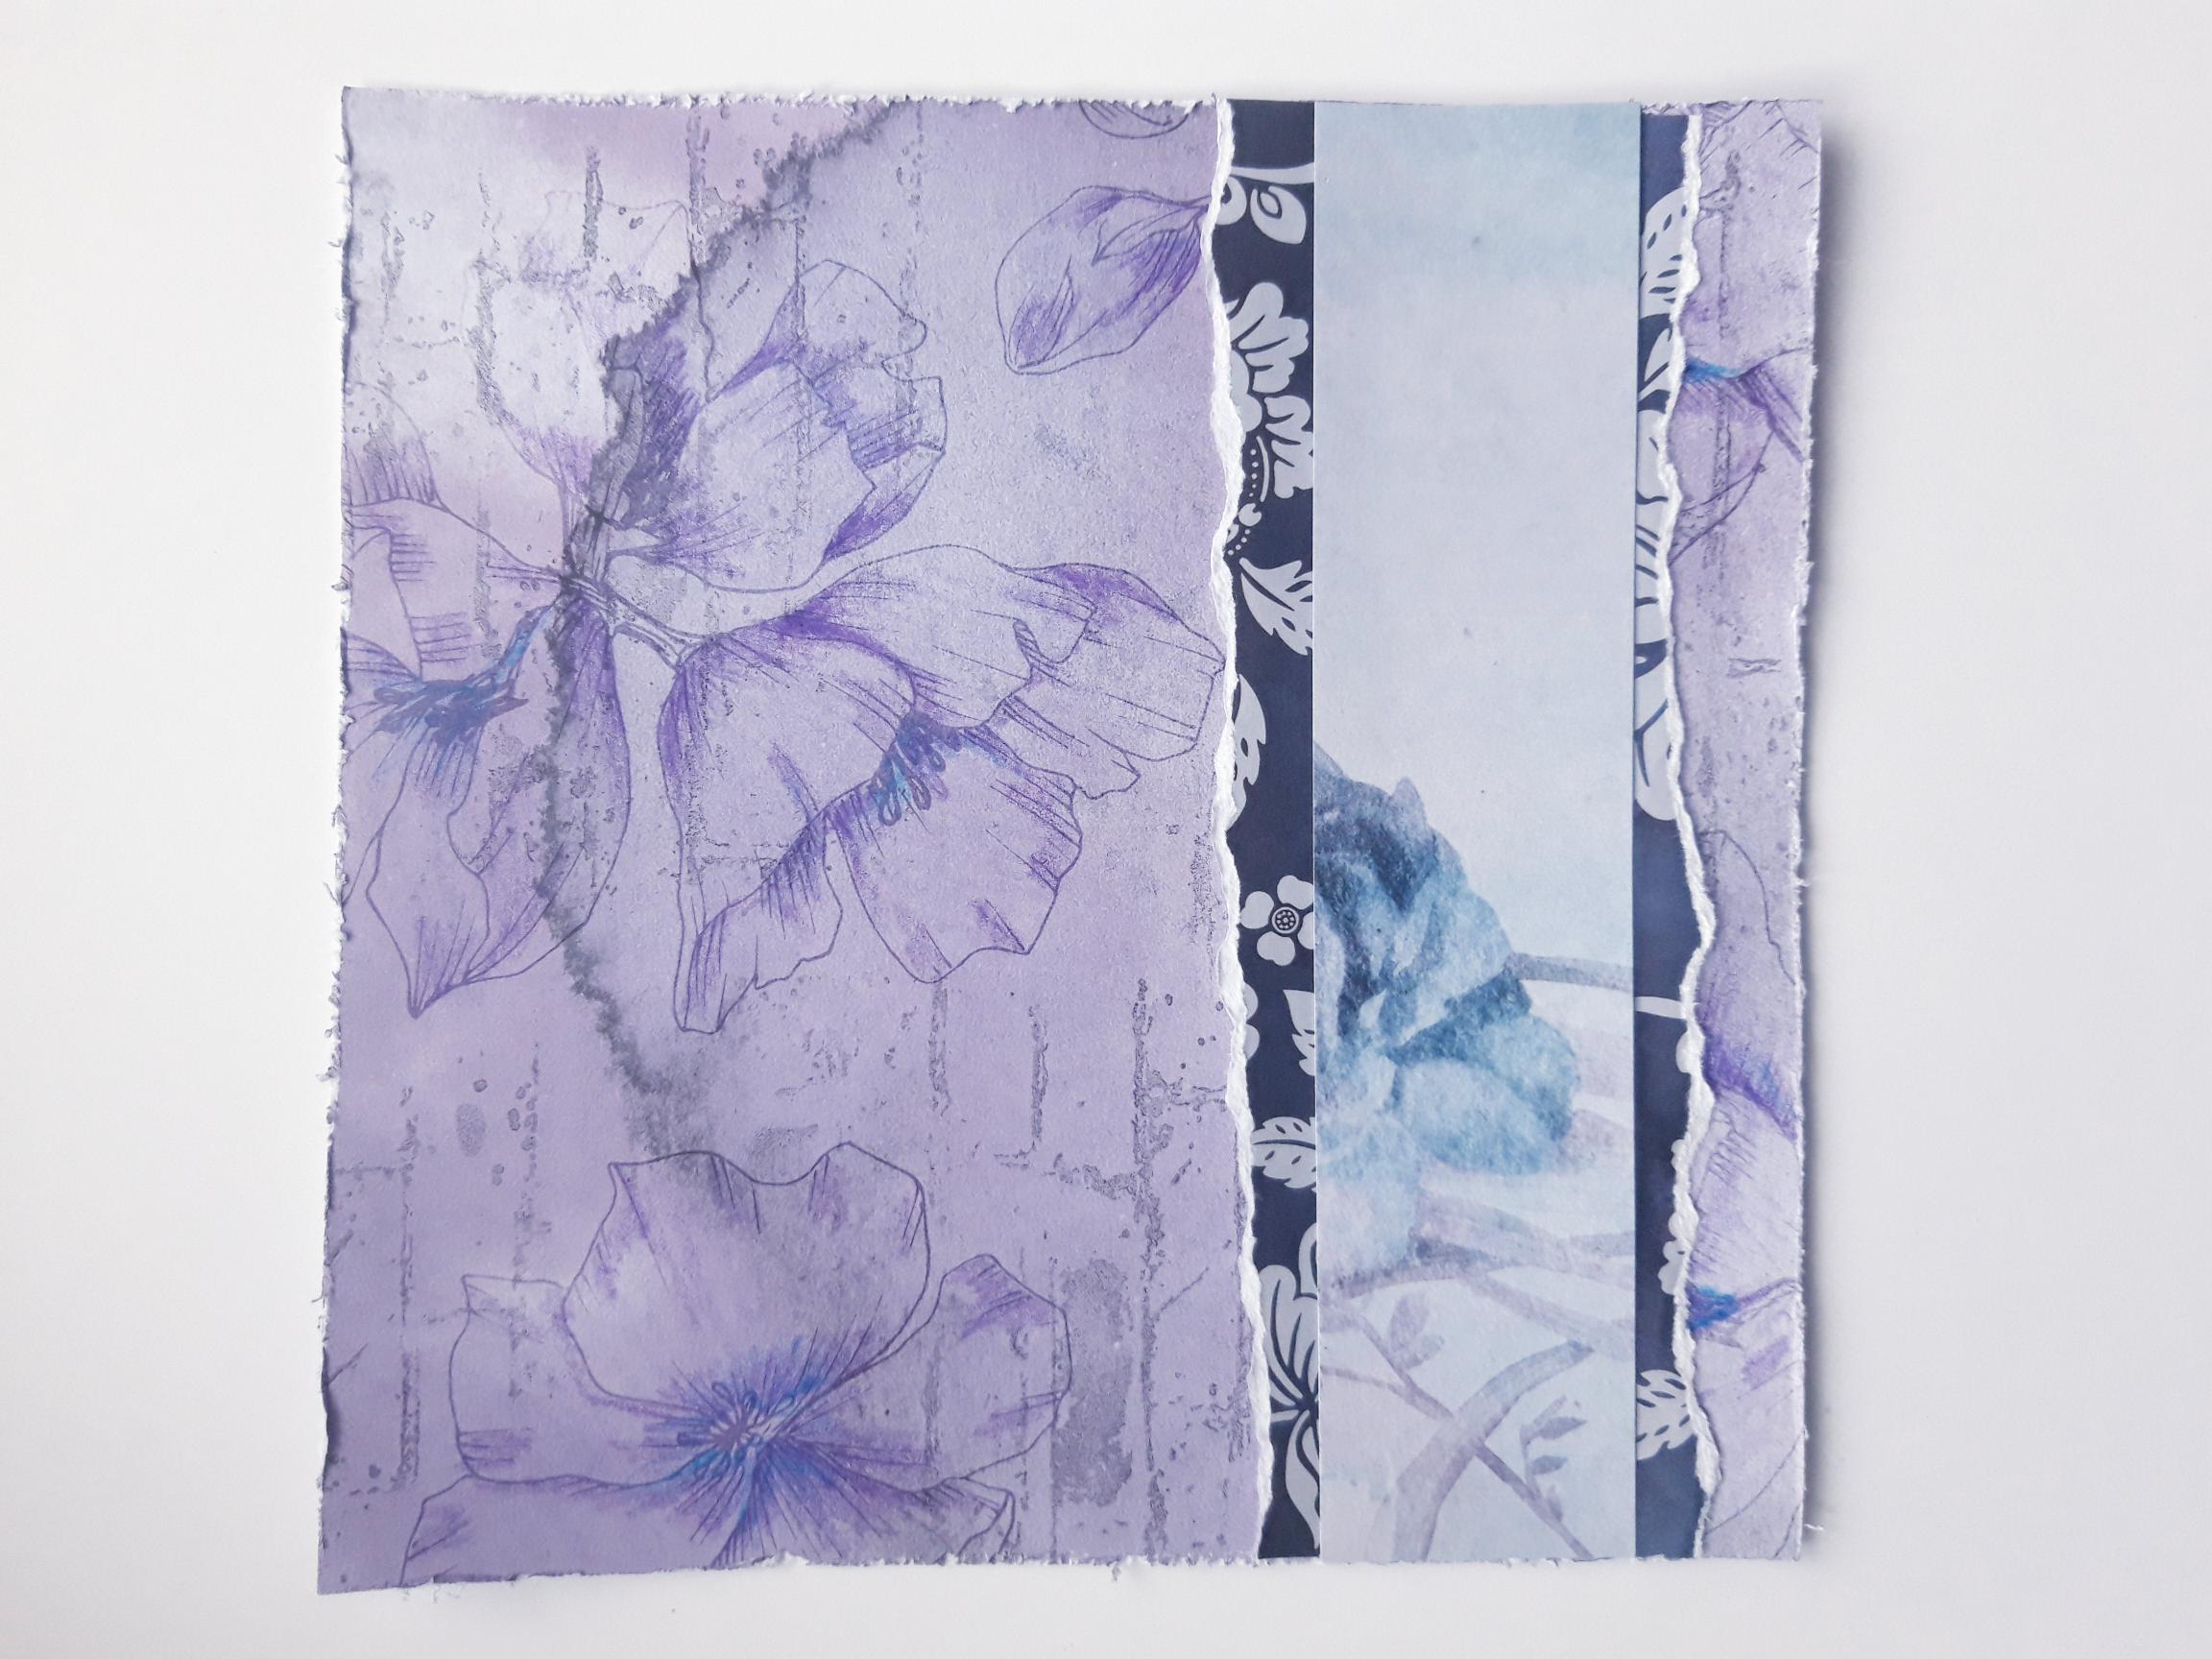
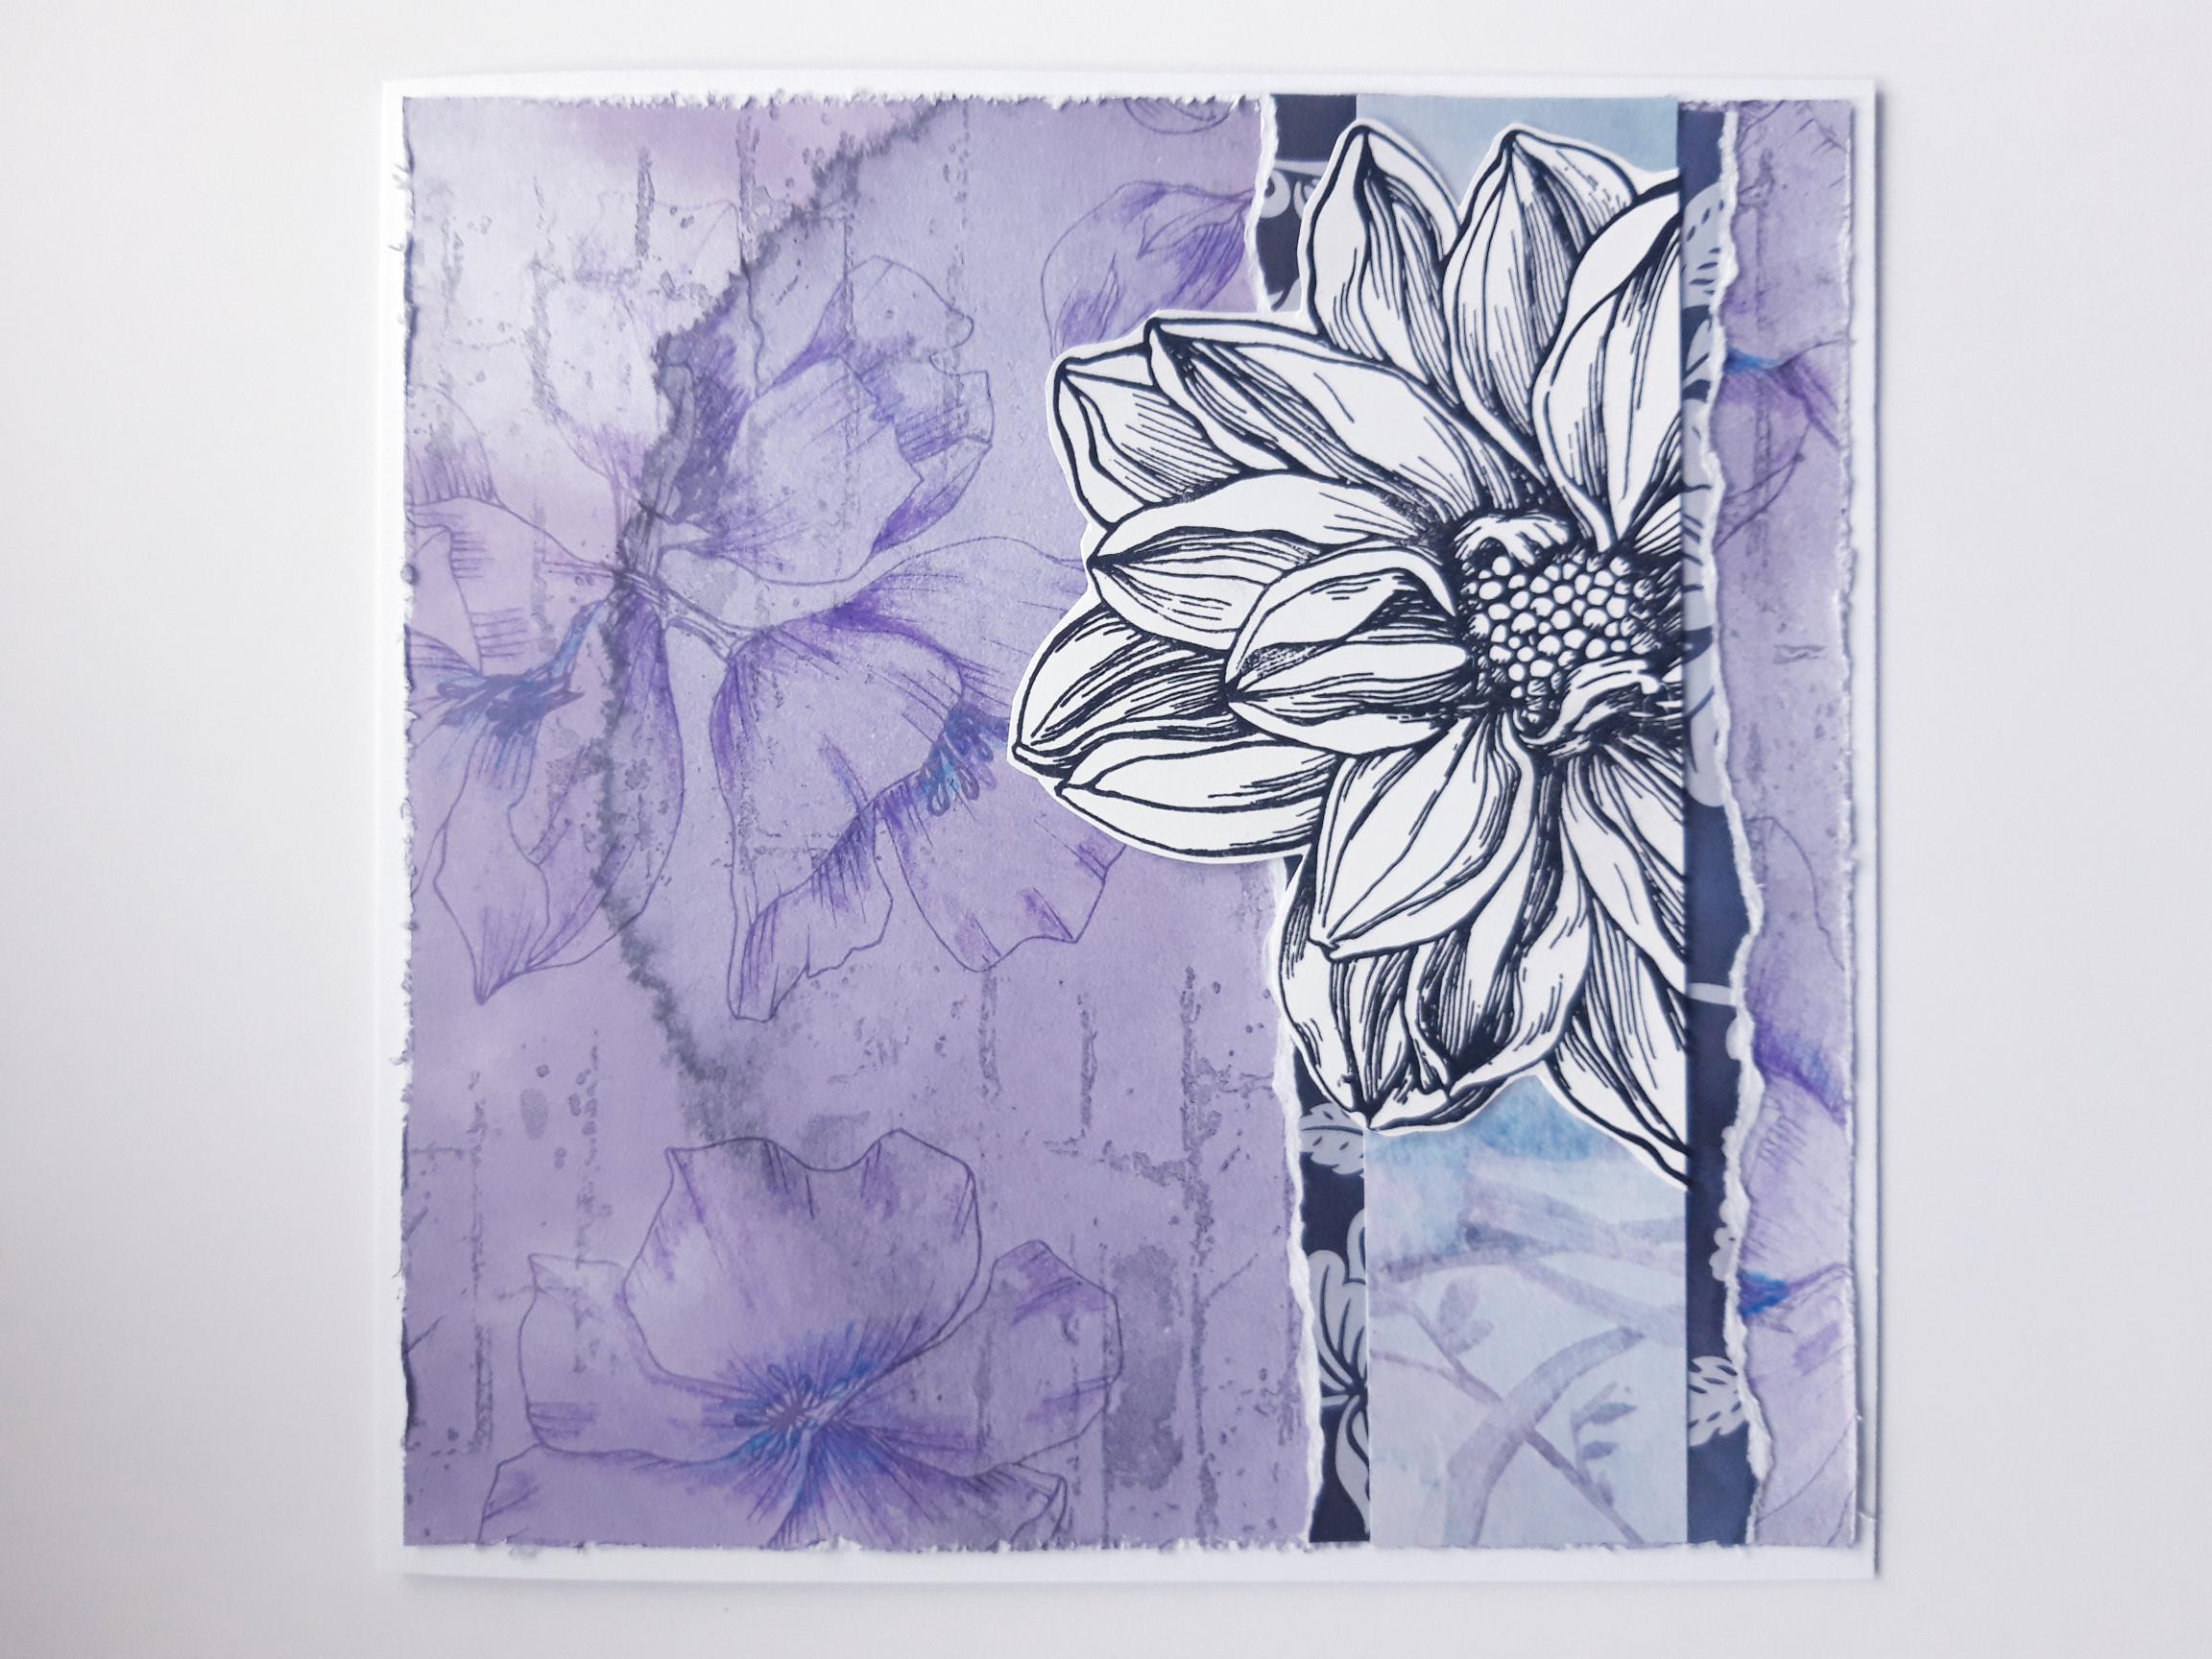
Tear out this decorative paper, from the Subtle Tranquility paper pad. Tear to 6 3/4 x 6 3/4. Alternatively cut the paper with your paper trimmer, then scuff up the edges with the blade of your scissors. |
|
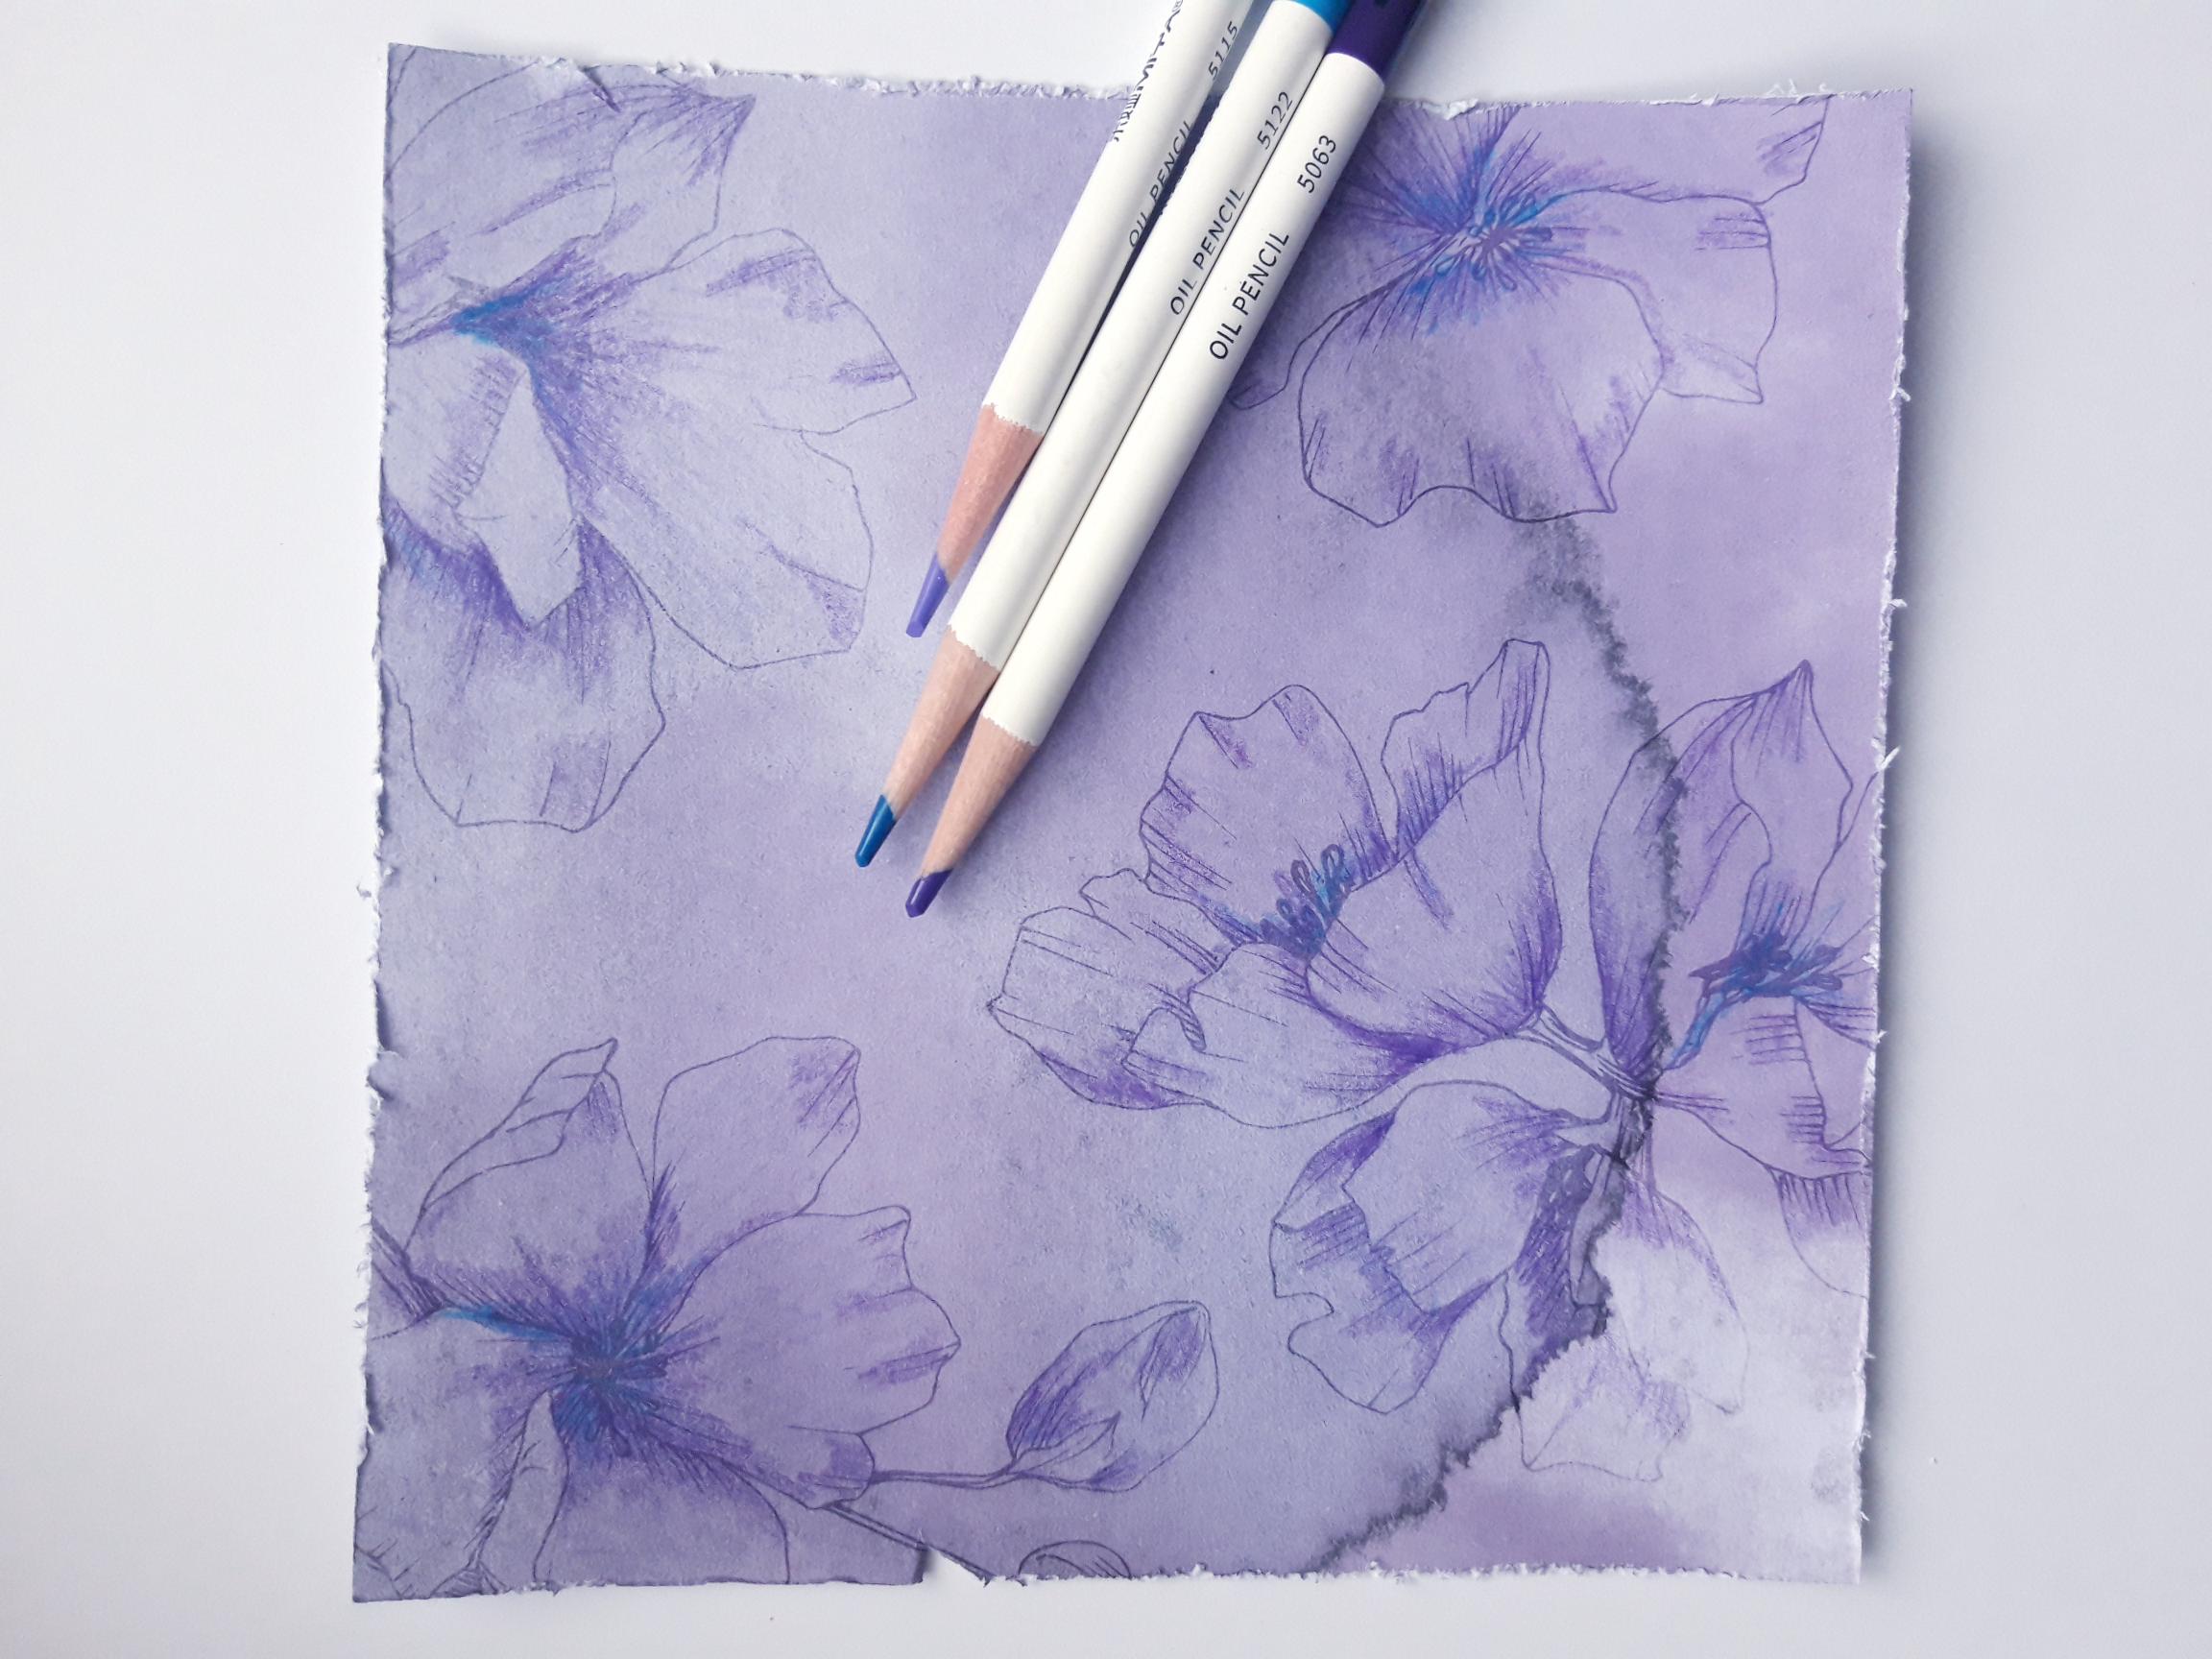
Use your HIMI Oil Pencils to add more colour, shading etc, to the images on your decorative paper. |

|
Ink up the Textured Wall stamp with the Izink Reglisse, and stamp randomly on to your decorative paper. |
|
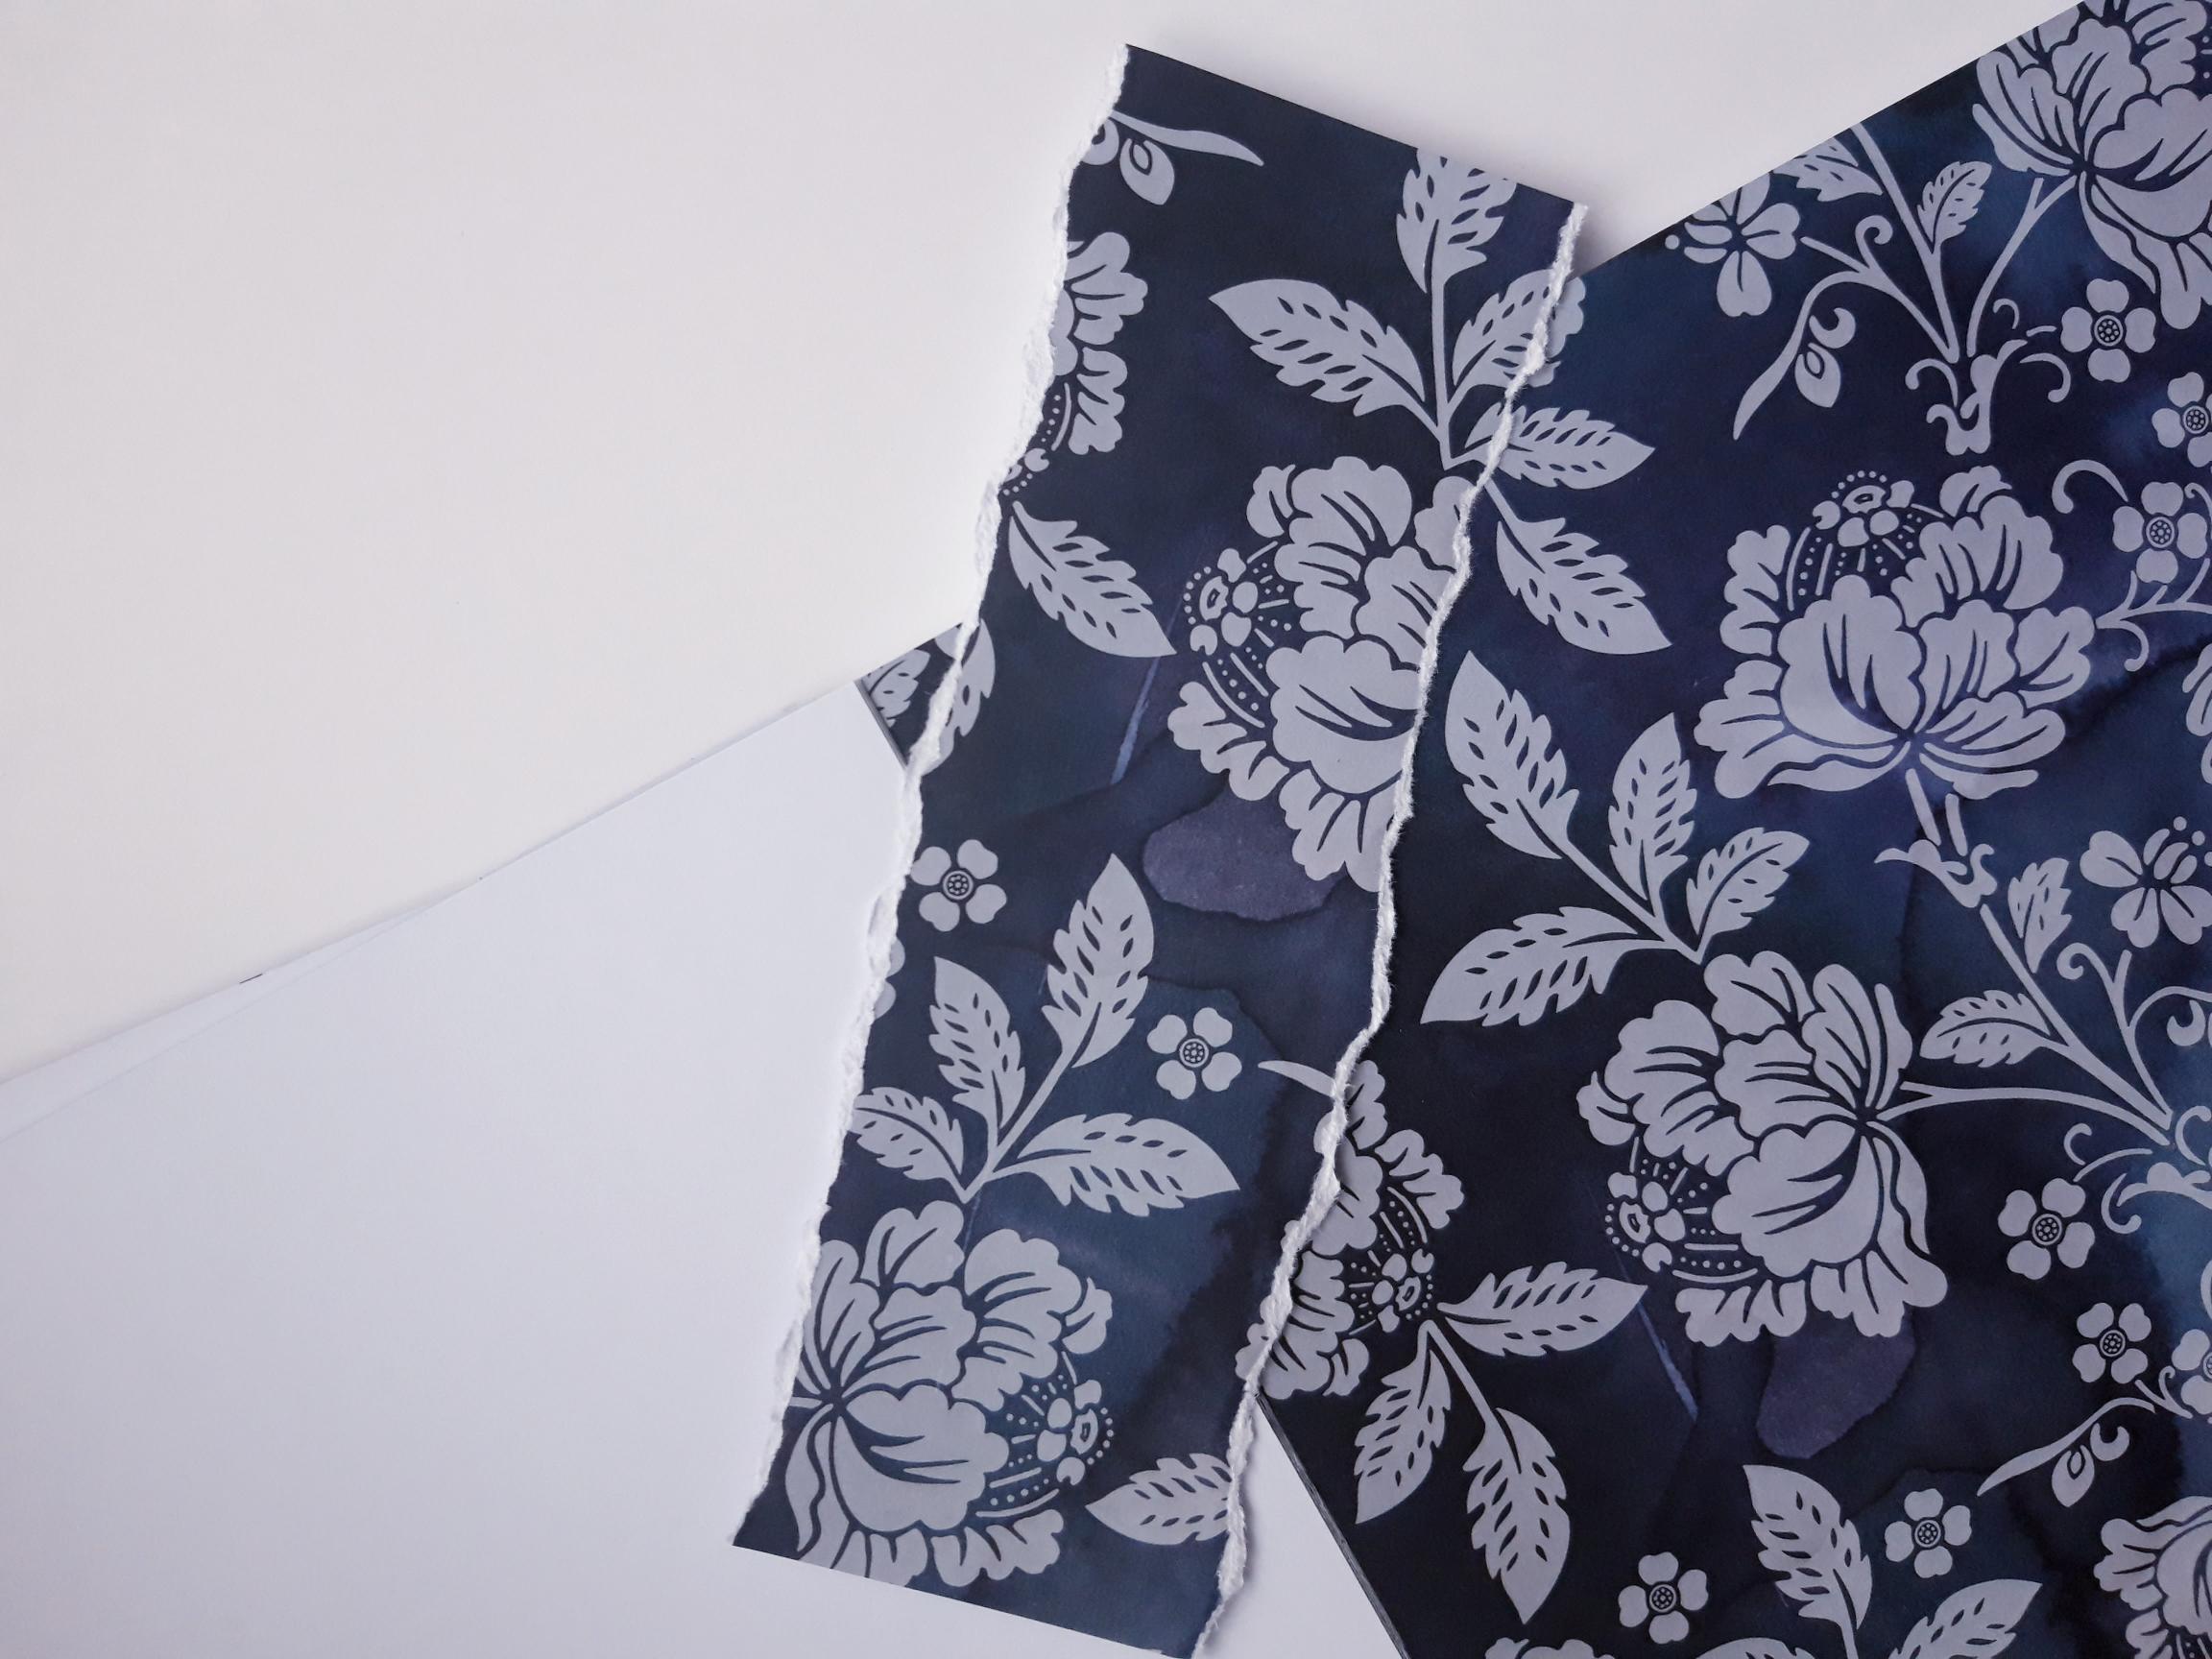
Tear a strip from this decorative paper, 6 3/4 x 2 1/4". |
|
Trim a piece from this decorative paper, 6 3/4 x 1 1/2". |
|
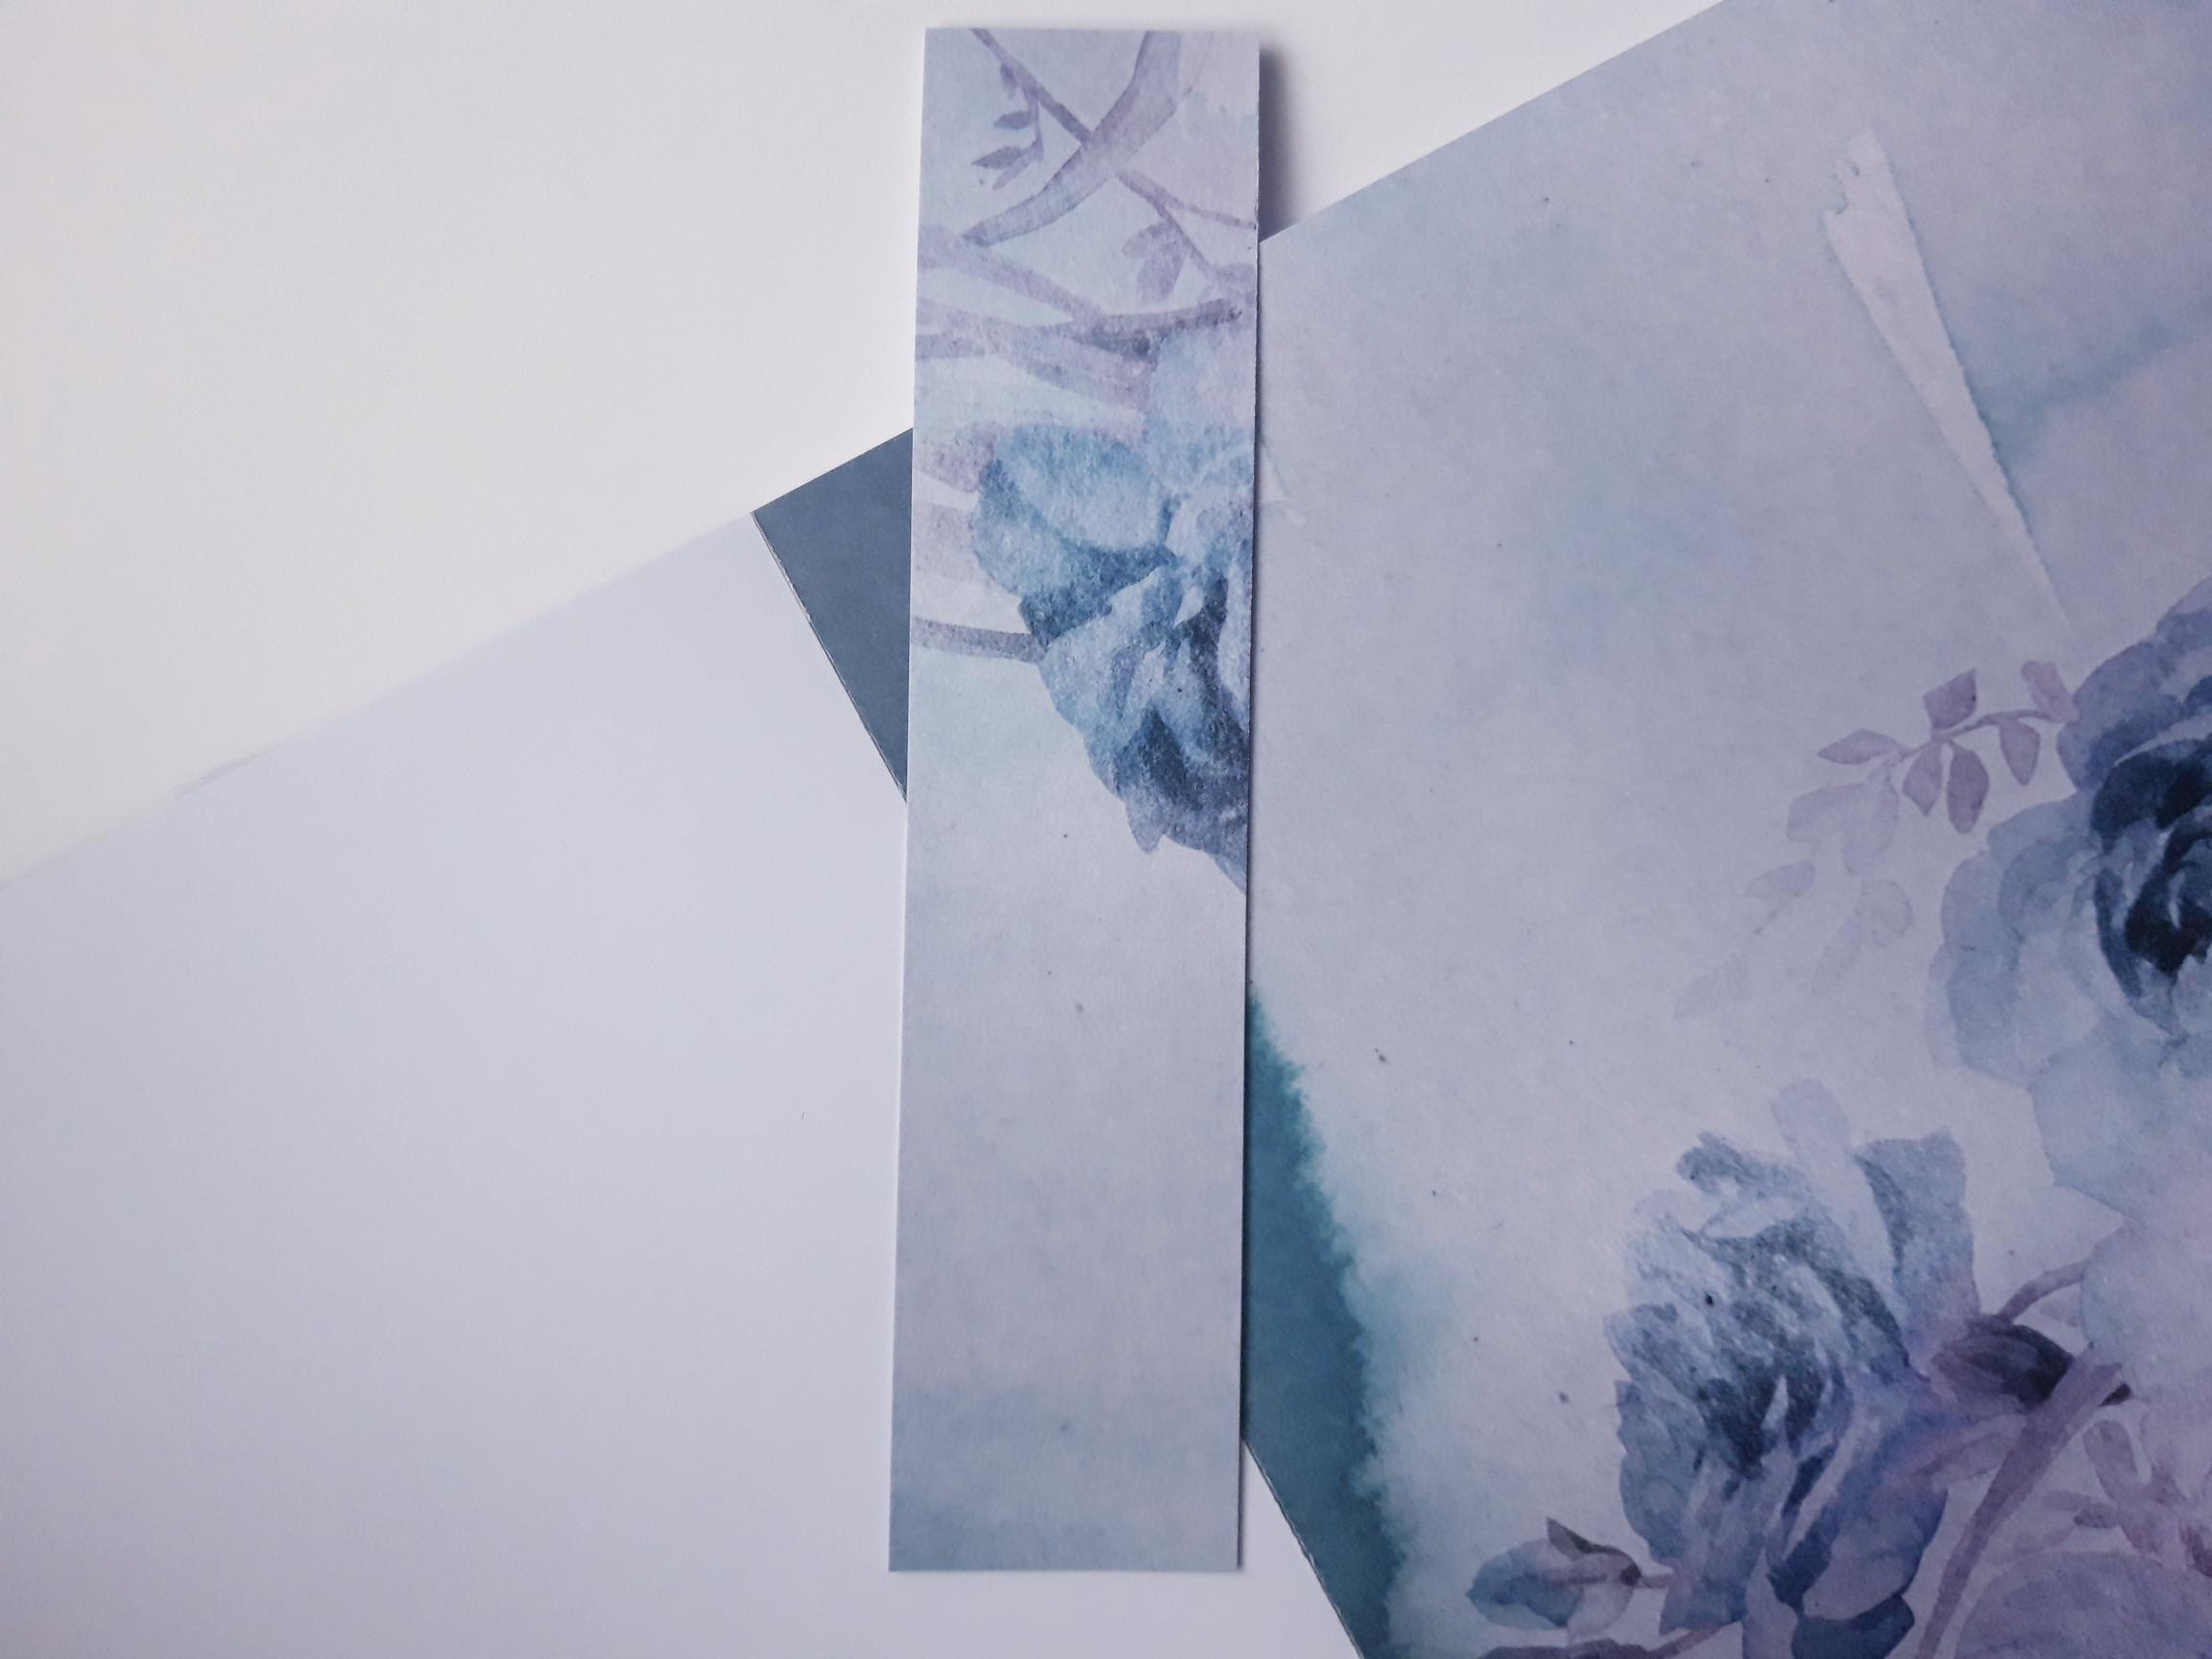
Adhere the torn paper strip across the coloured in decorative paper, as shown here. |
|
Adhere the strip of paper on top of the torn paper. |
|
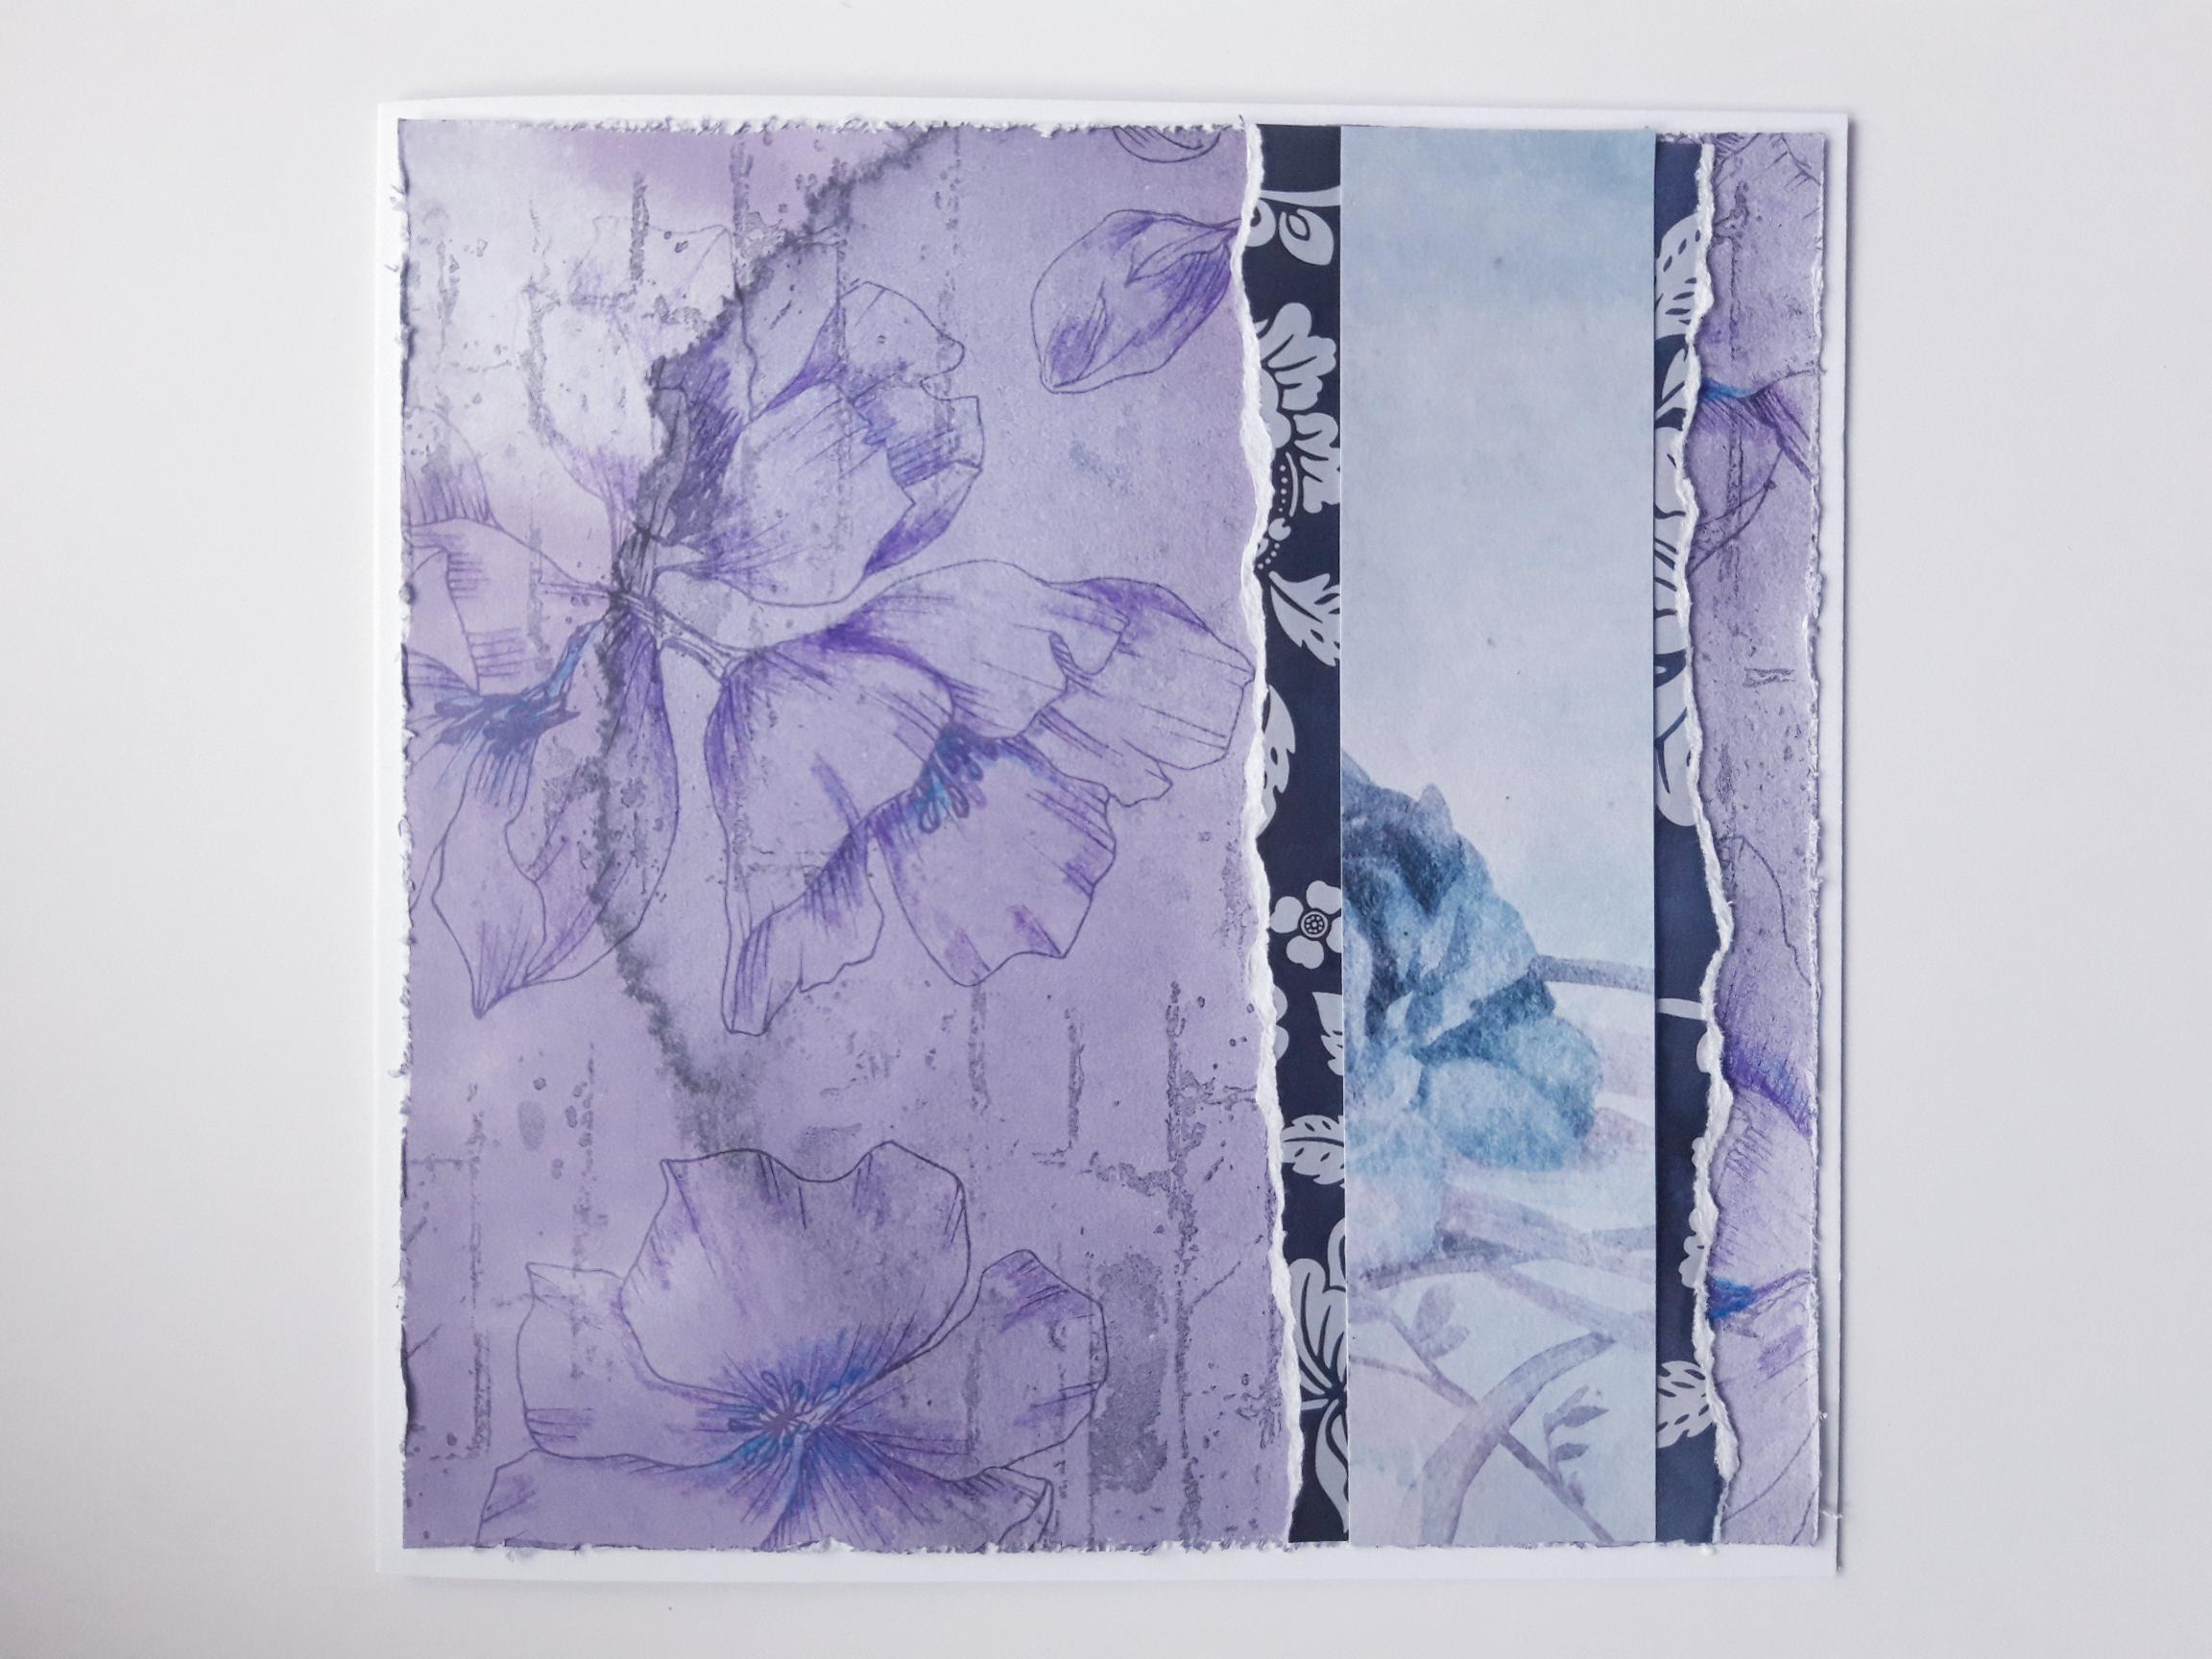
Adhere this on to the front of your white card blank. Set your card to one side. |

|
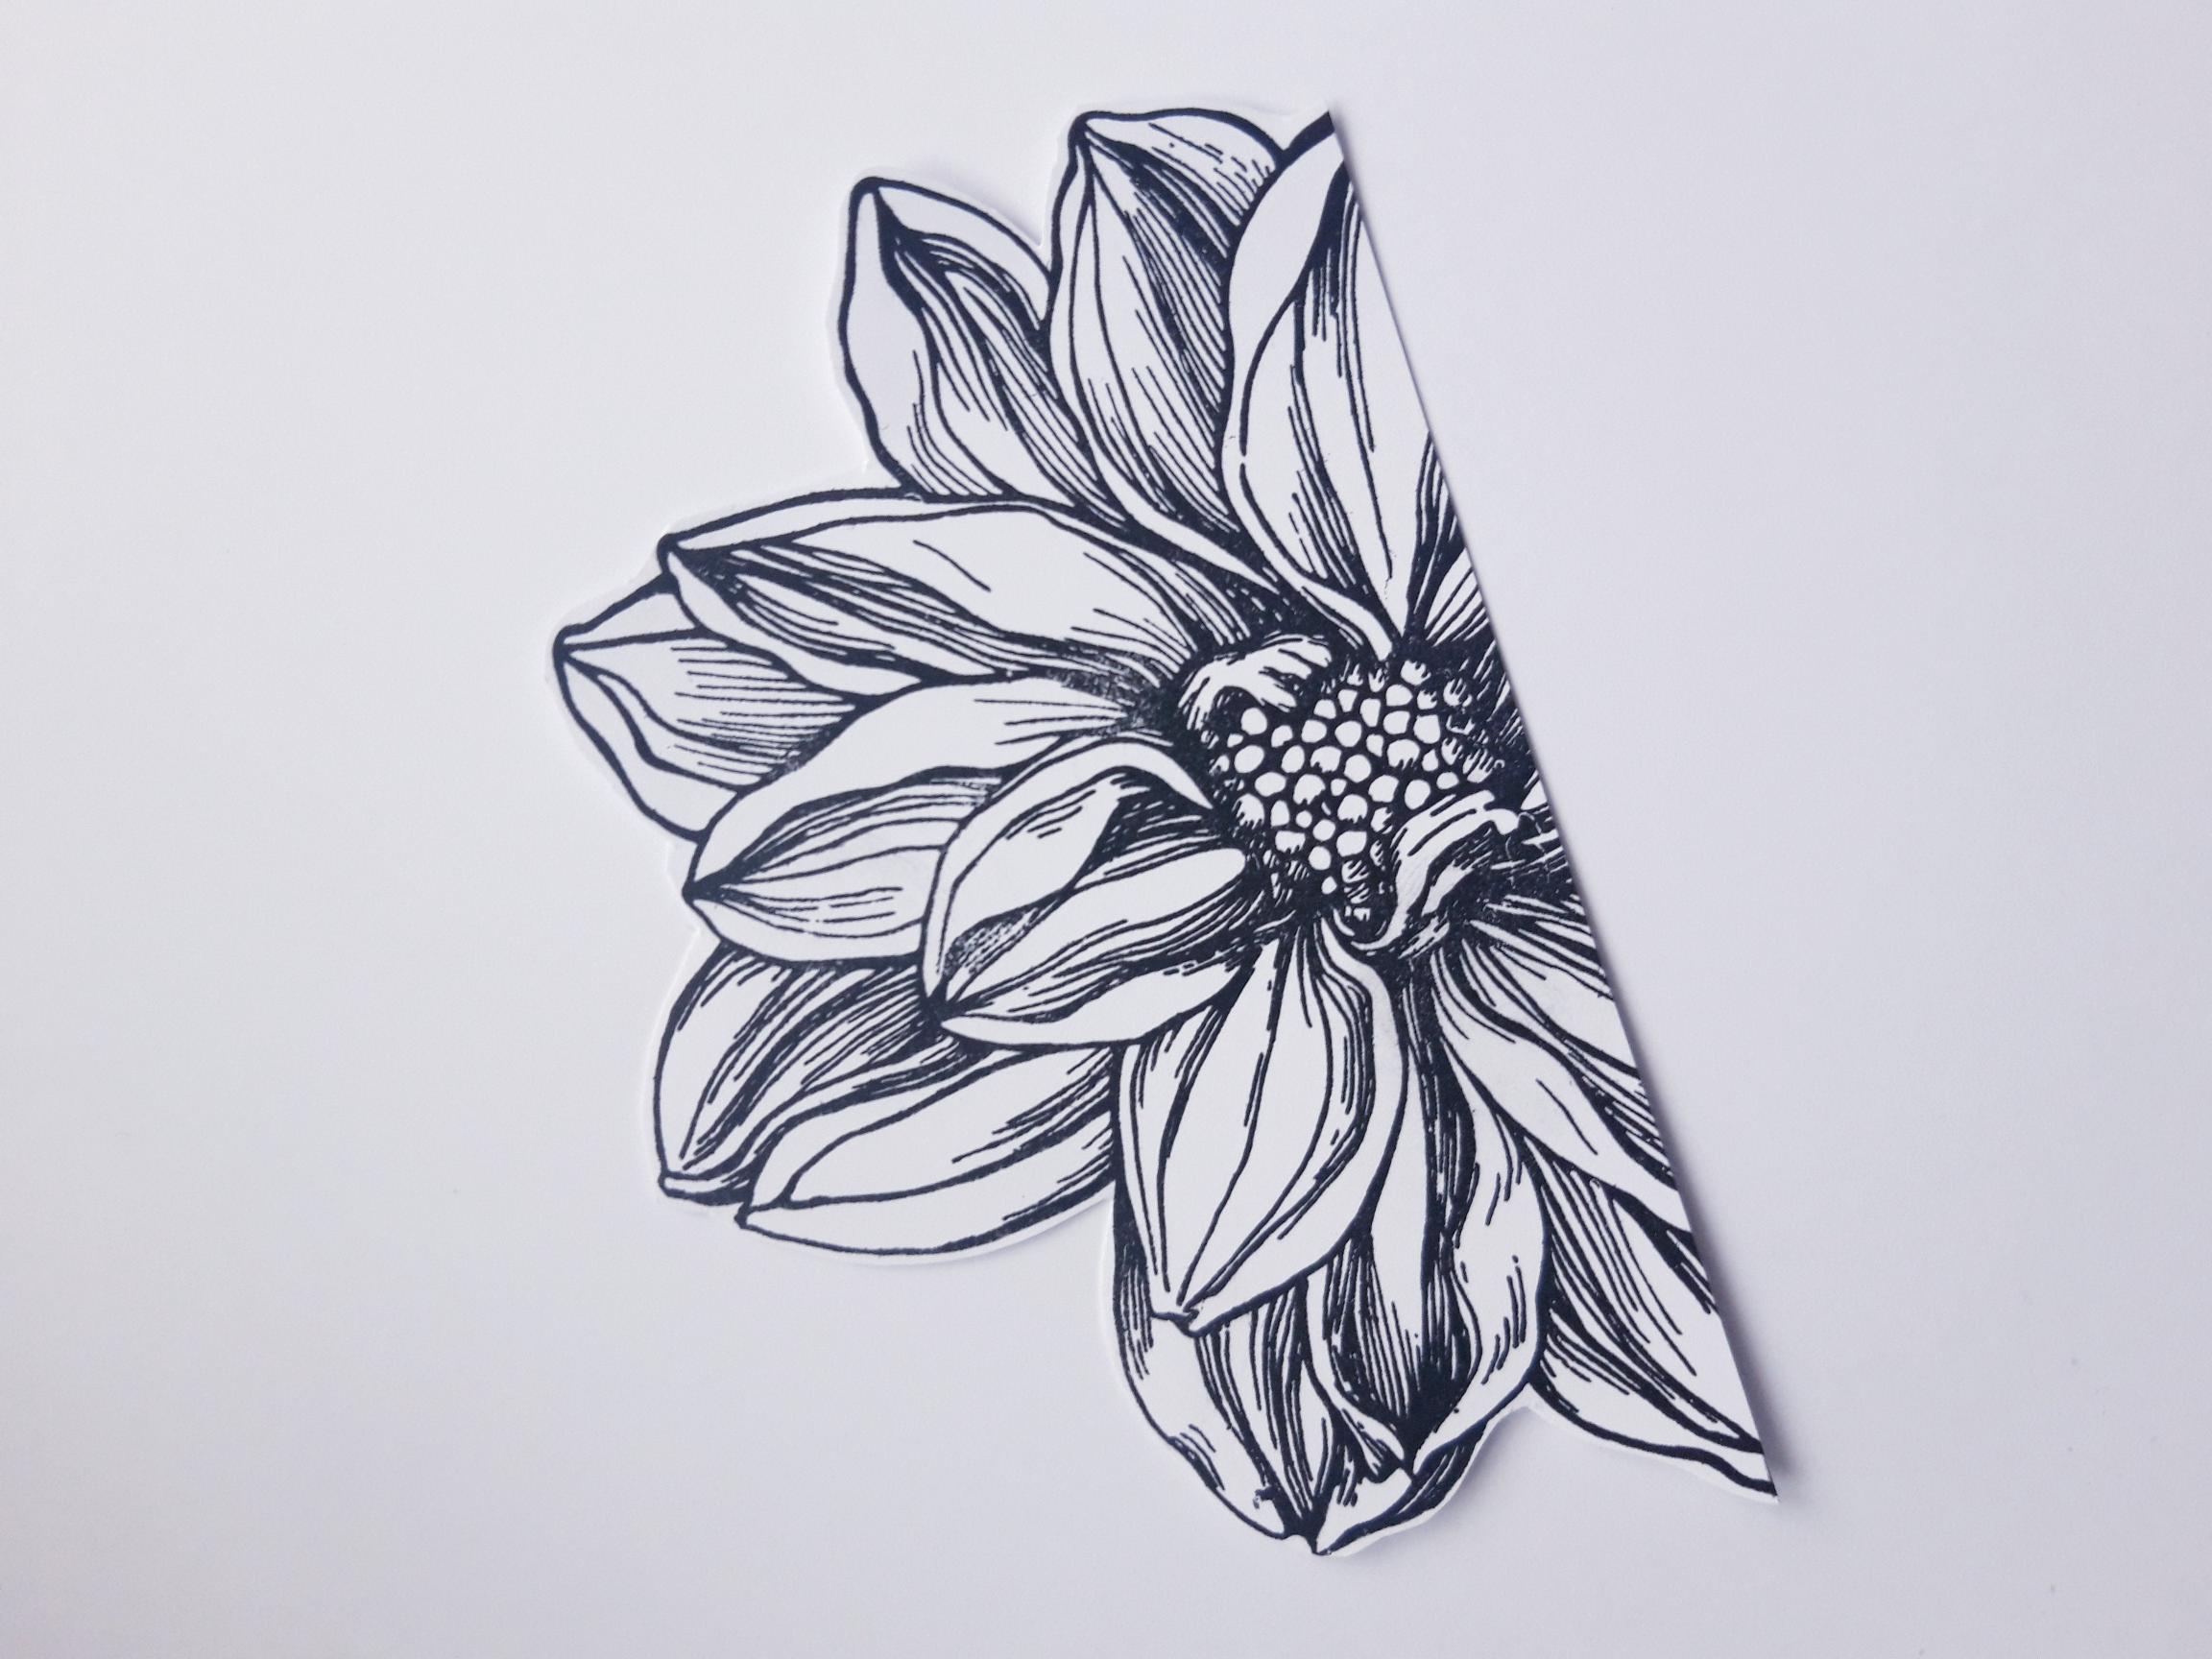
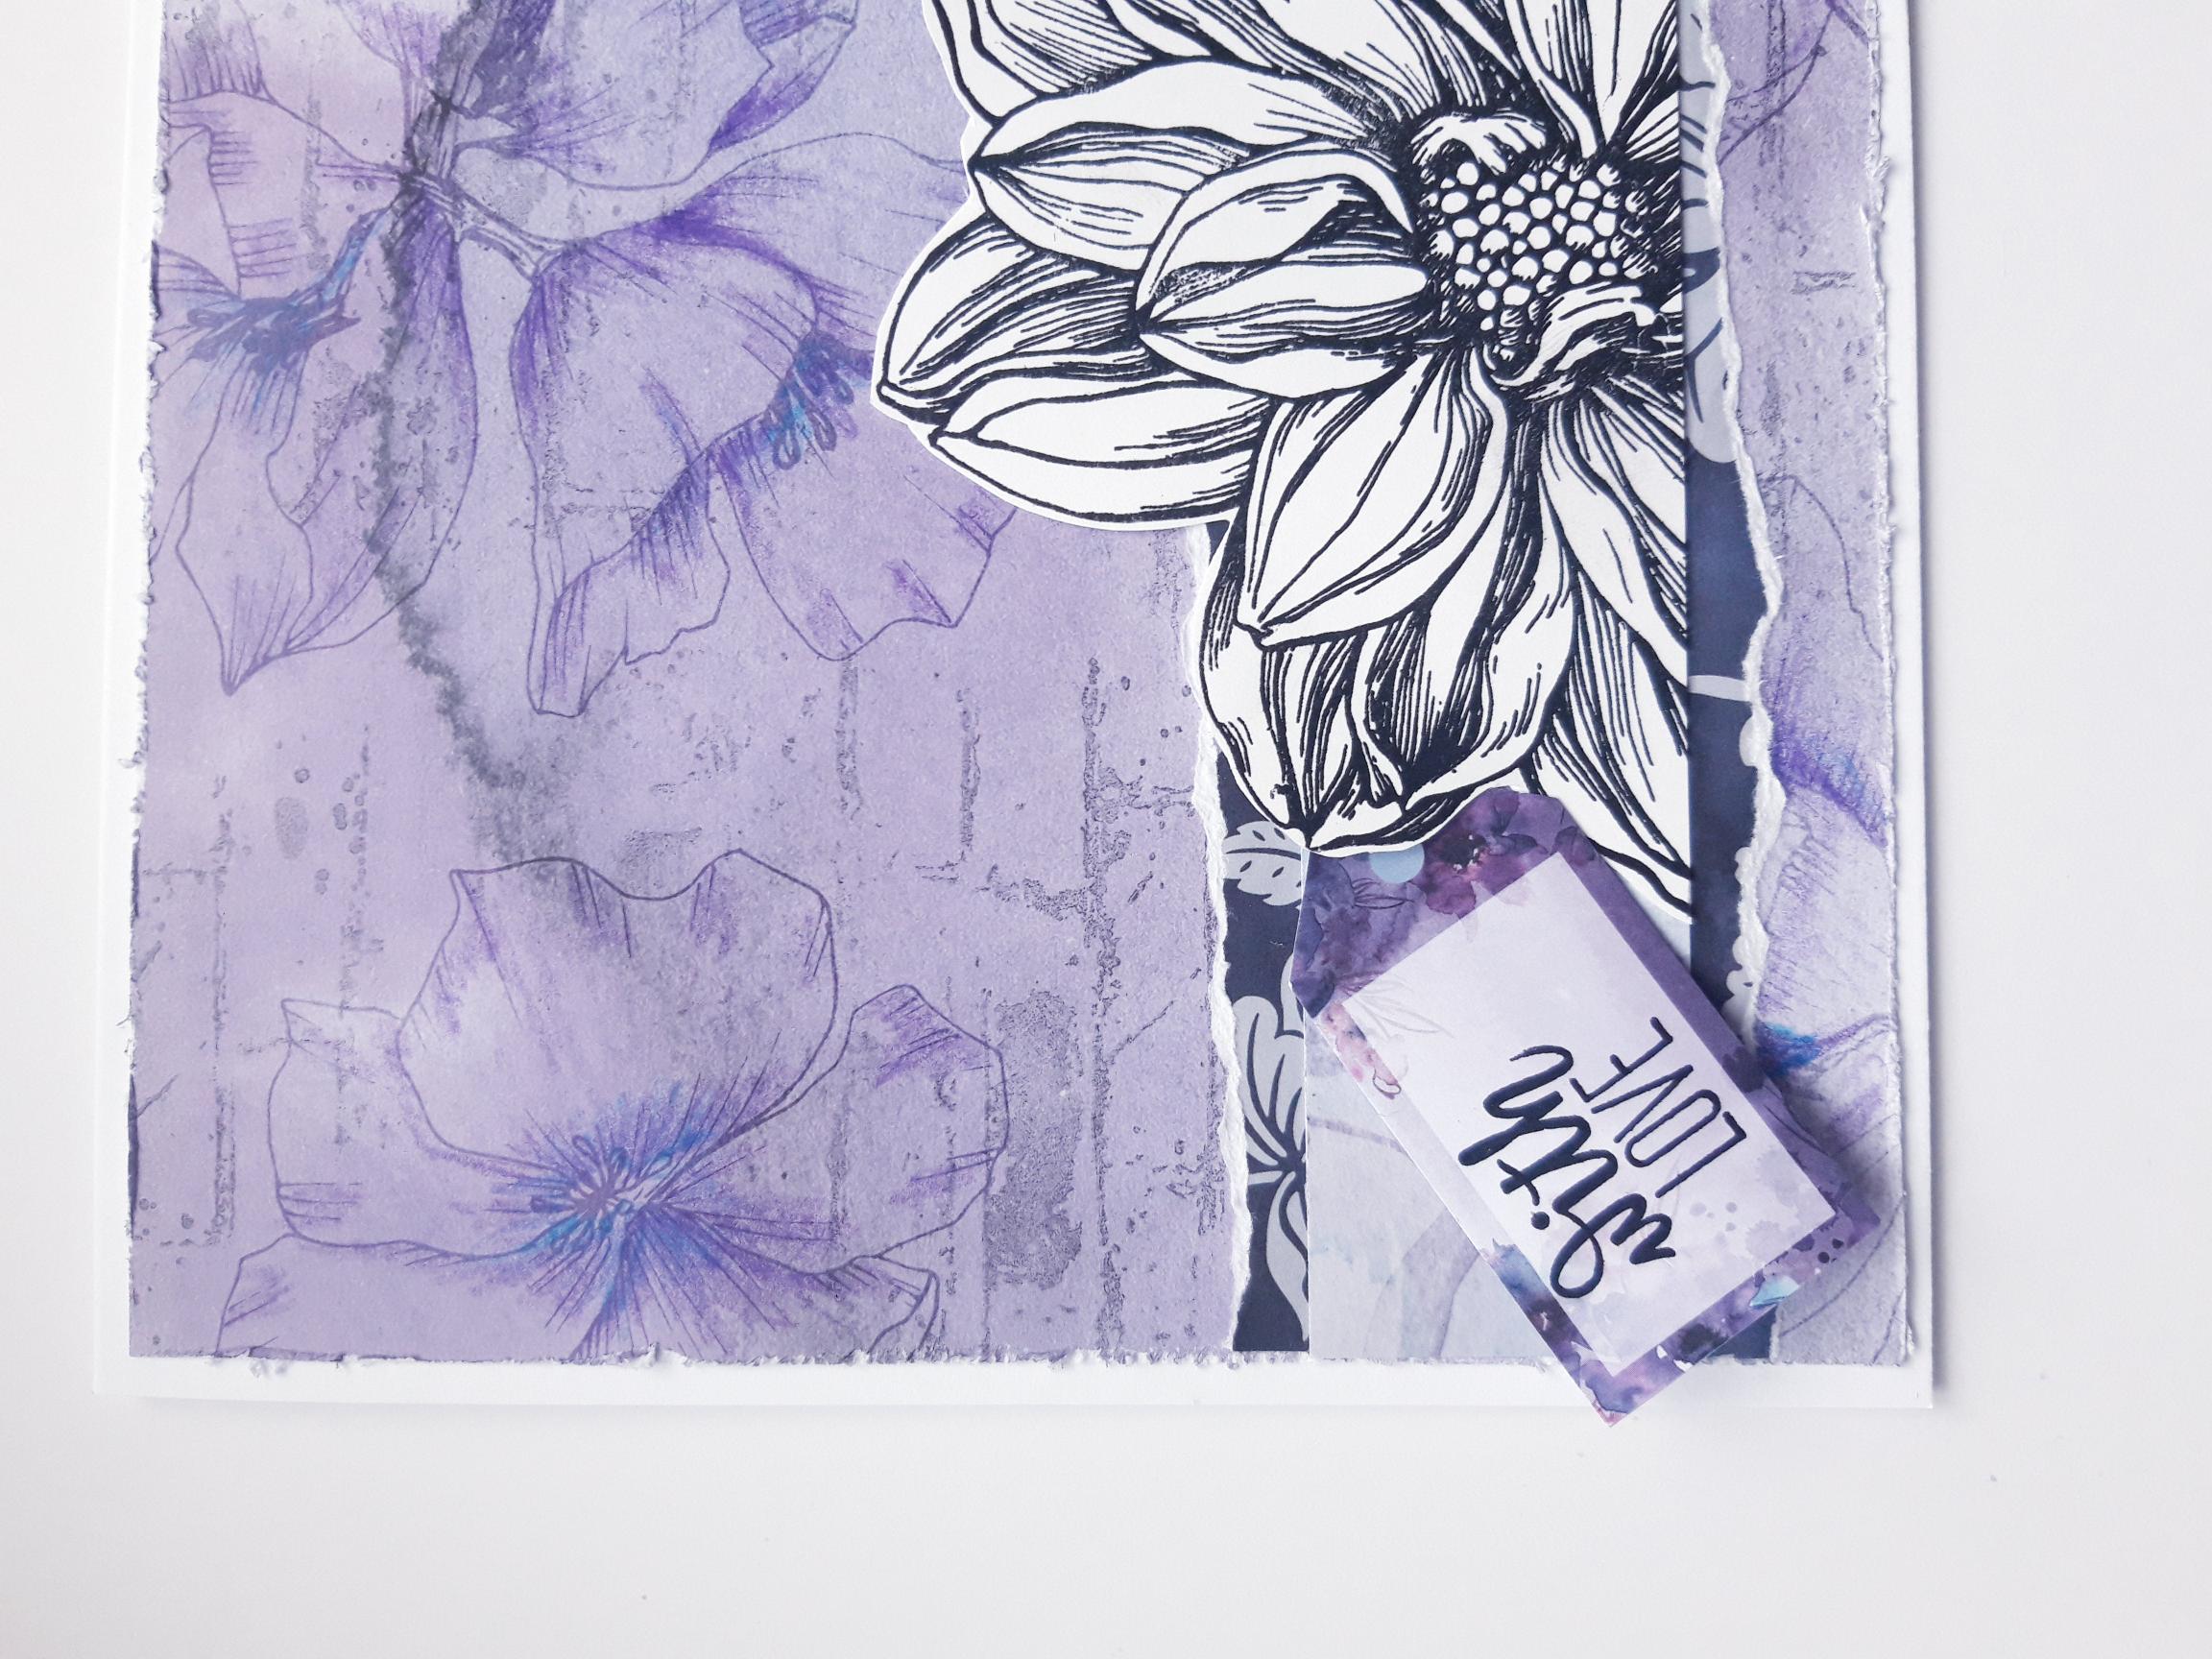
Ink up the flower, from Beautiful Birthday, with the Onyx Black Versafine. Stamp on to the white card ( 6 x 5 1/2"). Dry the ink off, then cut around your stamped flower. |
|
Using the final photo image as a guide, decide where to cut your stamped flower, so it has a straight edge. |
|
Adhere on to the right hand side of your paper panel, with foam pads, or glue. Leave the edges loose, so you can tuck foliage behind it, in a later step. Set your card to one side. |
|
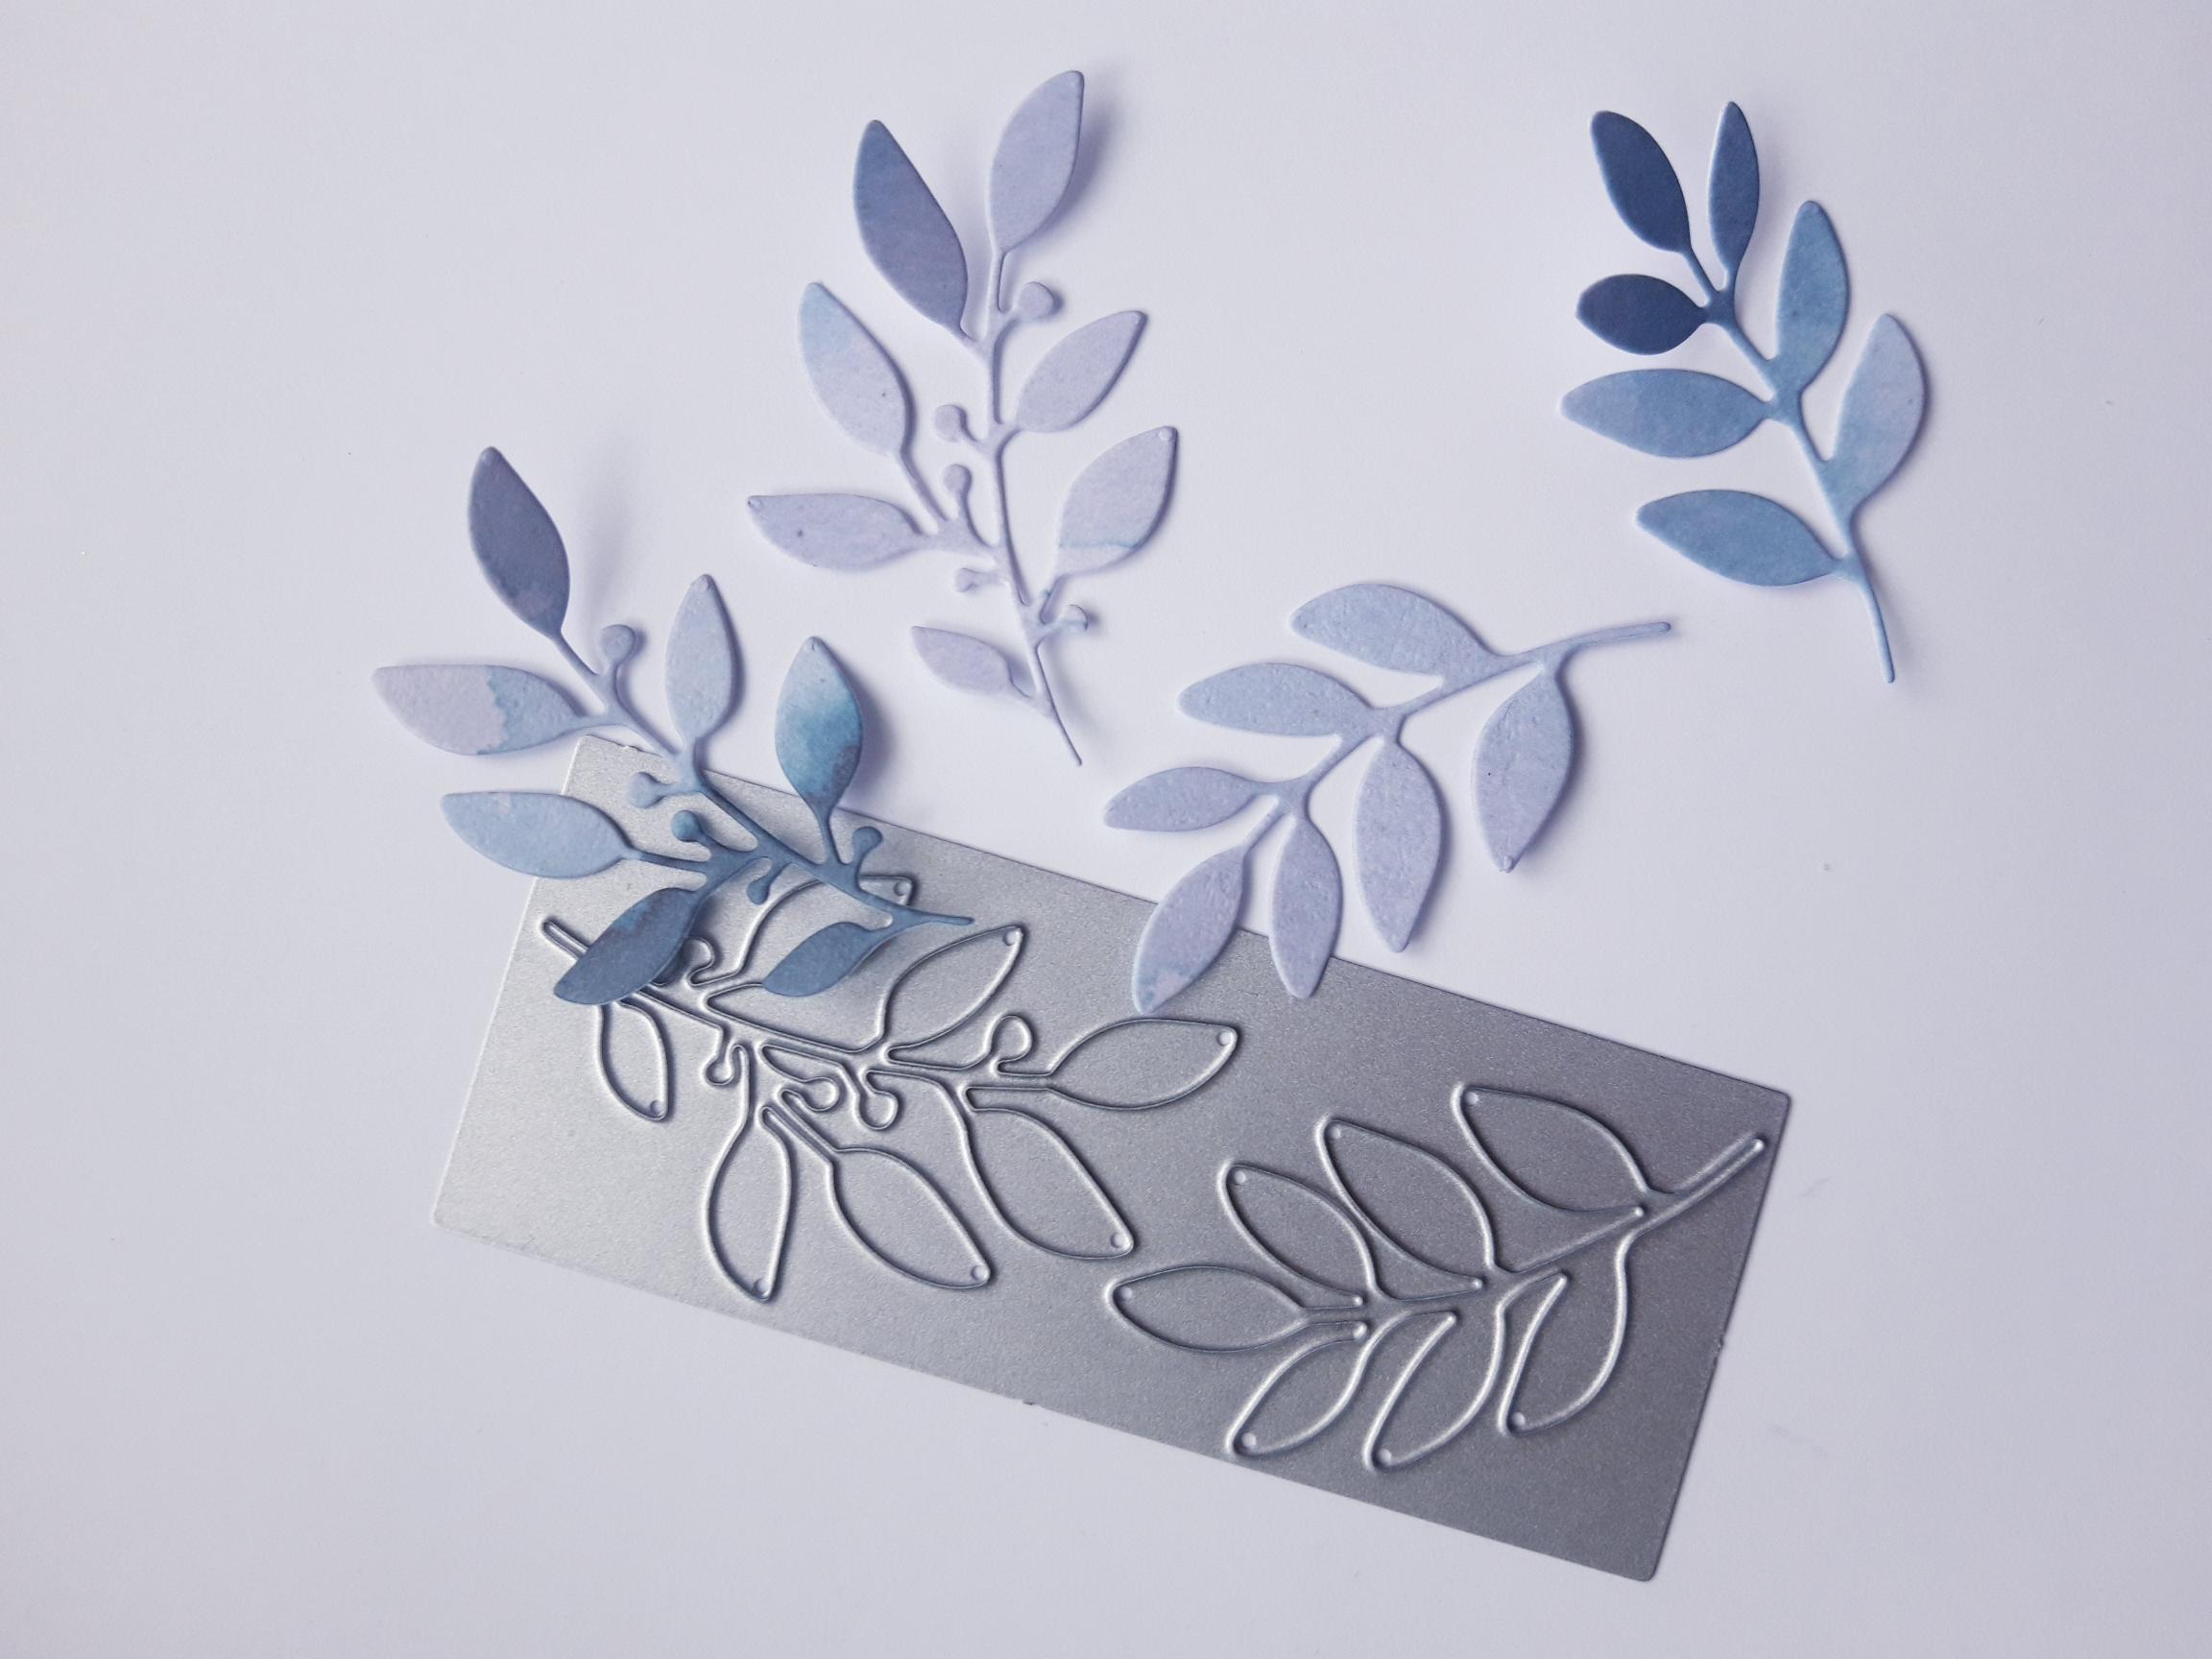
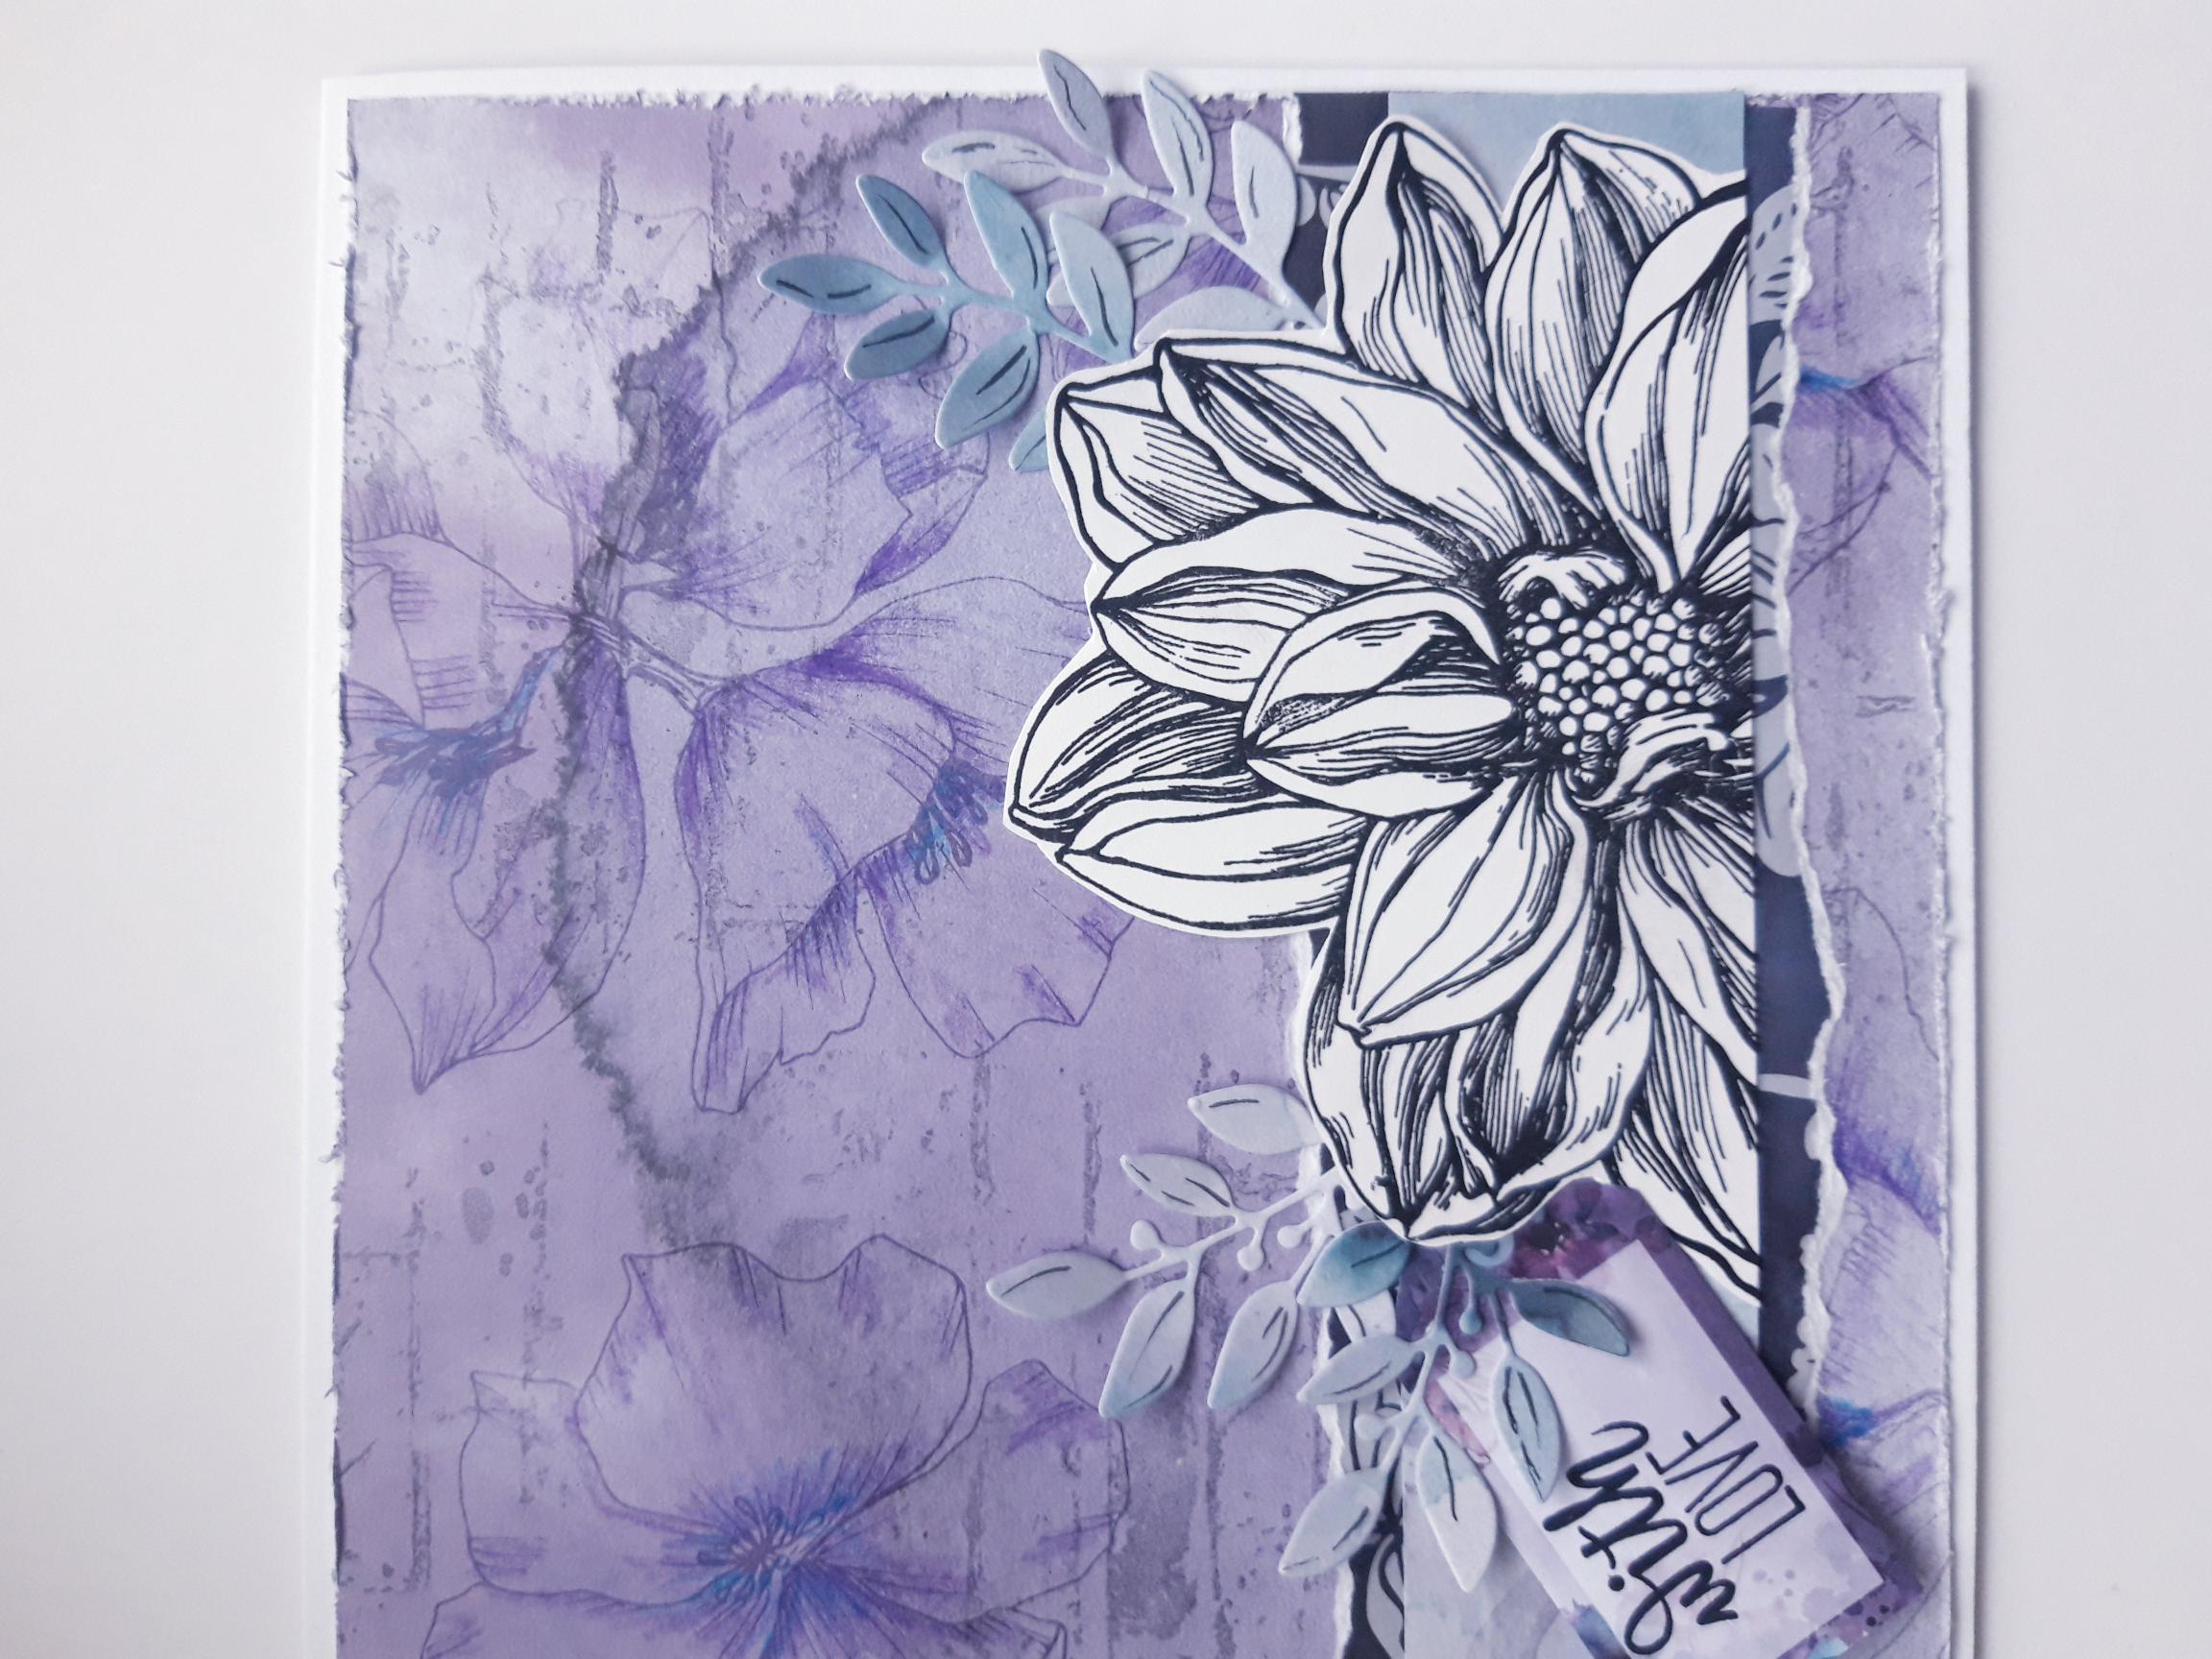
Lay the foliage die, from the Pressed Flowers Die Collection, on to any of the scrap papers you have, from the pad. Run it through your die cutting machine. |
|
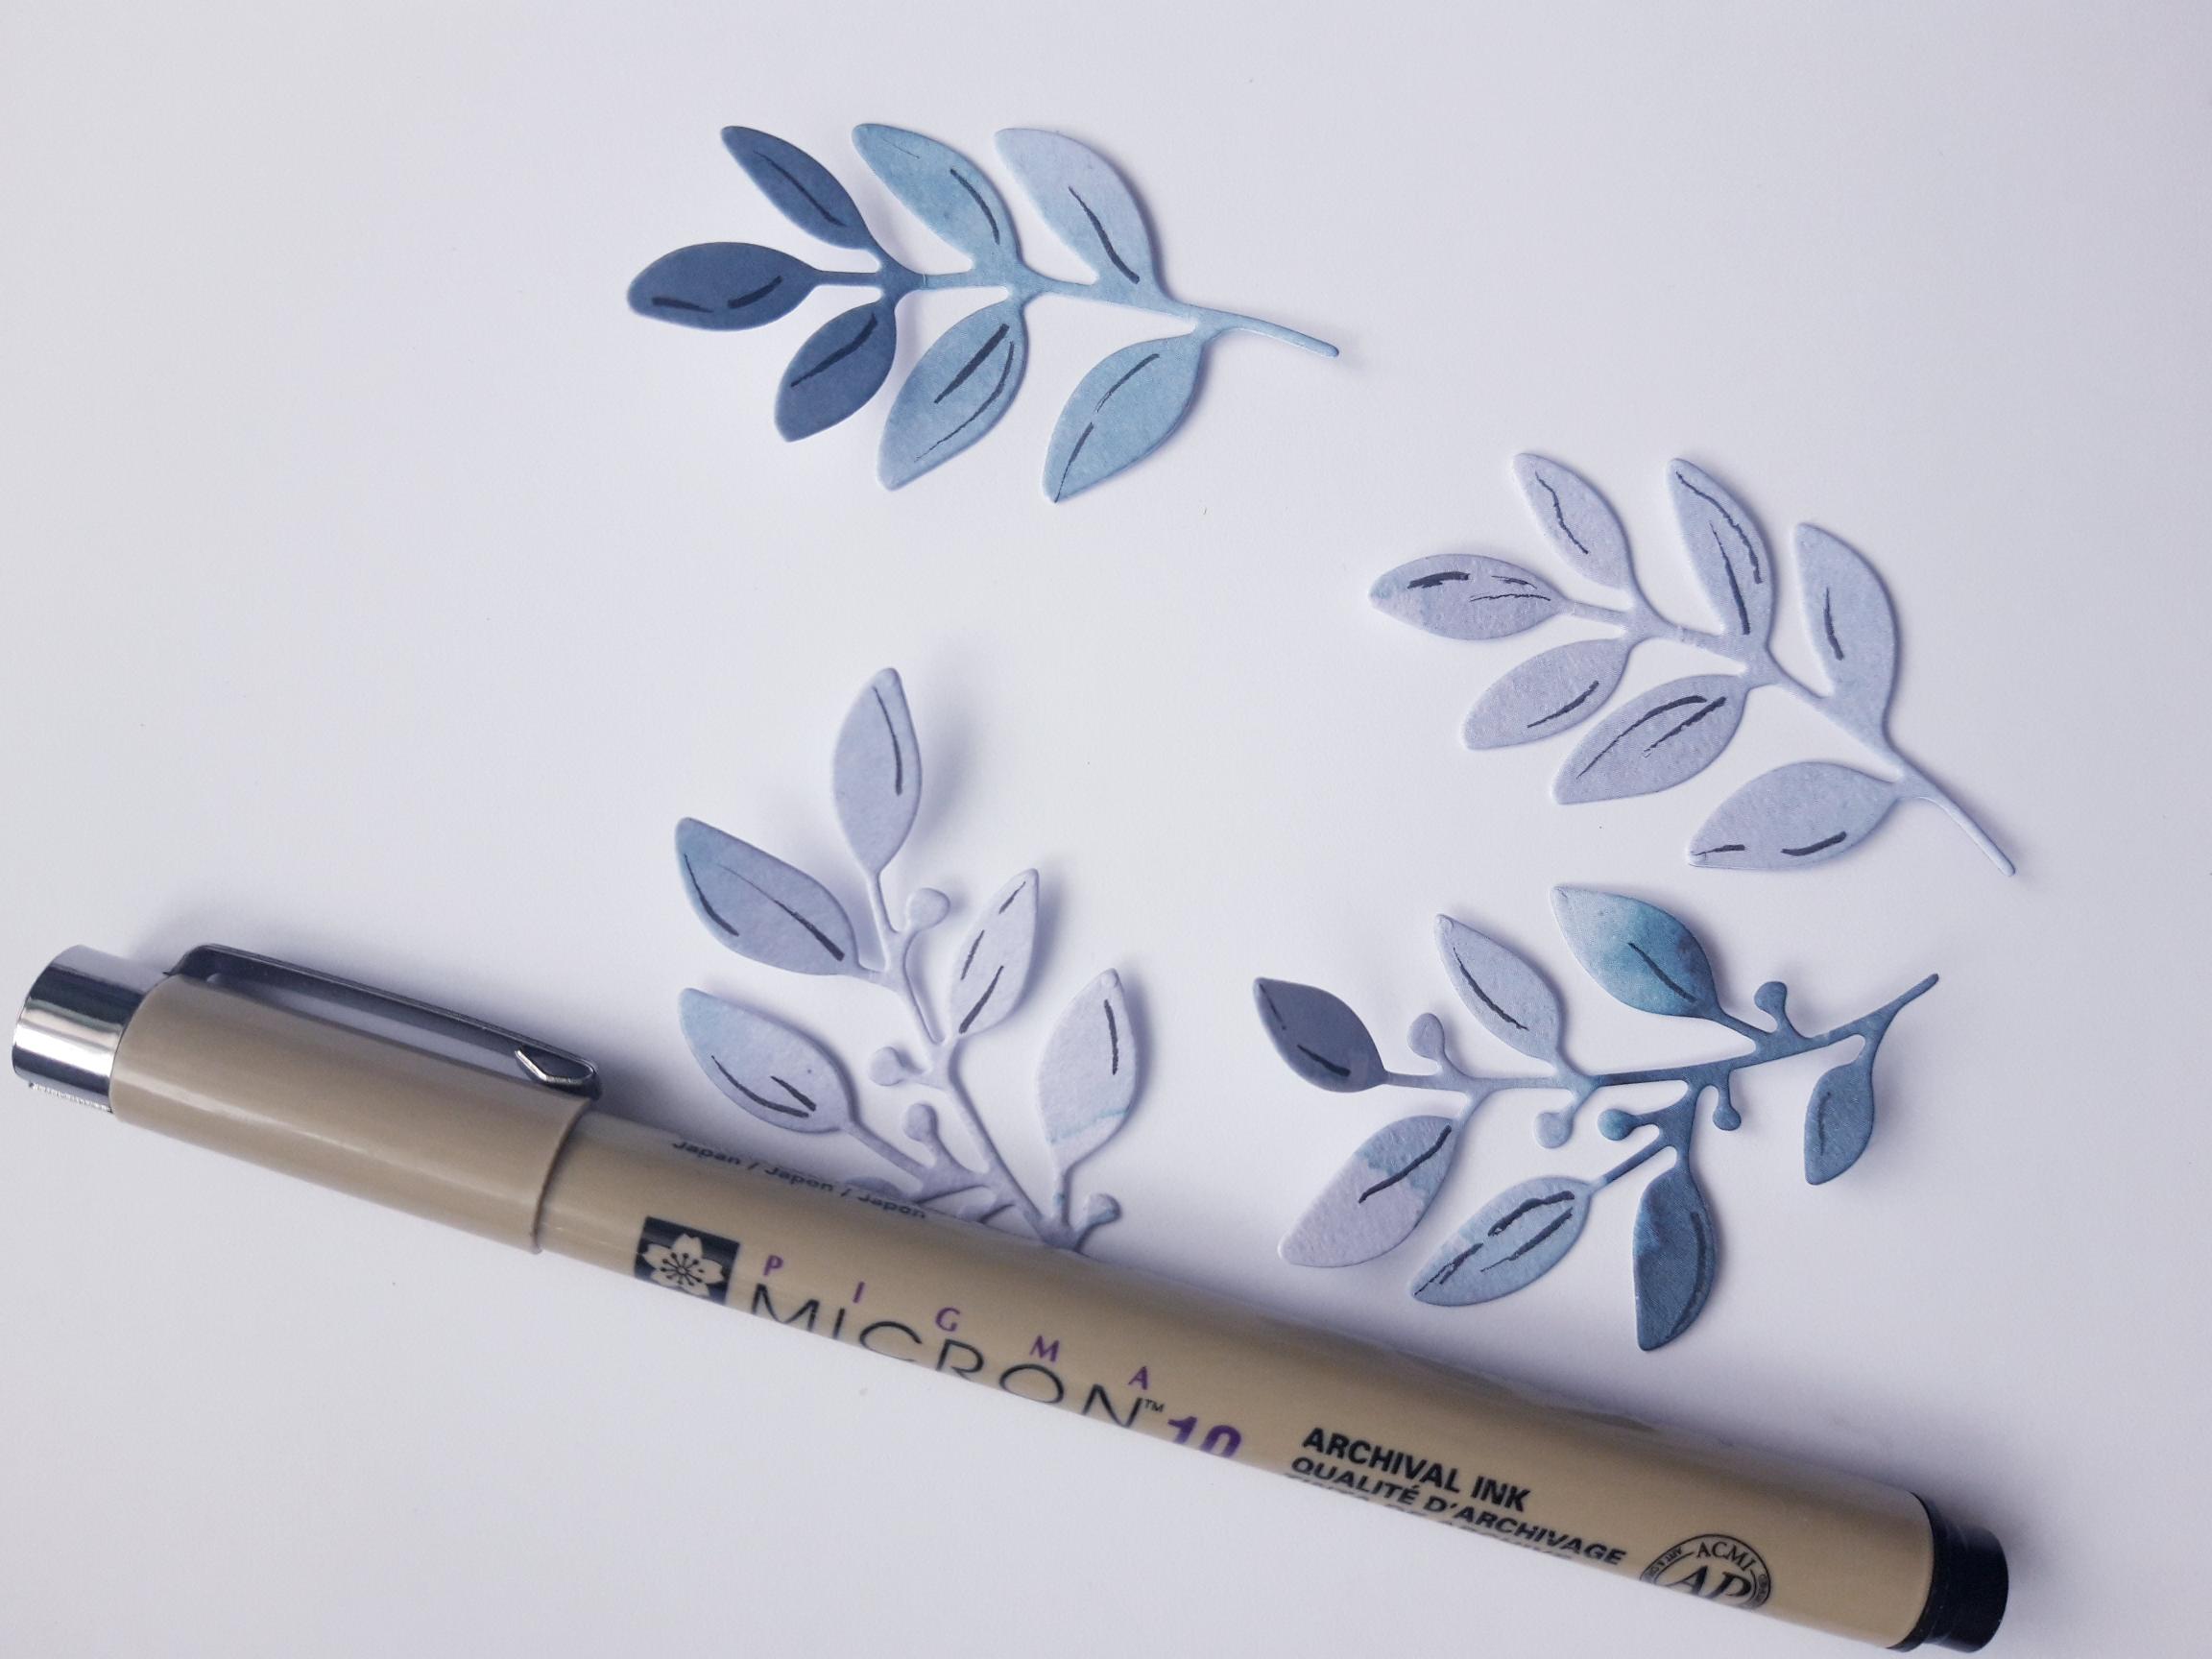
Add accents to your foliage, with a black pen, if desired. |
|
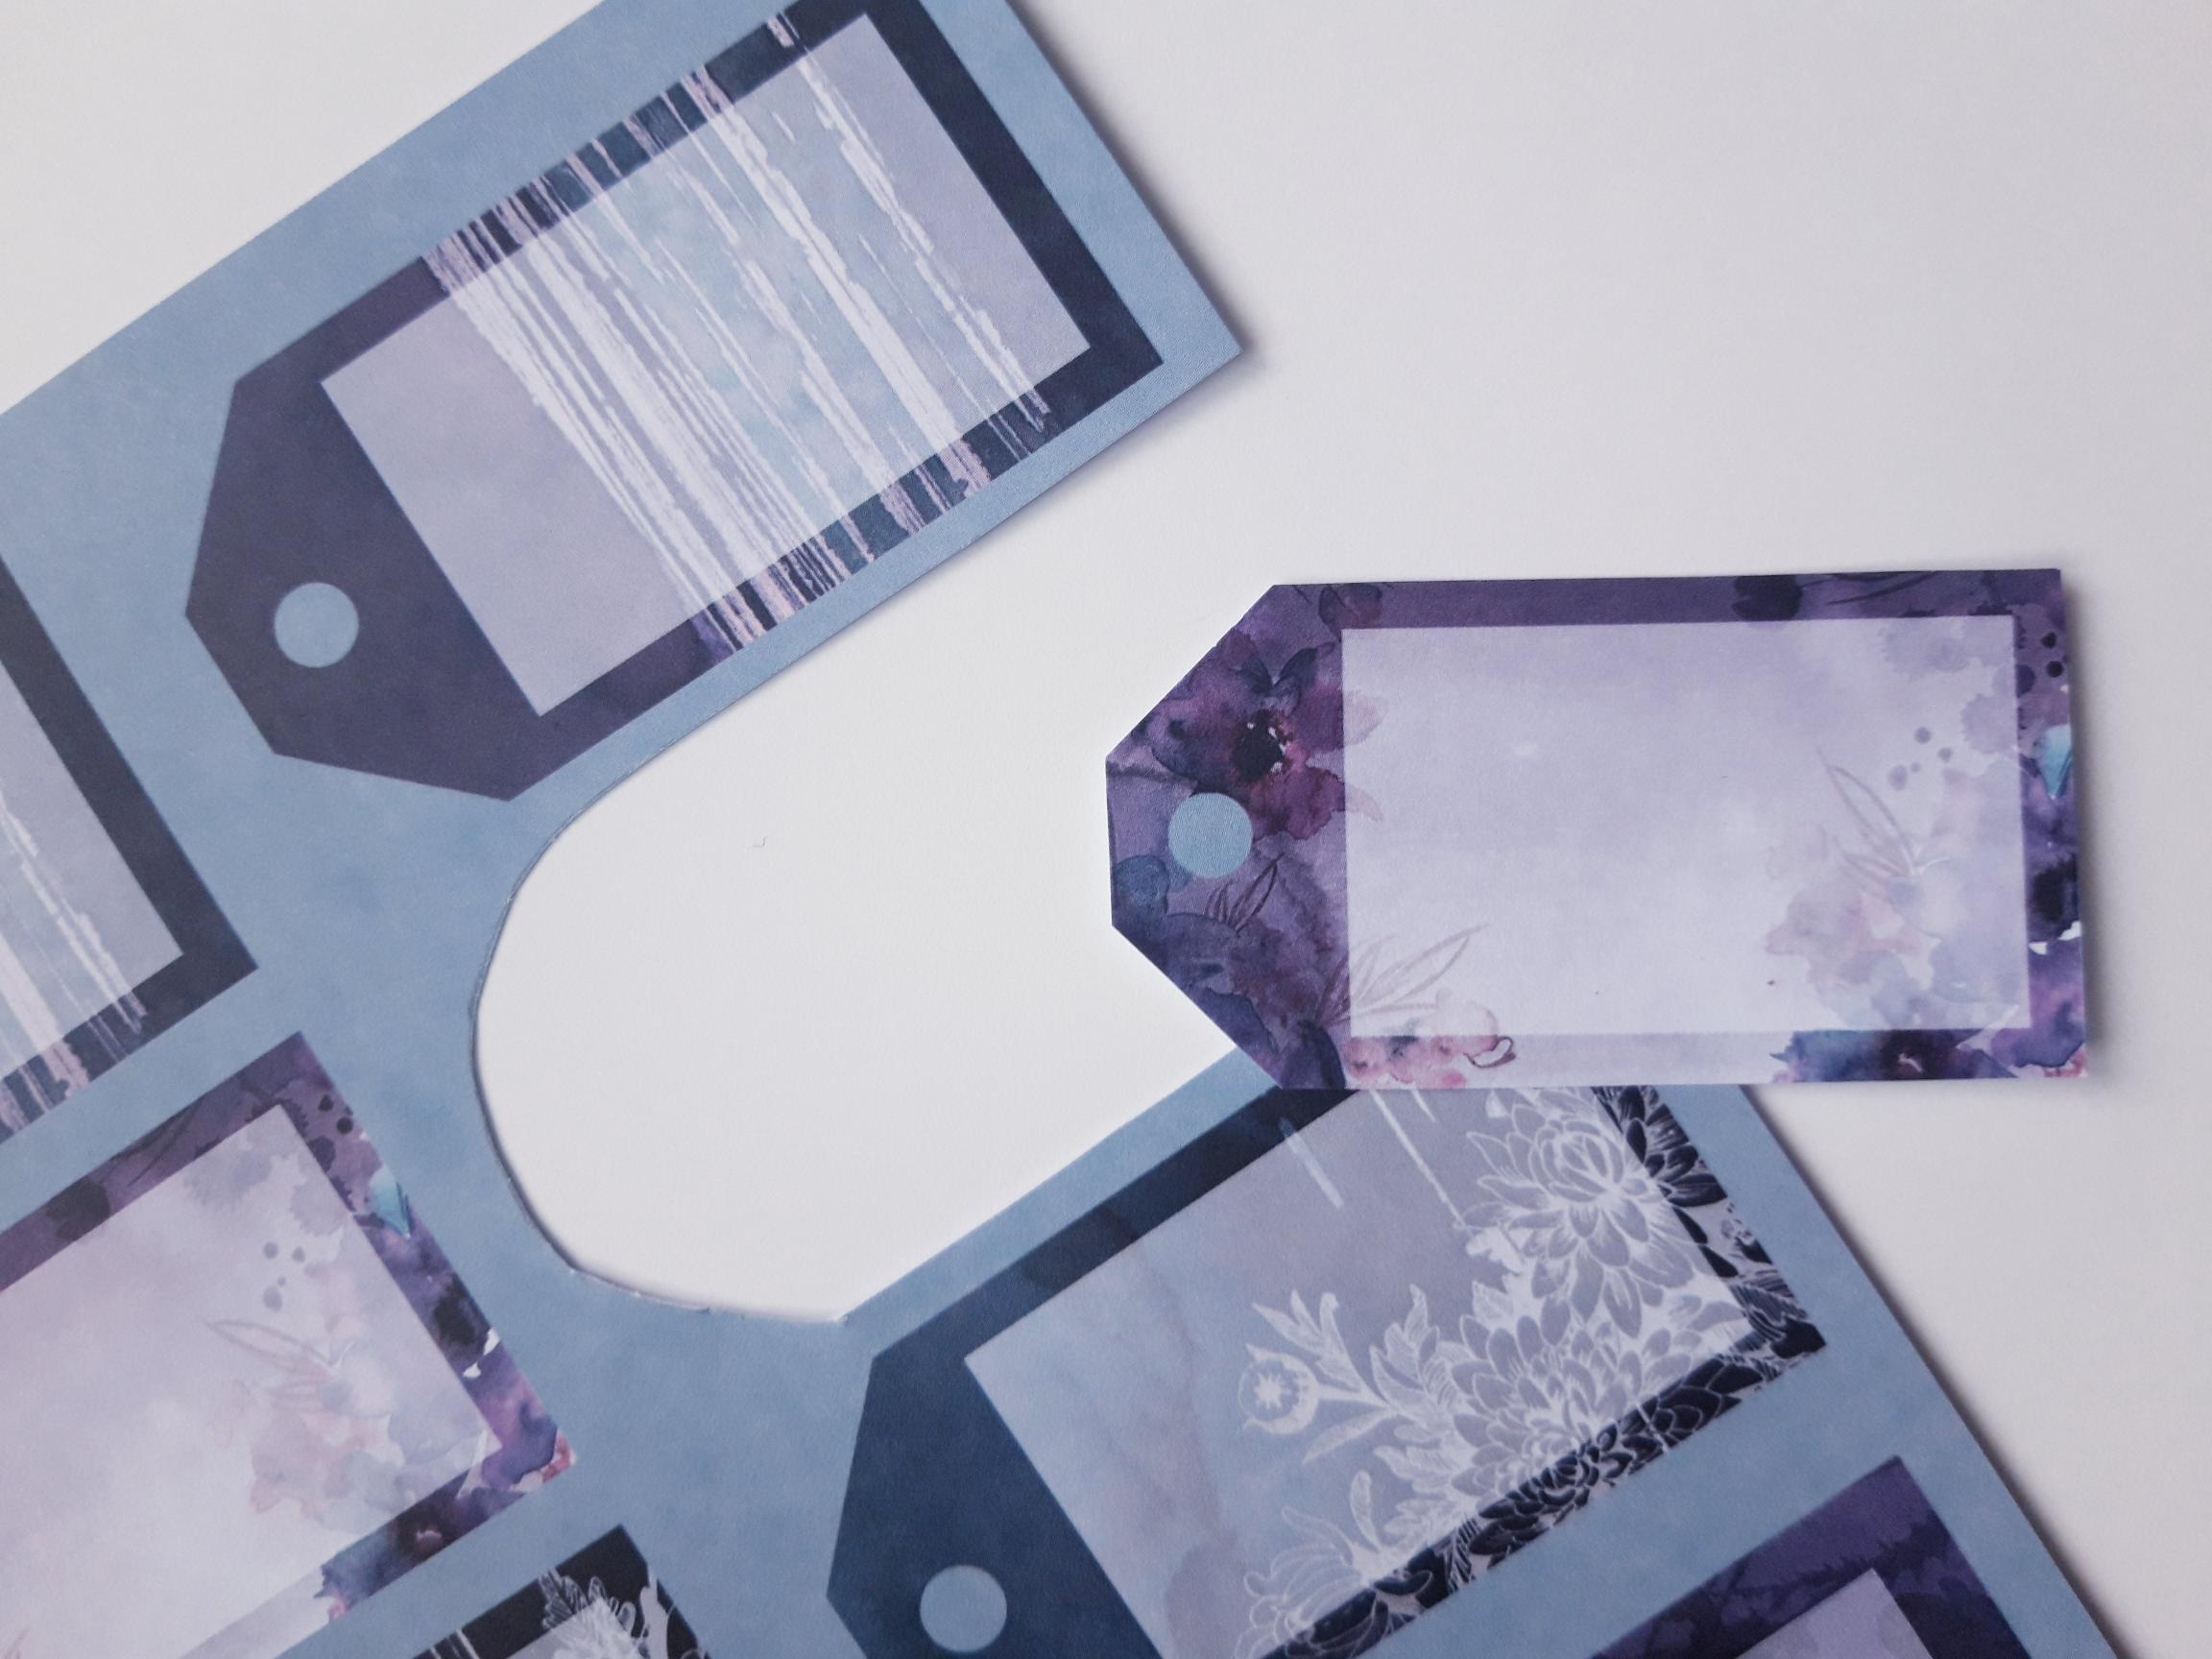
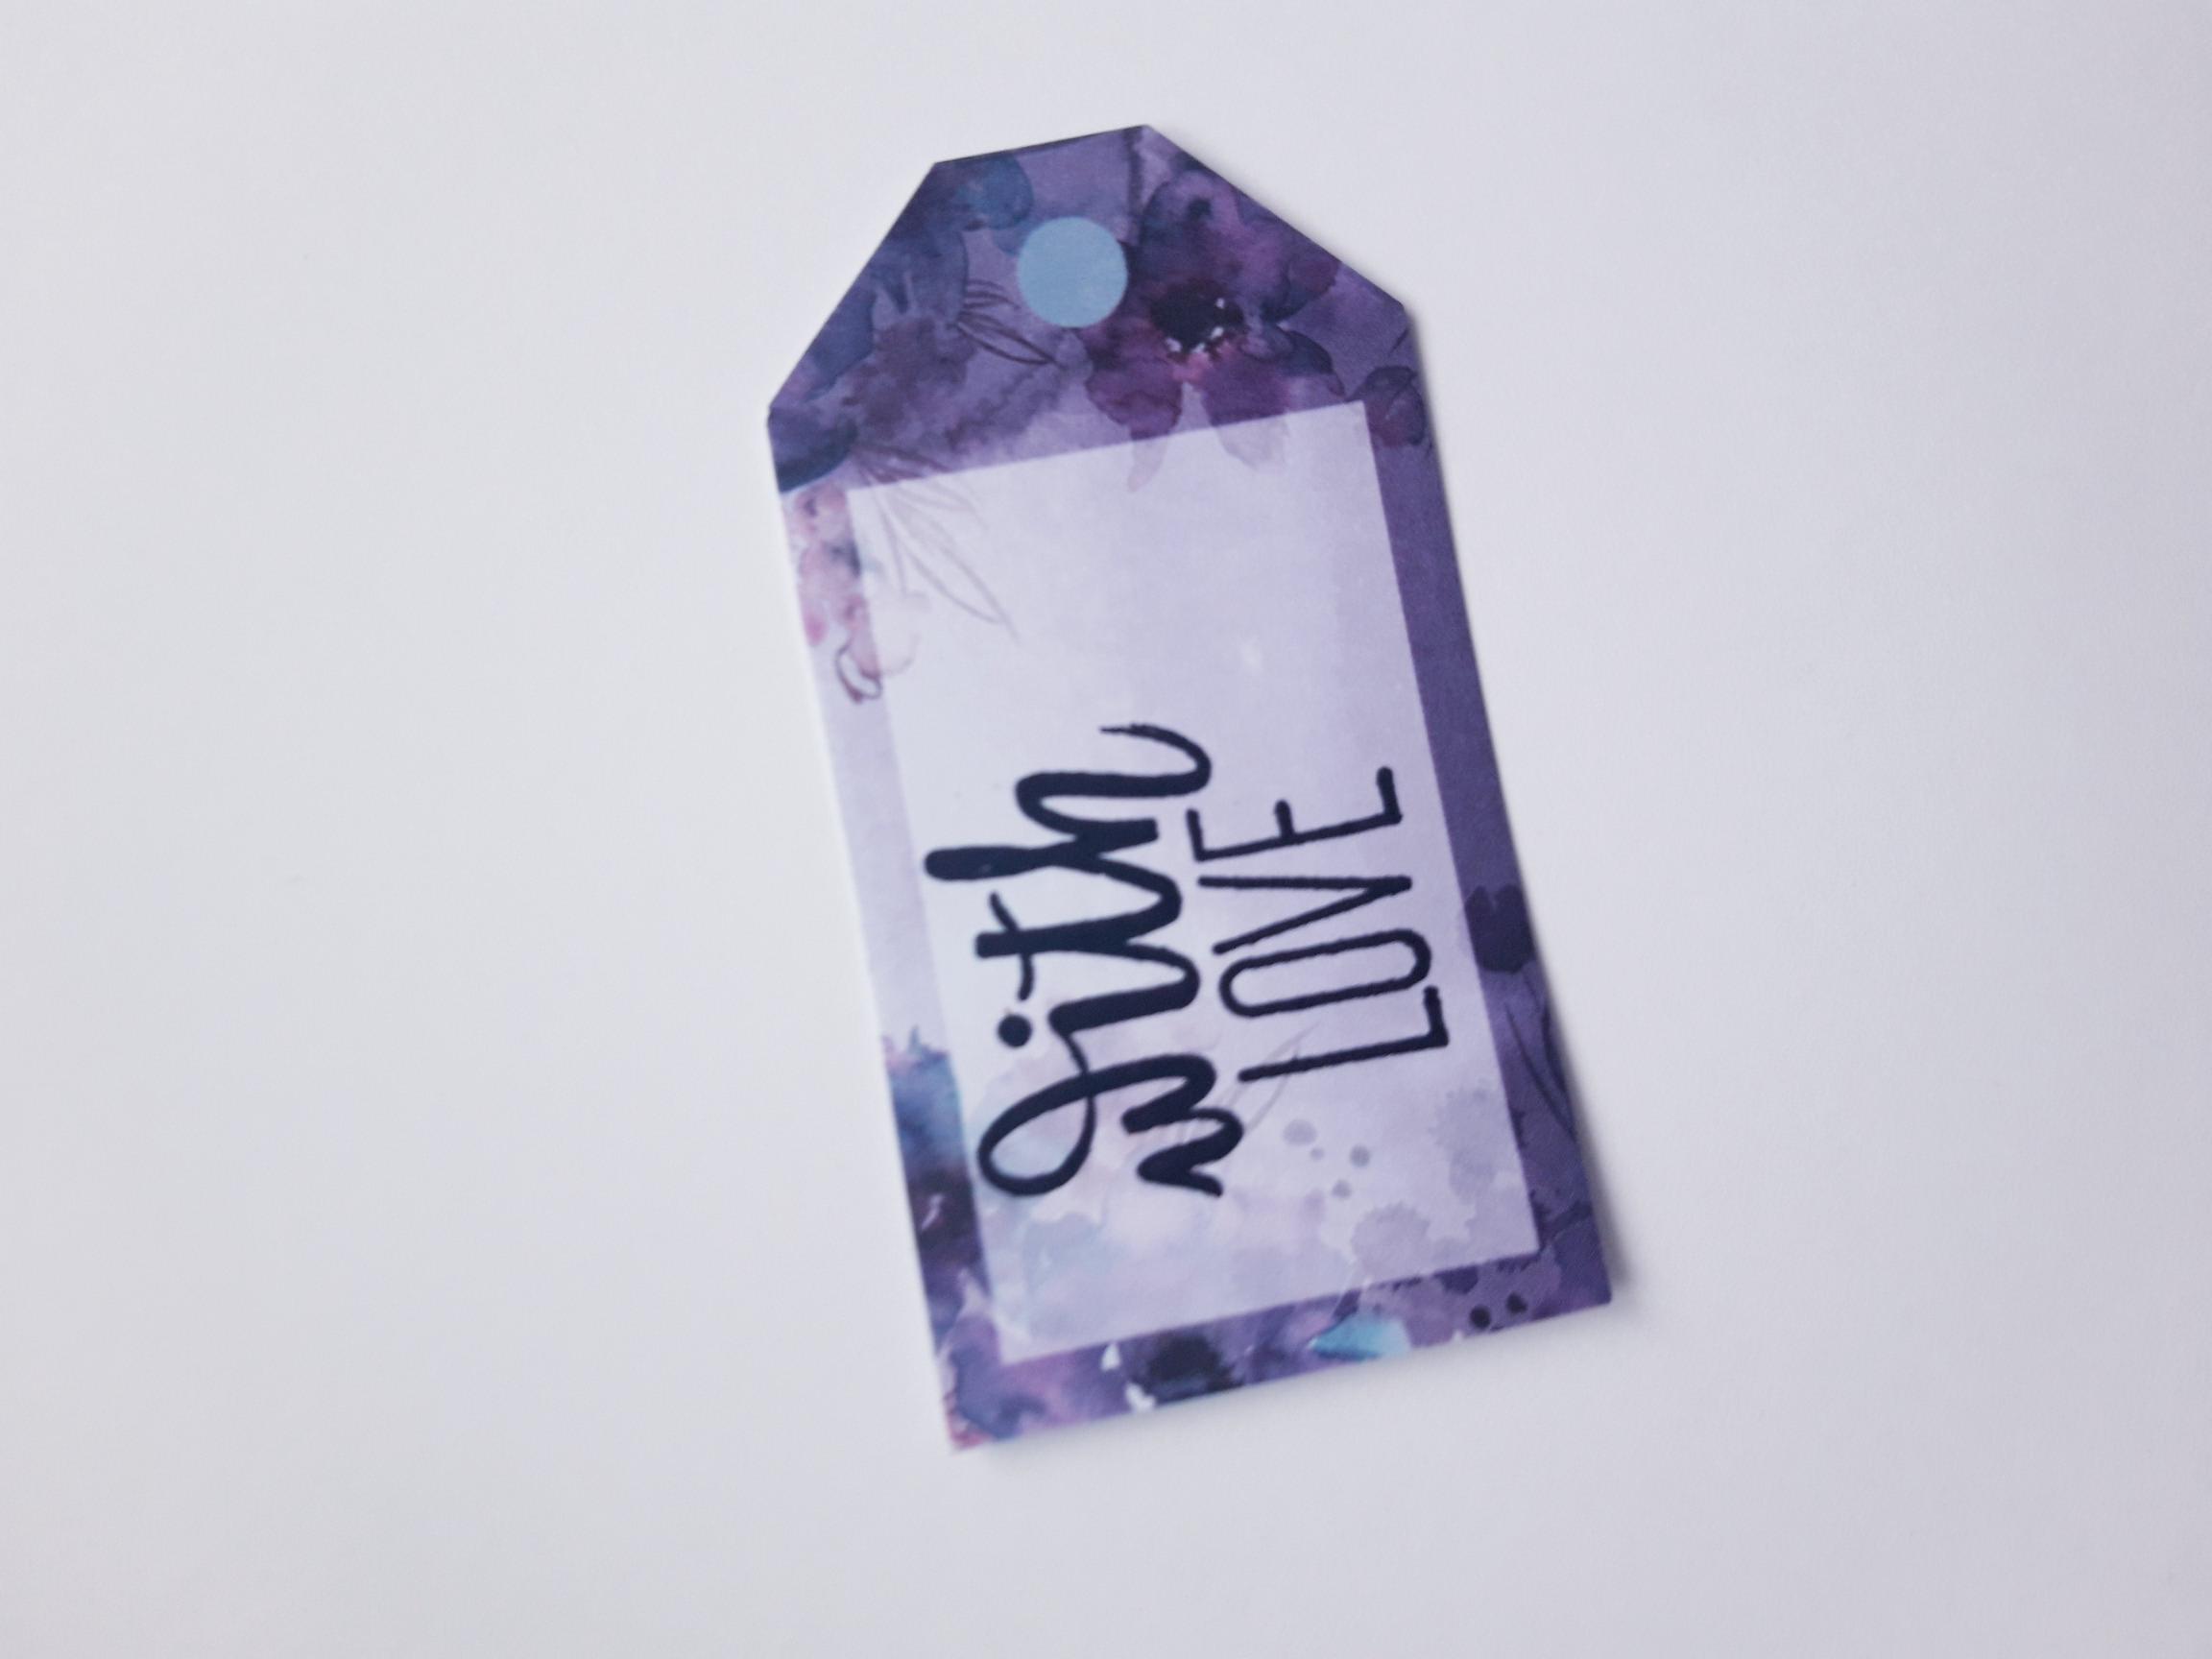
Cut out a tag, from the back of the paper pad. |
|
Ink up the sentiment stamp from the Beautiful Moments Lamination Stamp Collection, with the Onyx Black Versafine, and stamp on to your tag. |
|
Adhere tag tucked just under bottom left, of the floral die cut flower. |
|
Adhere the foliage where required, tucked around the die cut flower. |
|
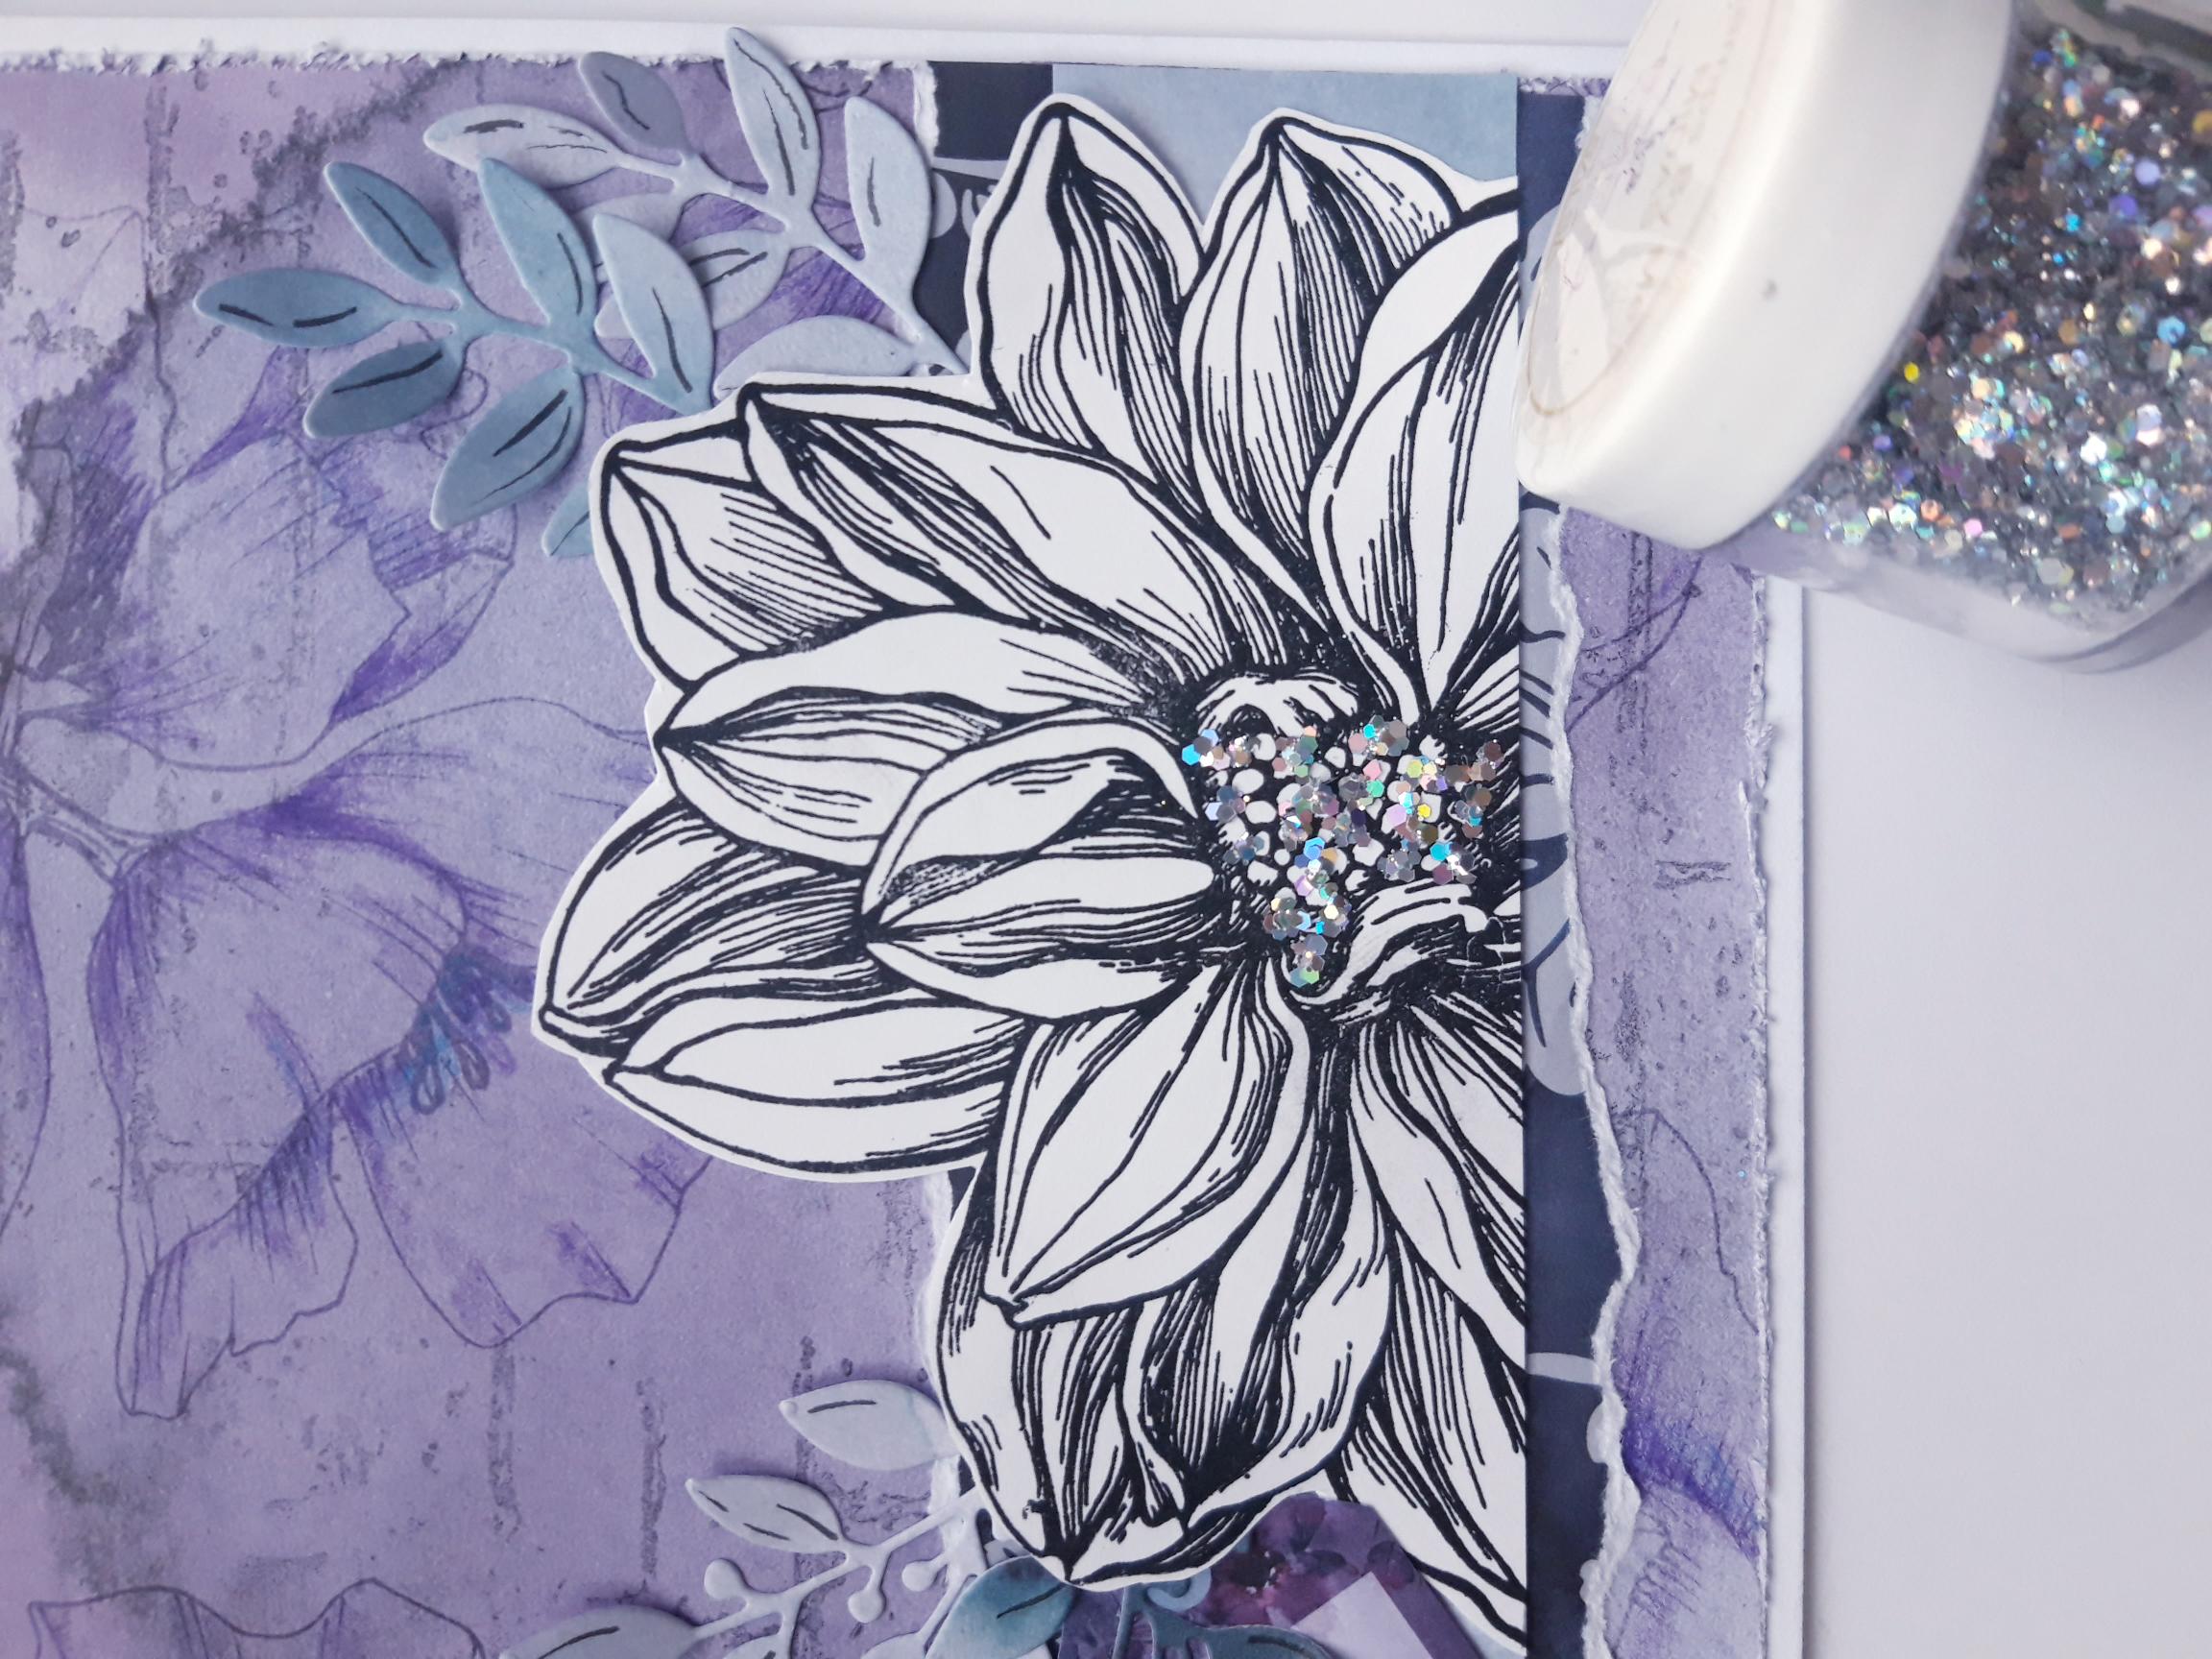
Add Midas Glitter to the centre of the die cut flower. |
|
To finish, add sequins on, around, and tucked under, your floral artwork. |