Offrez à vos amis 10 $ de remise sur leur première commande !
Parrainez un AMI








 Deal Huntersmar. 10 nov. 9 h 00
 HSN Inspirationmar. 10 nov. 13 h 00
 Hidden Gemsmer. 11 nov. 5 h 00
Les prix sont mis à jour immédiatement. Chaque langue est notre propre traduction, pas Google.
Un projet de notre émission en direct THE FRIDAY FINAL CUT - Diffusé le 6 novembre 2026 · 11/06/2026 · à voir dès 55:45
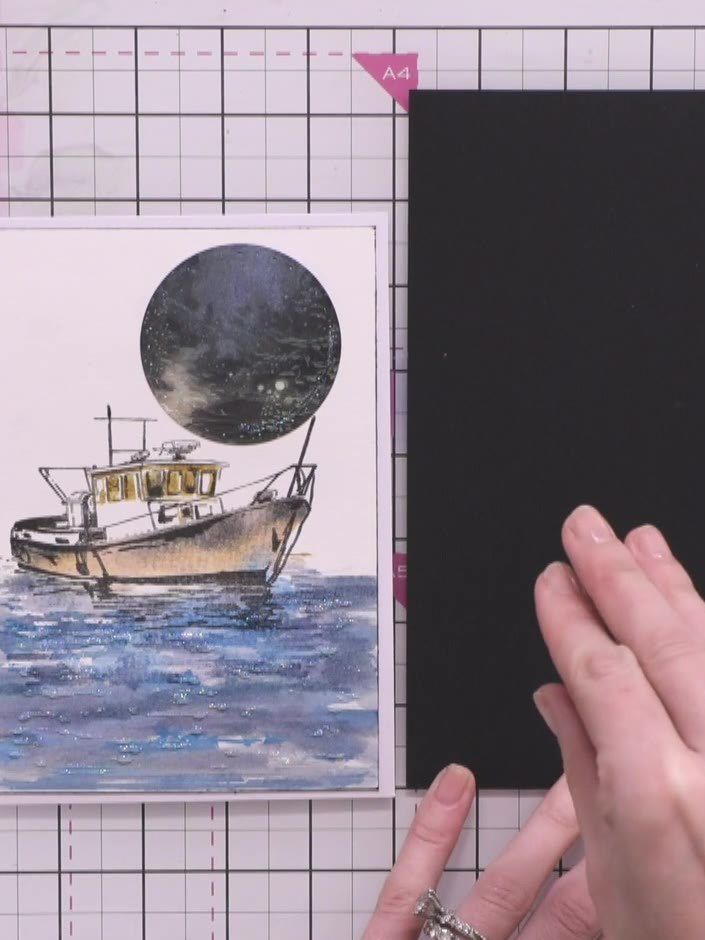
Create a striking boat card on black cardstock with white pigment ink stamping and clear embossing for a sophisticated, high-contrast finish. The embossed detail creates a glass-like dimensional shimmer that makes the nautical design truly stand out. This elegant technique transforms a simple stamp into a dramatic, contemporary greeting card.
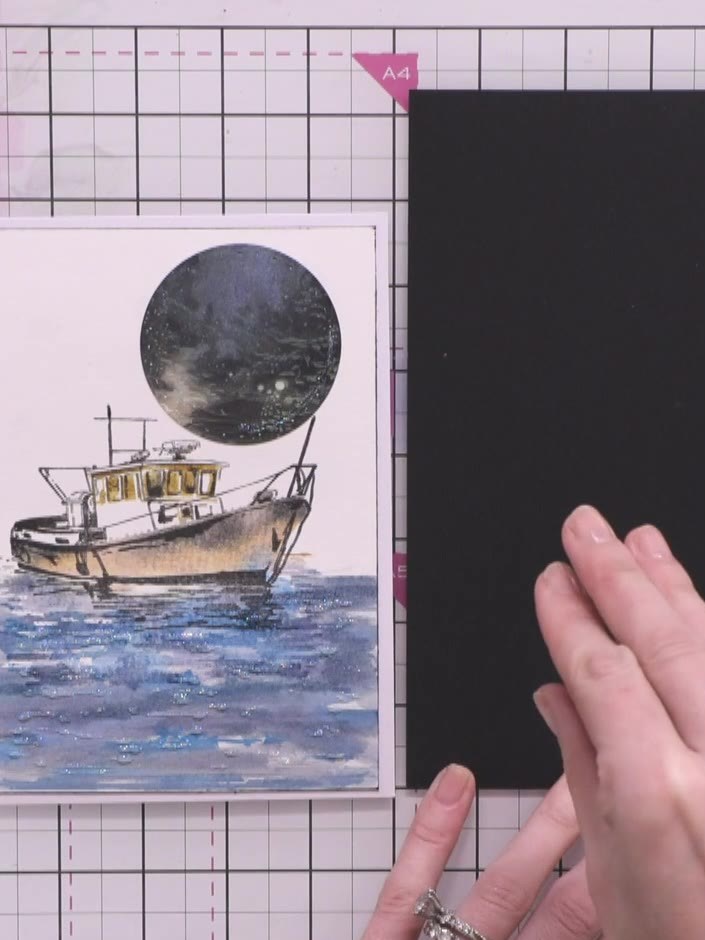
Cut a piece of black cardstock to your desired card size.
▶ voir cette étape (55:45)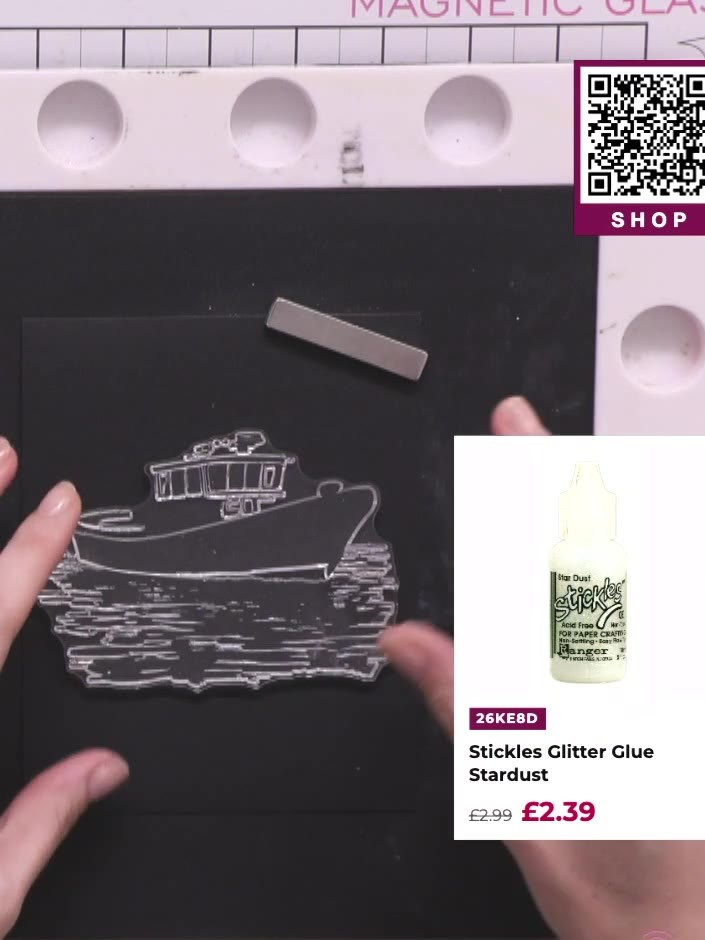
Ink up the solid portion of the boat stamp using white pigment ink, ensuring even coverage across the entire stamping surface.
▶ voir cette étape (58:15)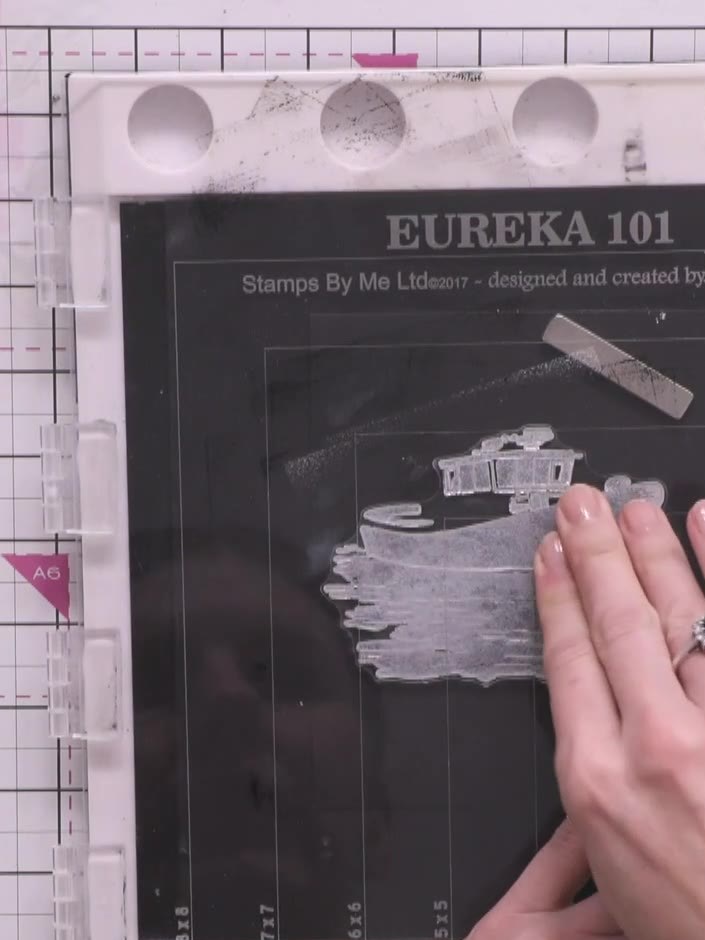
Stamp the inked solid portion of the boat image onto the black cardstock, positioning it in the centre of the panel.
▶ voir cette étape (58:30)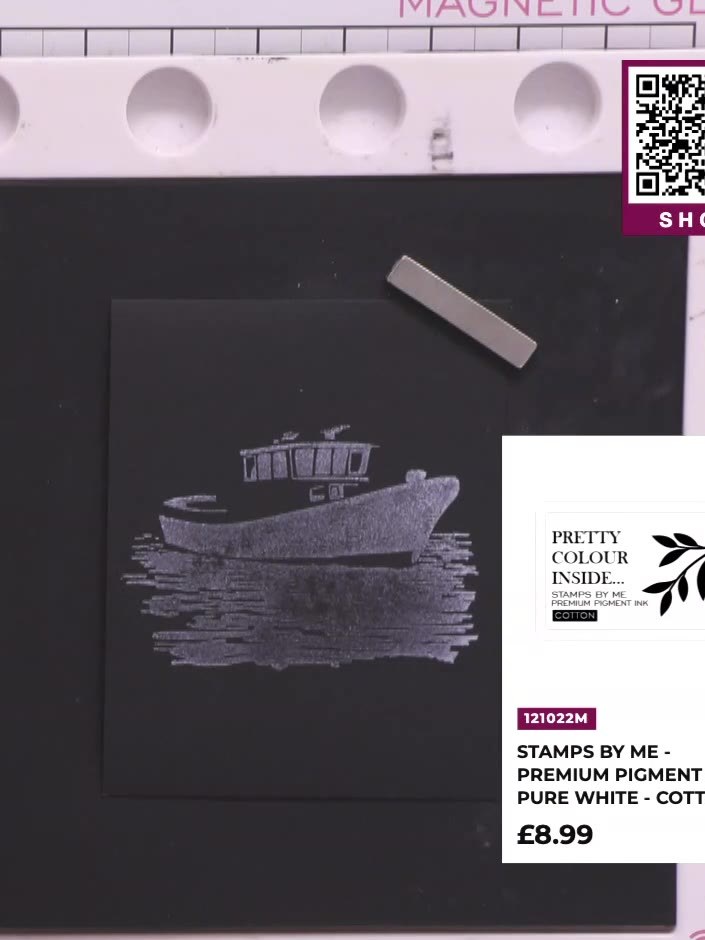
Reload the stamp with white pigment ink and stamp a second time directly over the first impression to build up the white colour and create a more opaque finish.
▶ voir cette étape (59:30)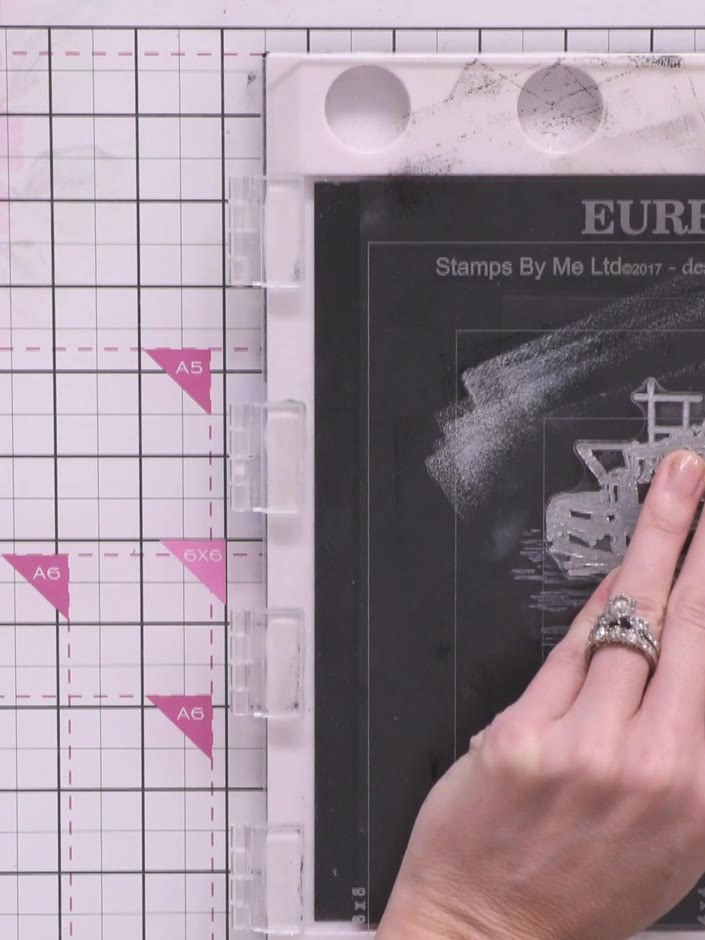
Sprinkle clear gloss embossing powder over the wet white ink on the boat image. Ensure the powder covers all the stamped areas completely.
▶ voir cette étape (1:00:00)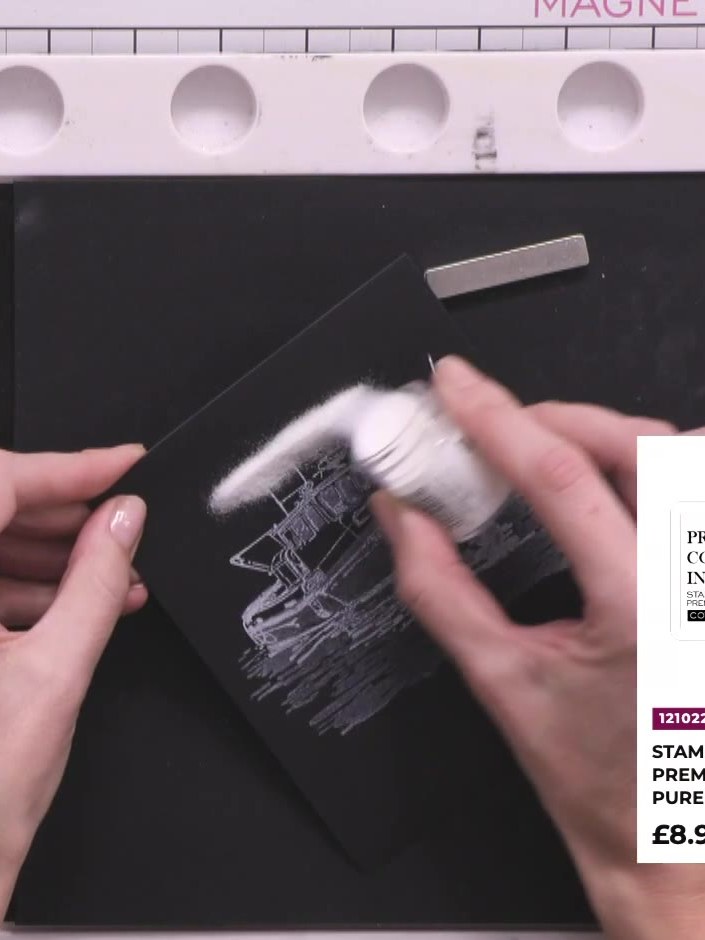
Heat-set the white embossing powder using a heat gun, moving it over the surface until the powder melts and becomes shiny and glass-like.
▶ voir cette étape (1:00:45)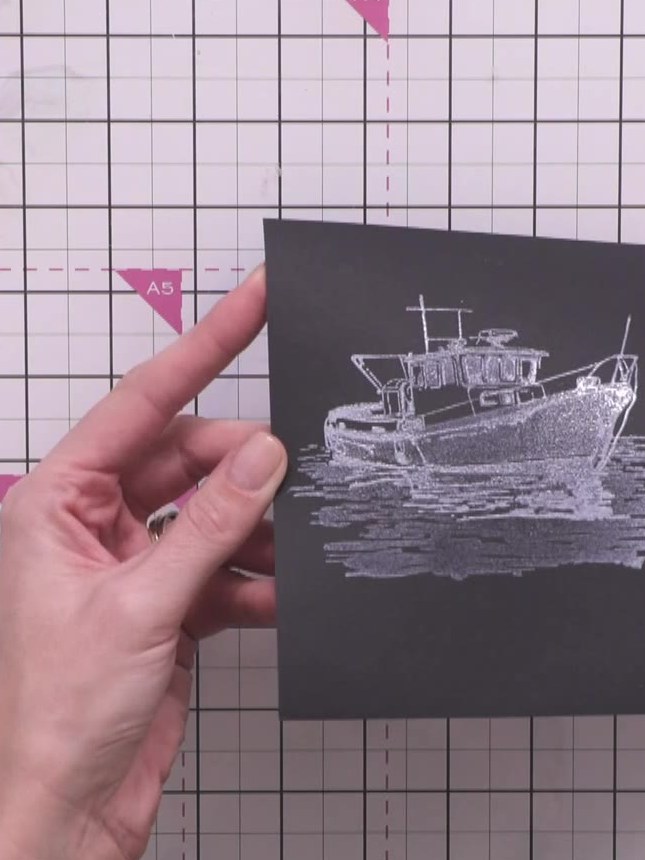
Once the embossed image has cooled, you can optionally add white details such as a moon or additional highlights to complement the embossed boat design on your black cardstock.
▶ voir cette étape (1:02:45)Rédigé à partir de l'émission elle-même. Découvrez tous les guides de nos émissions · tutoriels gratuits · regarder en direct sur My Telly
