Offrez à vos amis 10 $ de remise sur leur première commande !
Parrainez un AMI








 The Friday Final Cutven. 6 nov. 5 h 00
 Community Showcaselun. 9 nov. 5 h 00
 Hobbymaker Tvlun. 9 nov. 9 h 00
Les prix sont mis à jour immédiatement. Chaque langue est notre propre traduction, pas Google.
Un projet de notre émission en direct CREATE AND CRAFT - ONE DAY SPECIAL - Retrouvez Toni pour sa première heure - Diffusée le 3 juin 22 · 06/03/2022 · à voir dès 8:30
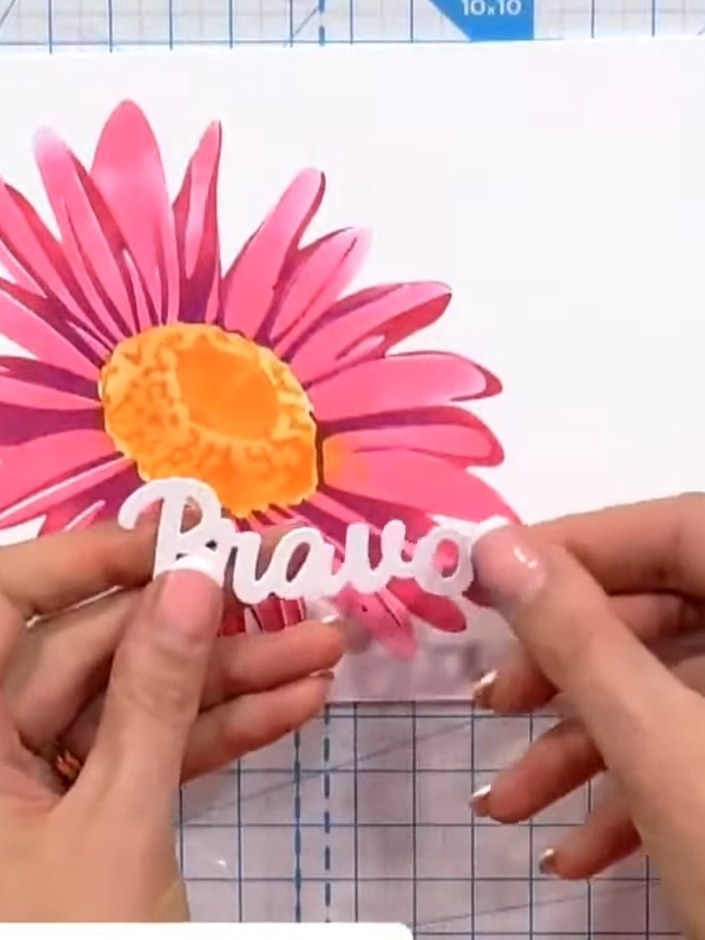
Create a stunning three-dimensional daisy card using layered stencilling techniques. This project features a vibrant pink and coral gerbera flower with a golden centre, built up through multiple layers for realistic depth and dimension. The colour blending technique brings the flower to life, creating a beautiful focal point for your handmade card.
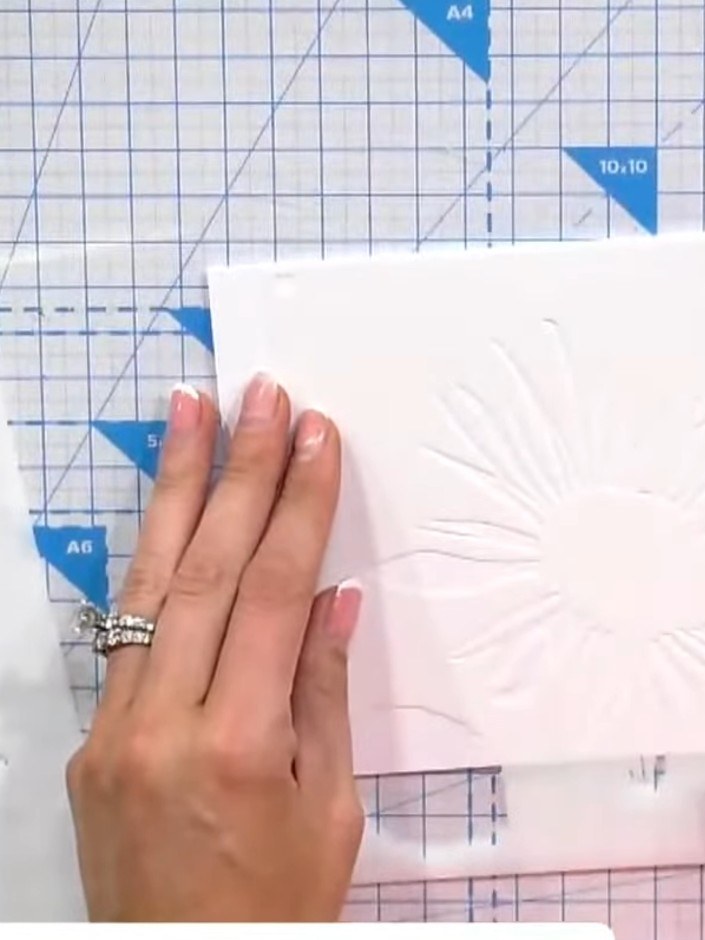
Place the first stencil onto your white cardstock. Align the registration hearts in the corners of the stencil with the corners of your card to ensure proper positioning.
▶ voir cette étape (8:45)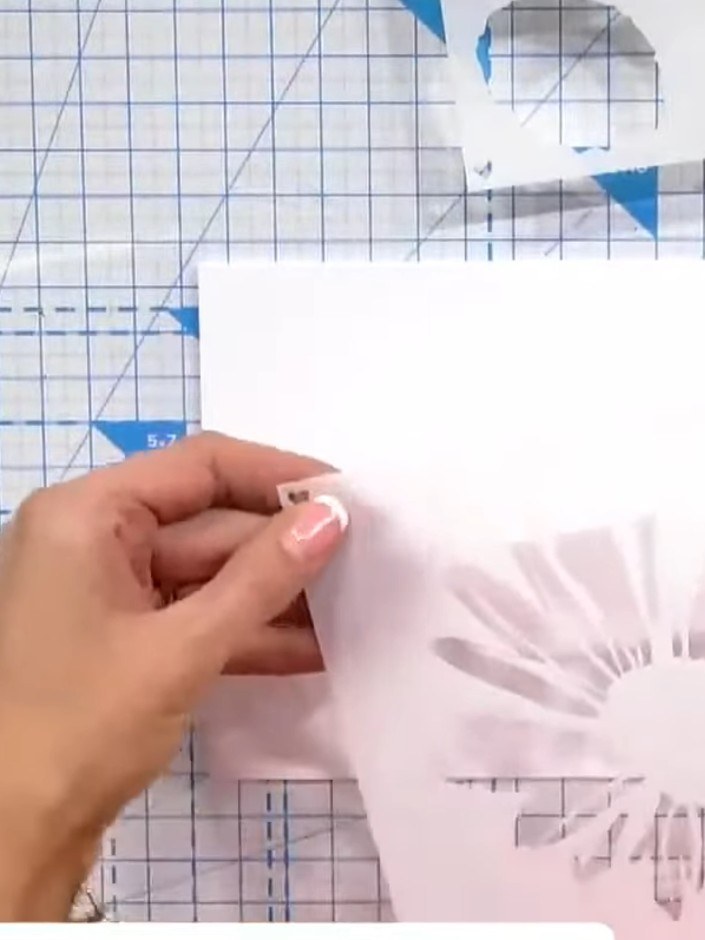
Pounce a dye-based ink pad through the stencil using a sponge, working gently to build up the colour. Keep the stencil flat and secure whilst inking.
▶ voir cette étape (9:00)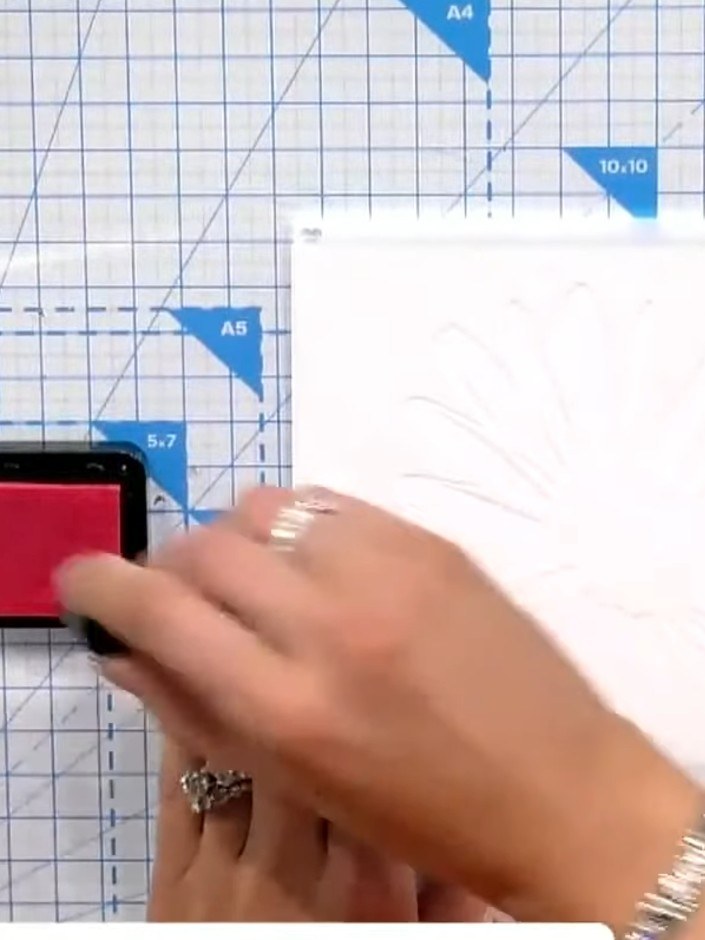
Remove the first stencil and position the second stencil on your card, carefully aligning the registration hearts with the ink marks you've already made.
▶ voir cette étape (9:30)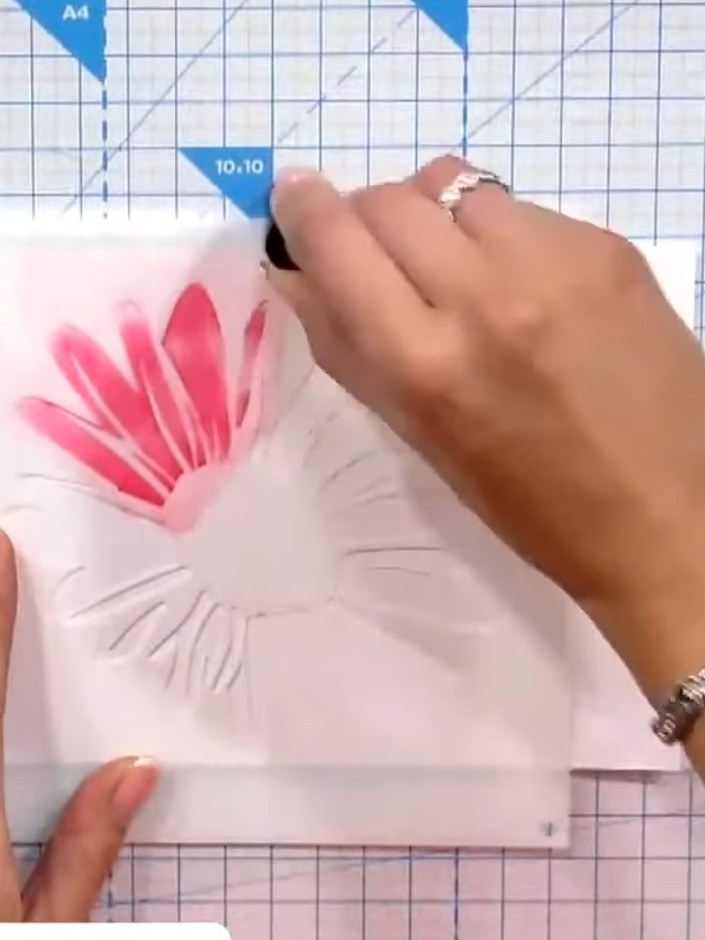
Apply a darker or contrasting pink ink through the second stencil layer, pouncing gently to add depth and dimension to the daisy petals.
▶ voir cette étape (10:00)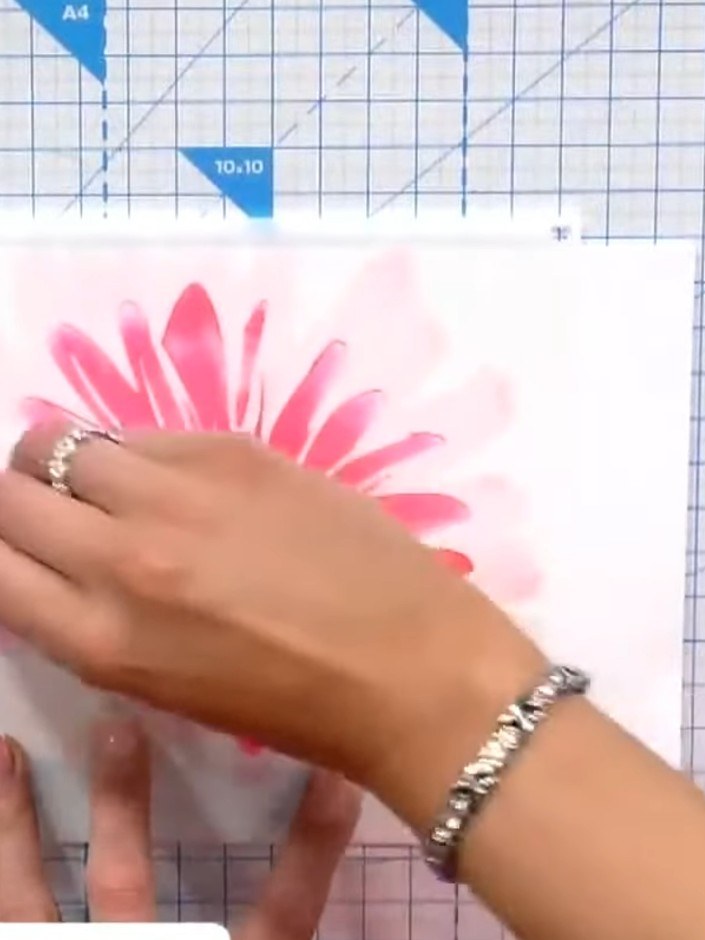
Position the third layer of the stencil over the flower centre. Apply orange or pink ink to create the focal point of the daisy.
▶ voir cette étape (11:00)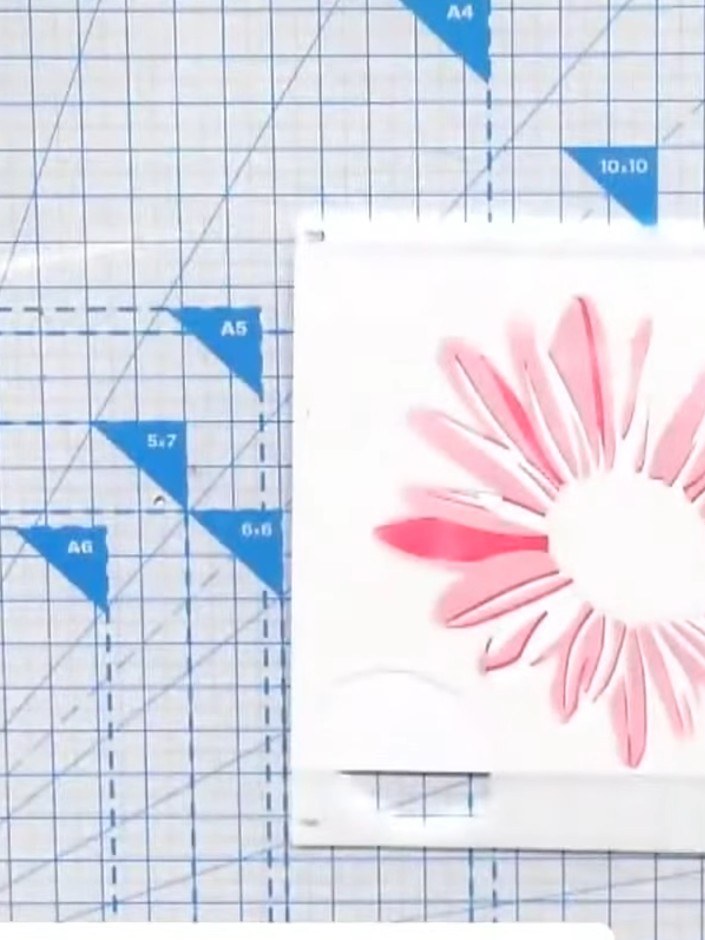
Pounce the centre colour of the daisy carefully onto the card using the mini ink pad. Take care around any delicate detail areas of the stencil to ensure clean, precise coverage.
▶ voir cette étape (11:30)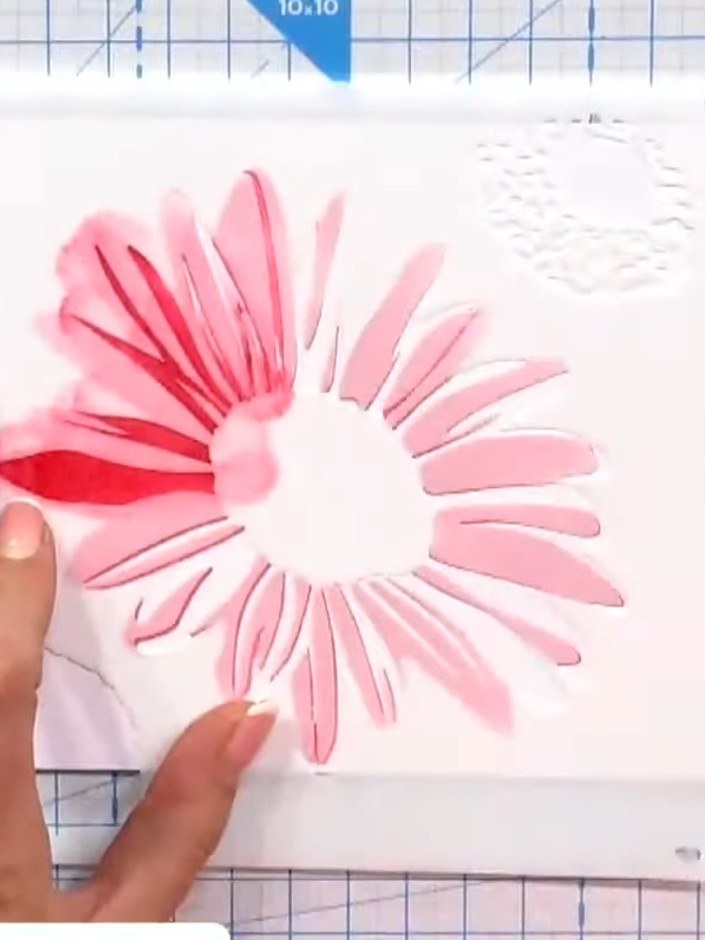
Use a brush to fill in any white gaps between the stencilled petals with matching pink ink for a seamless finish.
▶ voir cette étape (12:00)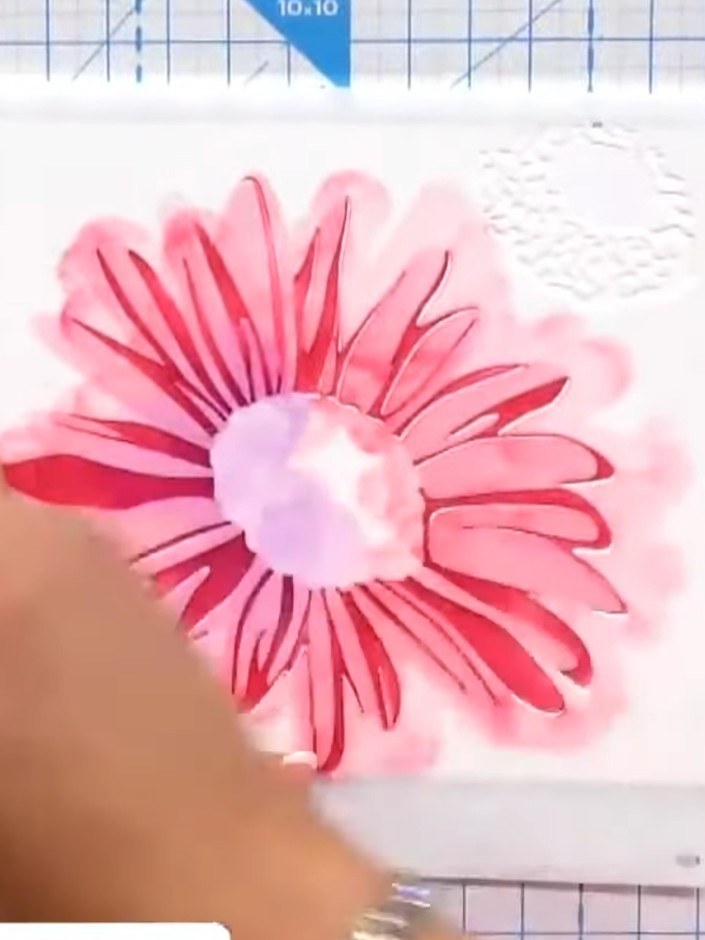
For a duotone halo effect, use the same stencil to add a fourth layer around the centre with purple ink, blending it softly to create depth.
▶ voir cette étape (13:00)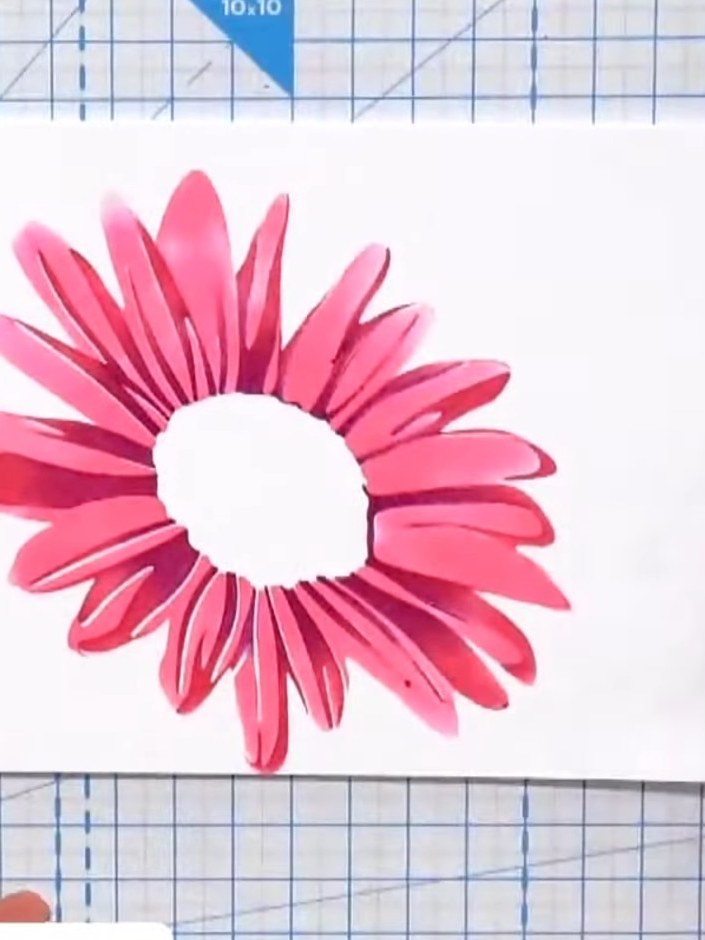
Once the stencilled flower is completely dry, use the coordinating die to cut out the flower shape. This will create a dimensional element ready to add to your card.
▶ voir cette étape (13:30)Rédigé à partir de l'émission elle-même. Découvrez tous les guides de nos émissions · tutoriels gratuits · regarder en direct sur My Telly
