Offrez à vos amis 10 $ de remise sur leur première commande !
Parrainez un AMI








 The Friday Final Cutven. 6 nov. 5 h 00
 Community Showcaselun. 9 nov. 5 h 00
 Hobbymaker Tvlun. 9 nov. 9 h 00
Les prix sont mis à jour immédiatement. Chaque langue est notre propre traduction, pas Google.
Un projet de notre émission en direct BRAND SHOWCASE - Rejoignez IMALA pour cet événement très apprécié où les PETITES marques se font entendre le PLUS FORT - Diffusé le 4 nov. 22 · 11/04/2022 · à voir dès 28:00
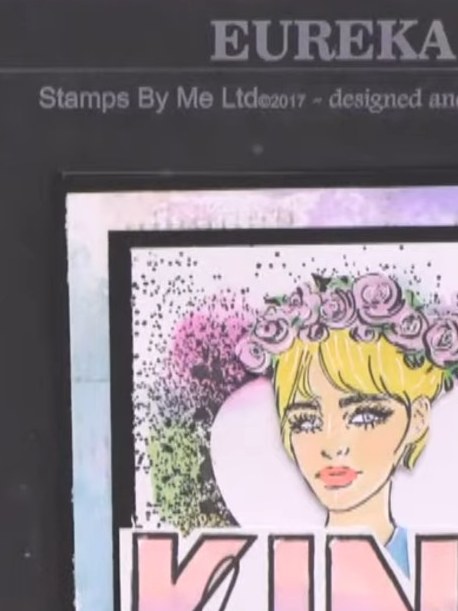
Réalisez une carte élégante ornée d'un magnifique cœur embossé, d'un portrait et du message « KIND ». Ce projet raffiné associe fonds à l'aquarelle, embossage doré et délicates couches de papier calque pour un fini romantique et artistique. Les principales techniques : le tamponnage, l'embossage à chaud et la superposition de papier calque déchiré pour un effet doux et vaporeux.
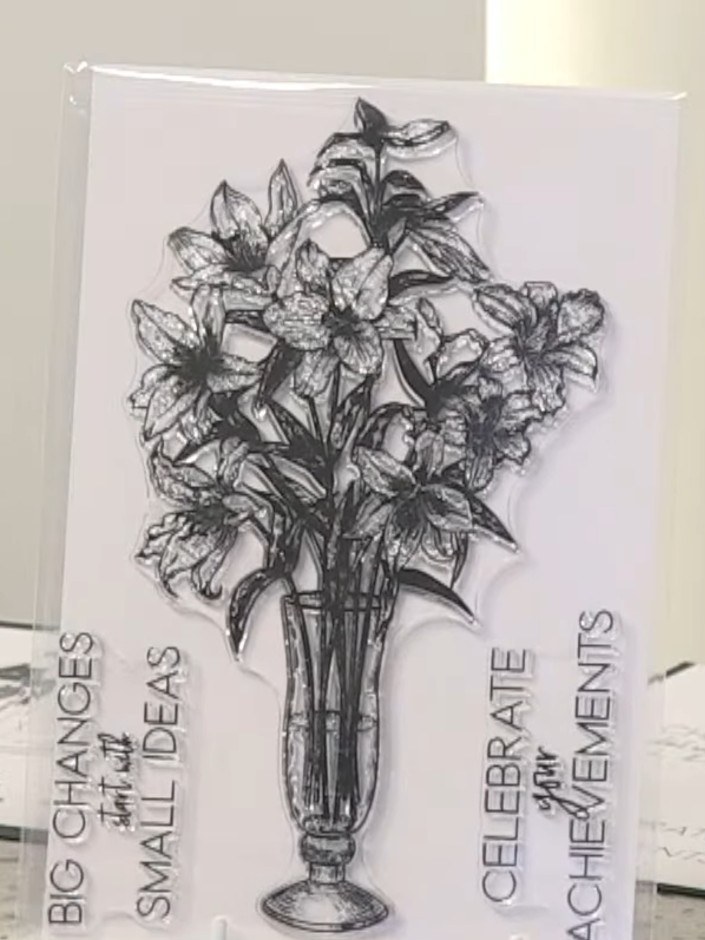
Stamp the heart art design onto vellum using black ink. Position the stamp carefully to create a clear impression of the floral heart image.
▶ voir cette étape (28:15)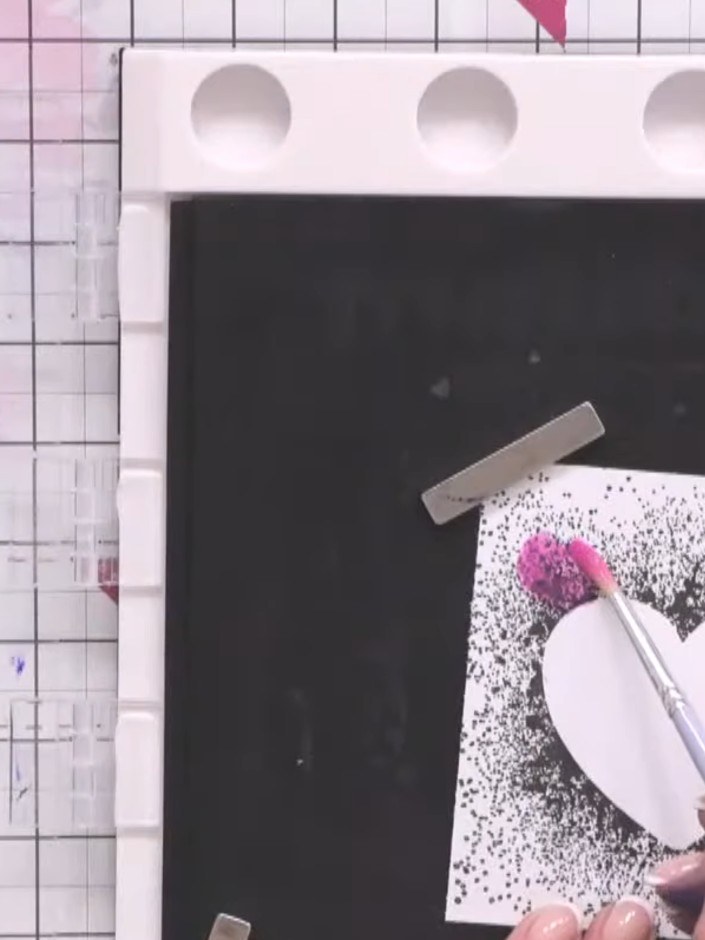
Apply gold embossing powder to the stamped heart. Heat the powder with an embossing tool until it melts and creates a raised, shiny finish.
▶ voir cette étape (28:30)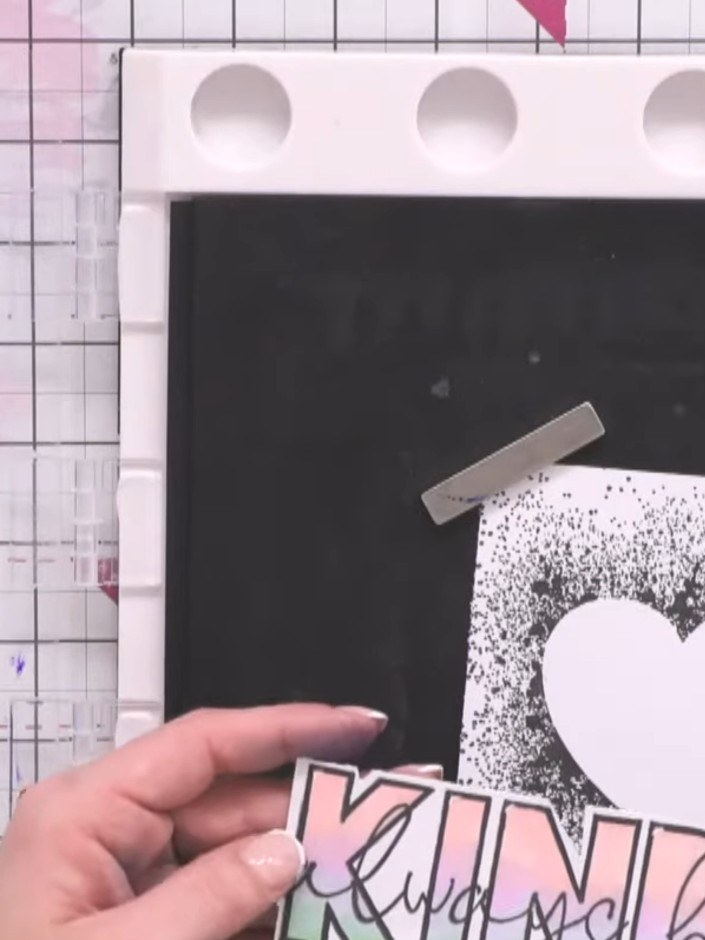
Wrap the torn vellum around your card base to create a decorative layer.
▶ voir cette étape (29:00)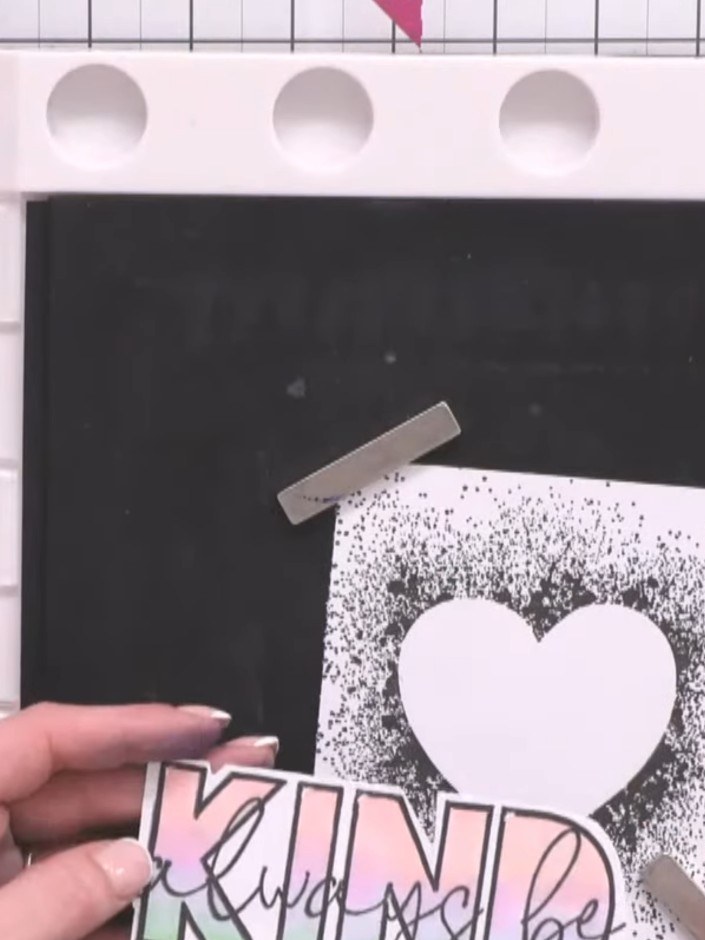
Stamp the 'always be kind' sentiment onto the vellum panel using black ink. Position the sentiment below the heart aperture.
▶ voir cette étape (29:15)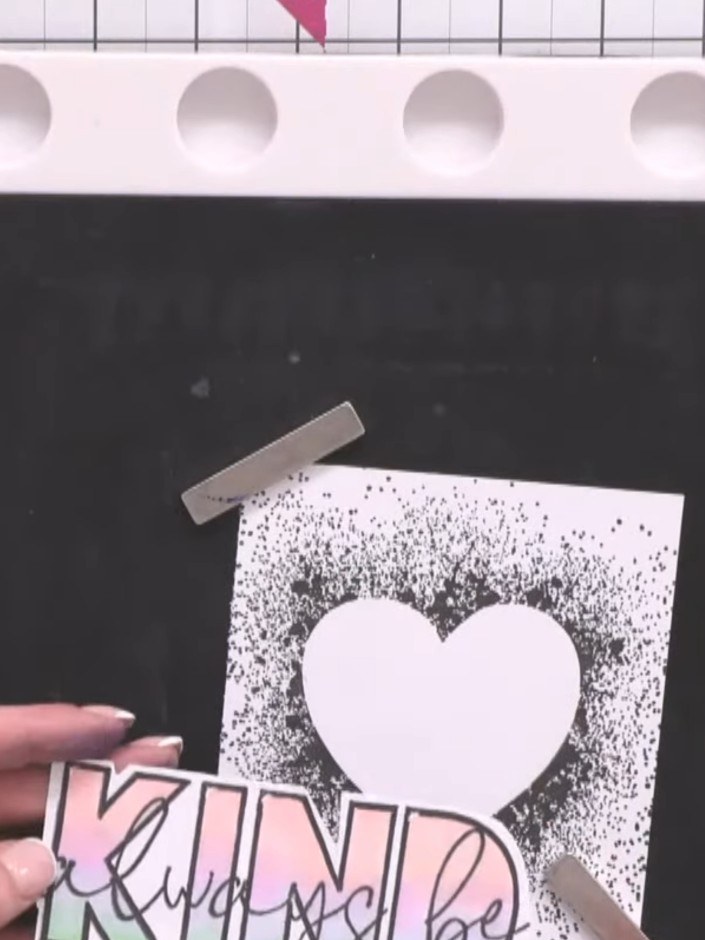
Use scissors or a craft knife to add small V-shaped notches at the top and bottom of the letters N and K in the 'KIND' sentiment to create a professional die-cut appearance.
▶ voir cette étape (29:30)Rédigé à partir de l'émission elle-même. Découvrez tous les guides de nos émissions · tutoriels gratuits · regarder en direct sur My Telly