¡Regala a tus amigos 10 $ de descuento en su primer pedido!
Invita a una AMIGA








Los precios cambian al instante. Cada idioma es nuestra propia traducción, no Google.
Un proyecto de nuestro programa en directo COMMUNITY SHOWCASE - Emitido el 16 de noviembre de 2026 · 11/16/2026 · míralo desde 14:45
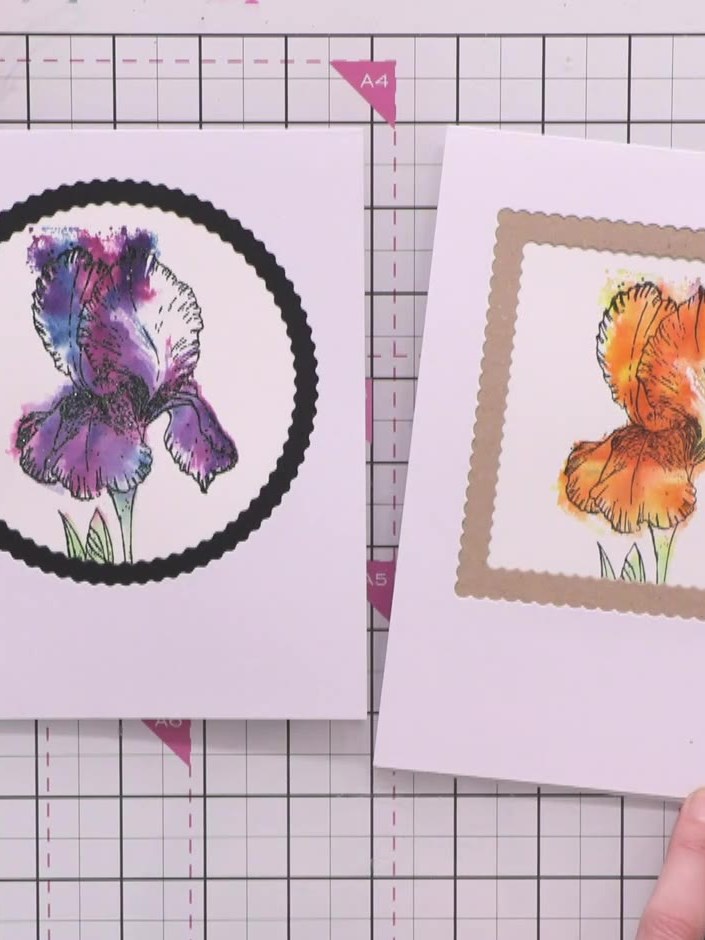
Create an elegant card featuring a laminated iris stamp as framed artwork using nesting circle dies. The design showcases a purple and pink watercoloured iris with green foliage, mounted on white card and framed with a decorative scalloped black circle aperture. The technique combines stamping, watercolouring, lamination and die-cutting to achieve a professional gallery-style effect.
 100566 - HTCN - SELLO A5 - LAMINATION - CELEBRATE TODAY - 110722BVER
 CARTA - PAPEL PARA ACUARELA TRADICIONAL - A5 - wcpa501VER
 Tampón de tinta Memento Teal ZealVER
 STAMPS BY ME - SET DE TROQUELES CÍRCULOS ANIDADOS - 140626AVER
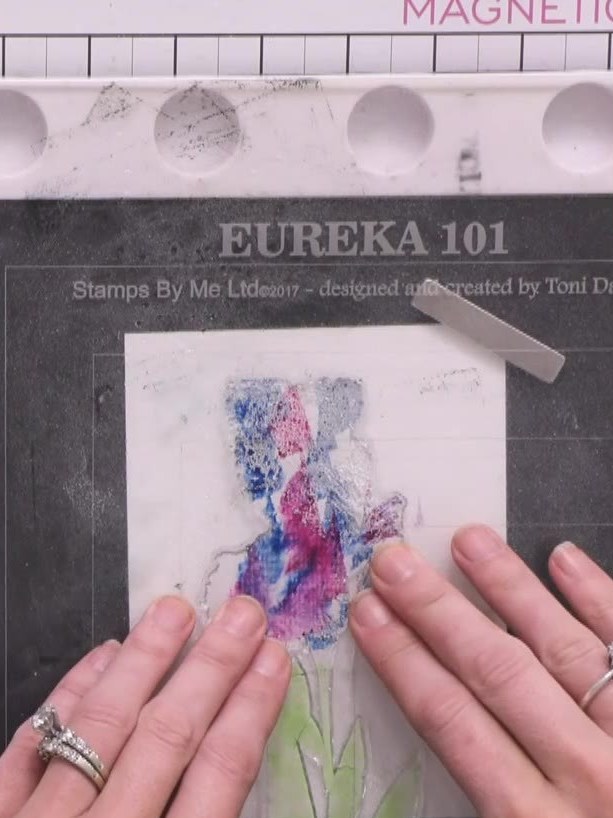
Cut two pieces of A5 Carta Traditional Watercolour Paper in half to create four base pieces for your cards. Ink the Celebrate Today lamination stamp using multiple ink pad colours. Apply blue, pink and purple to different areas of the stamp.
▶ ver este paso (16:45)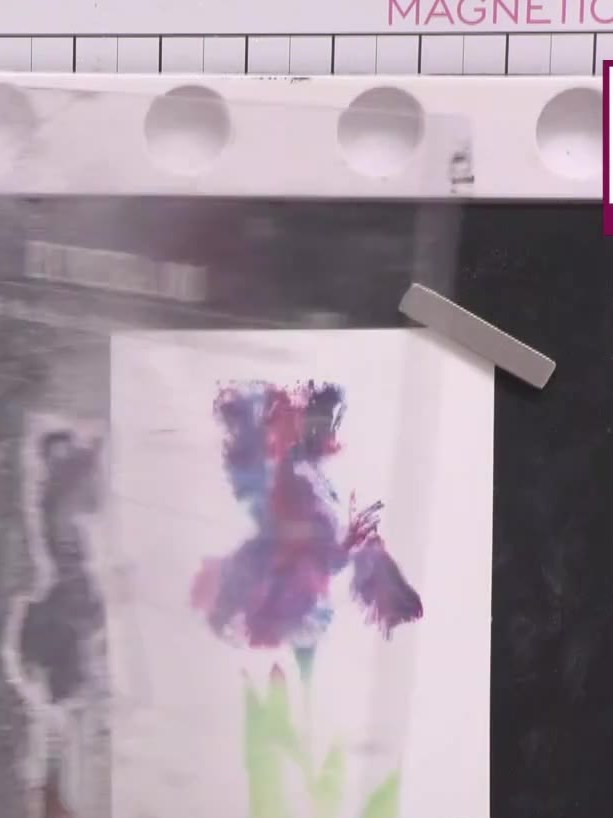
Spray the inked stamp with water and press it onto the first watercolour card piece, creating a blended, abstract watercolour effect with the iris design.
▶ ver este paso (20:15)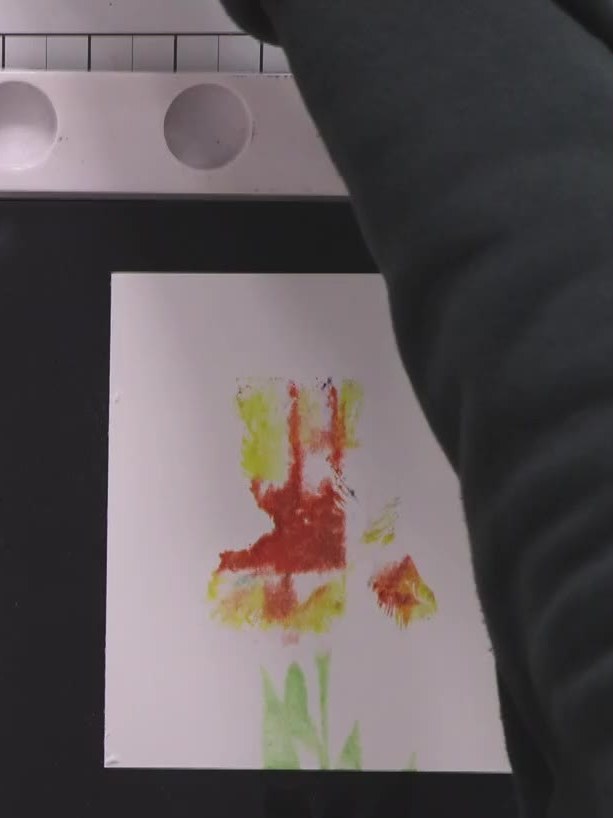
Repeat the inking and stamping process on the second watercolour card piece using different colour combinations. Use orange, yellow and green inks to create varied floral images across the card.
▶ ver este paso (21:00)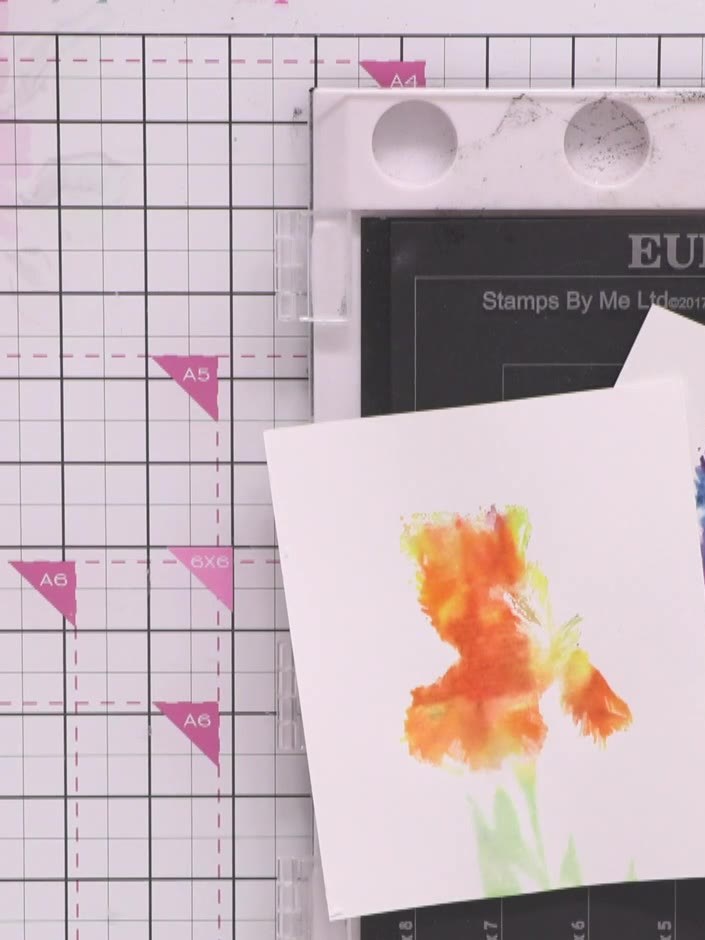
Allow both stamped pieces to dry completely. Set them aside while the ink dries fully on the watercolour paper.
▶ ver este paso (22:30)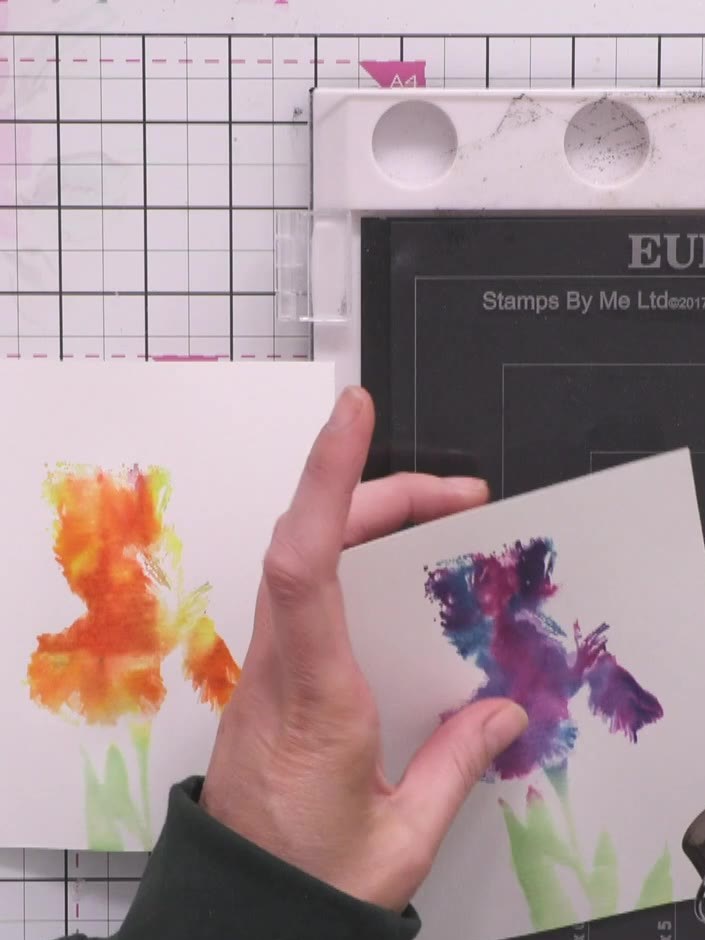
Clean the stamp thoroughly and ink it again using black ink. Ensure the stamp is evenly coated with the black ink before stamping.
▶ ver este paso (23:45)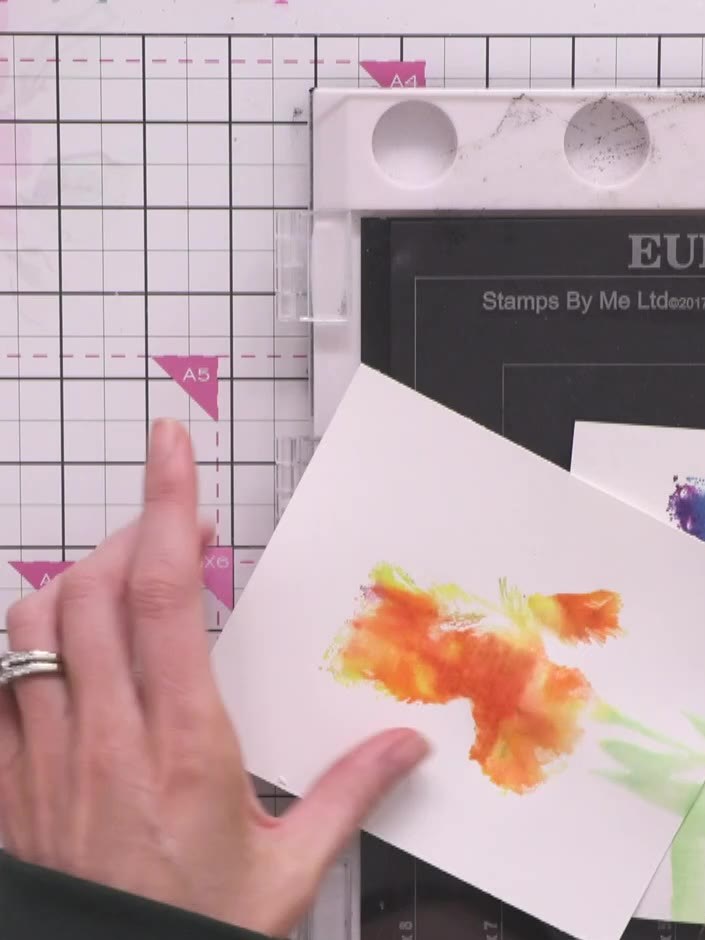
Stamp the solid portion of the lamination stamp onto the first dried watercolour piece using black ink. Position the stamp carefully over the watercoloured flowers.
▶ ver este paso (24:15)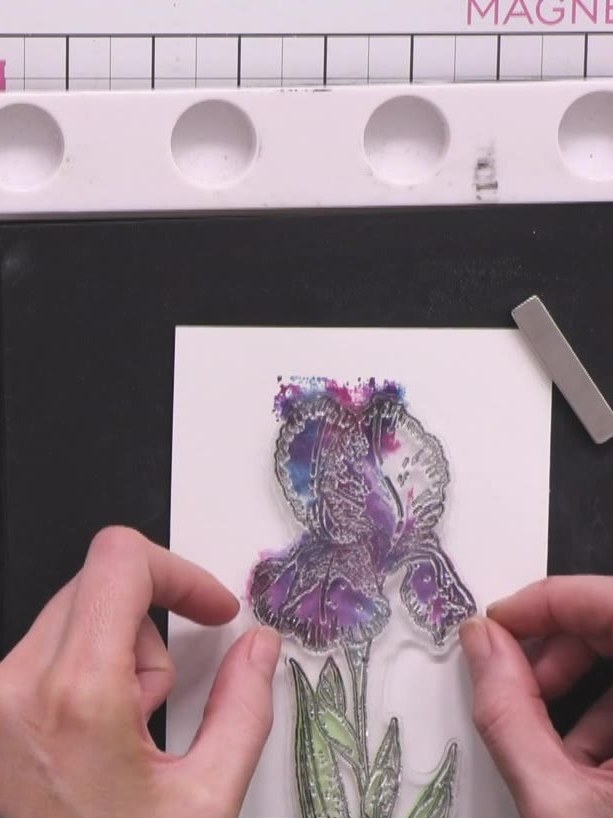
Clean the stamp and ink it with black ink. Stamp the iris image onto the second piece of watercolour paper, ensuring the detailed outline overlays the watercoloured background.
▶ ver este paso (25:15)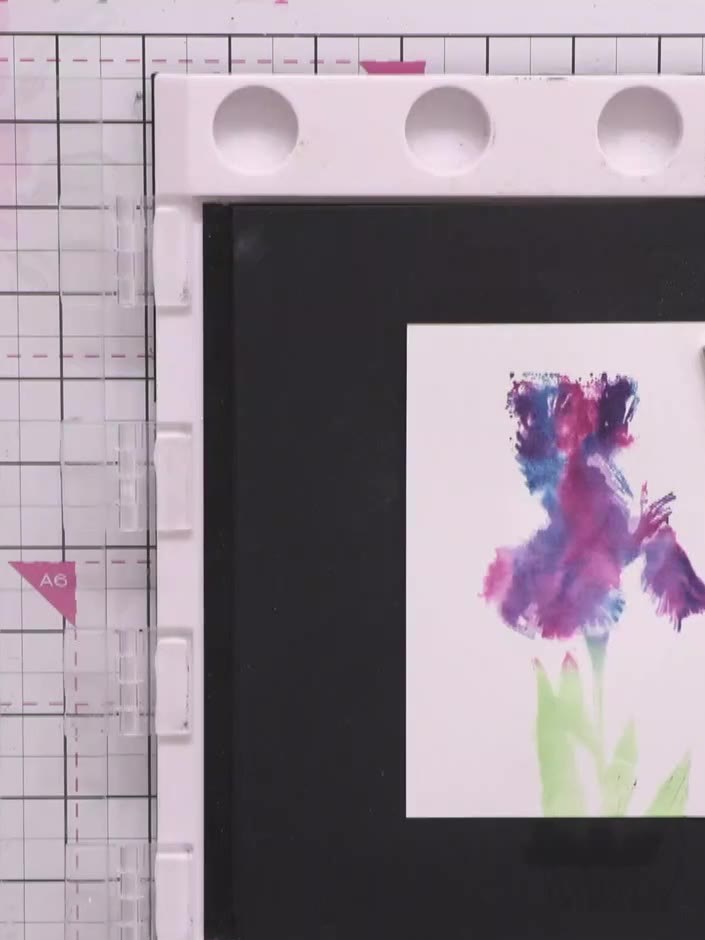
Laminate the stamped iris piece. Position it on the card to check placement.
▶ ver este paso (25:45)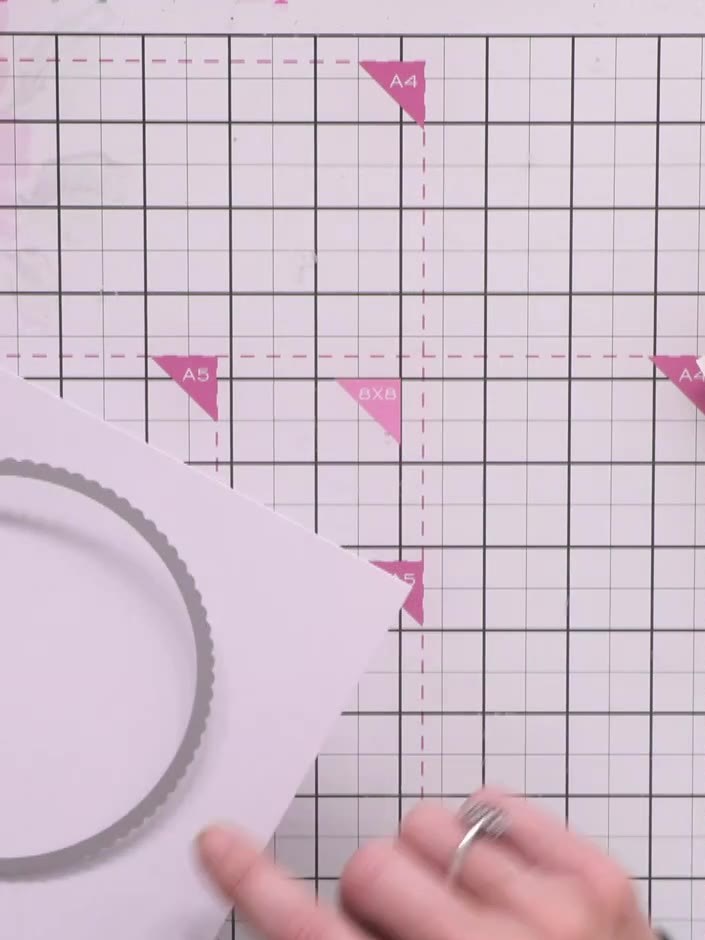
Using the largest circle die from the Nesting Circles Die Set, cut a circular aperture from a white card blank, positioning the die near the top of the card. Run the card and die through your die-cutting machine to create the aperture.
▶ ver este paso (29:45)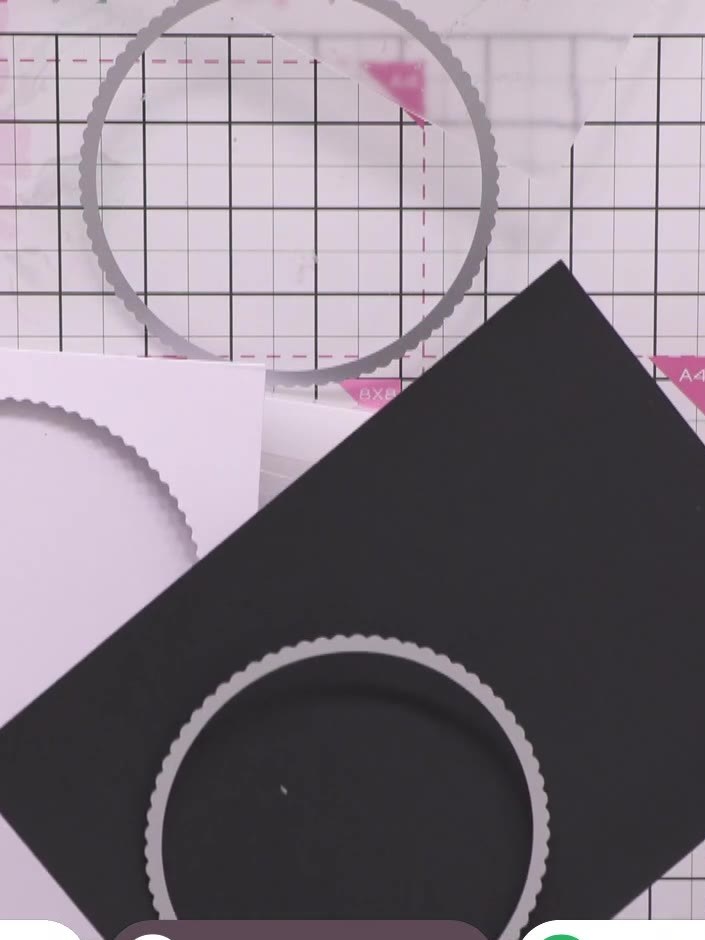
Using the next size down from the Nesting Circles Die Set, cut a circle from black card. This creates a scalloped edge frame.
▶ ver este paso (30:45)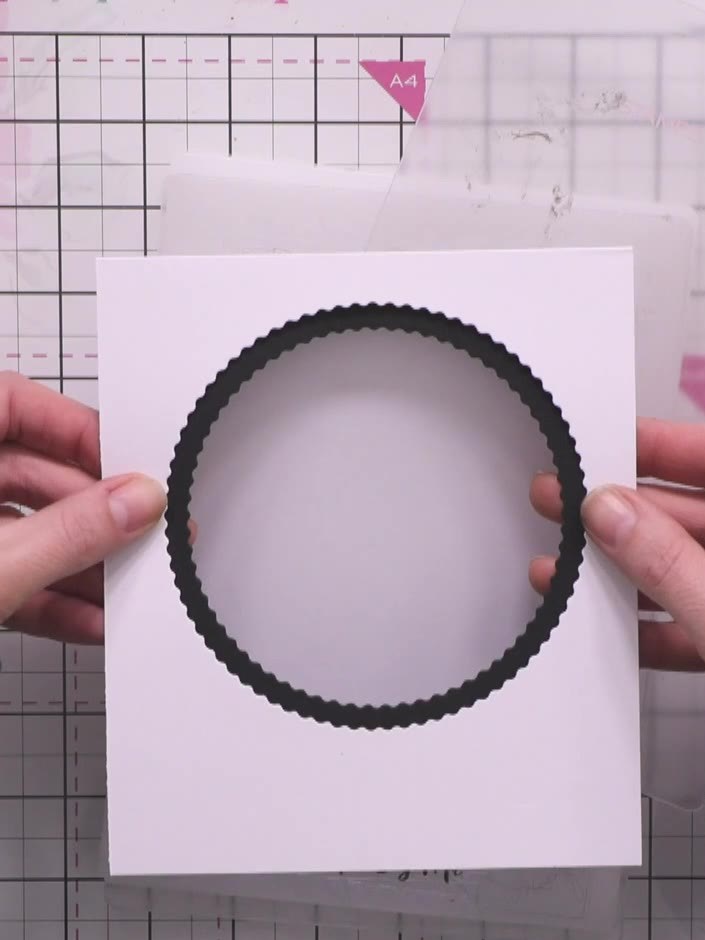
Position the black die-cut circle onto white card and cut around it to create a white backing layer. This will show through the aperture creating a framed effect.
▶ ver este paso (31:45)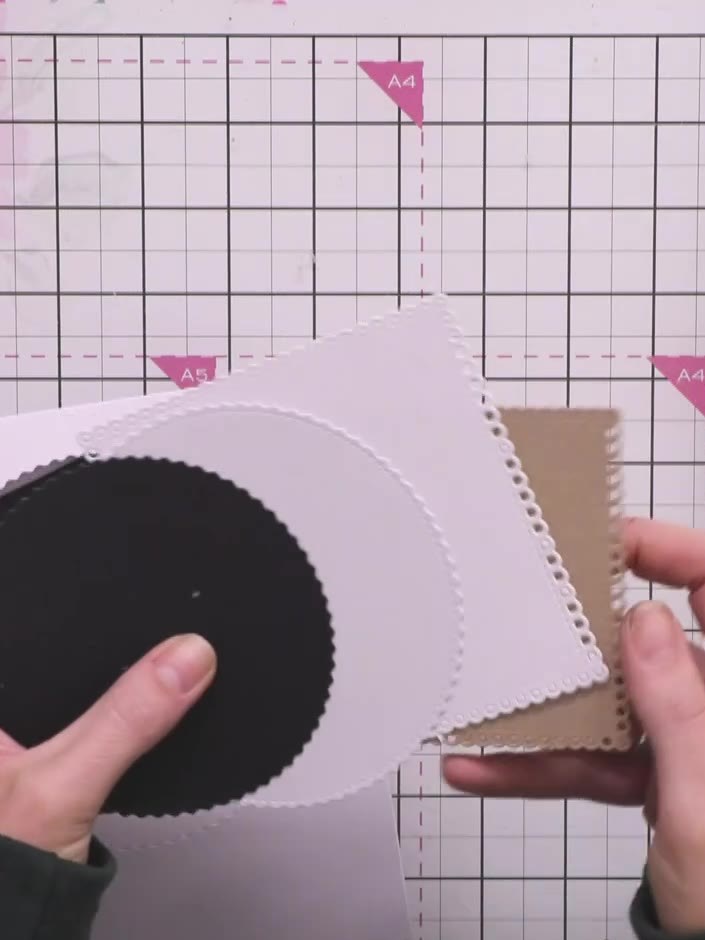
Position the laminated iris circle behind the aperture of your card front. Secure it in place using adhesive around the edges.
▶ ver este paso (36:15)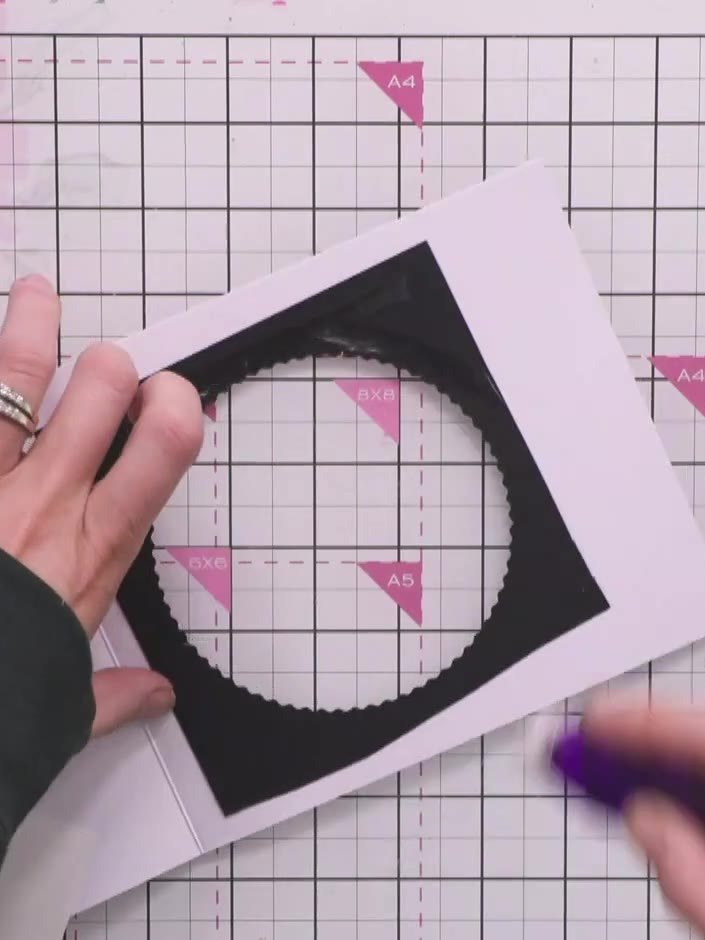
Adhere the black scalloped circle frame over the laminated iris, aligning it with the aperture to create a layered framed effect. Select a sentiment from the Celebrate Today stamp set and stamp it at the bottom of the card using black ink. Position the sentiment centrally below the laminated circle frame.
▶ ver este paso (38:30)Redactado a partir del propio programa. Mira todos los tutoriales de nuestros programas · tutoriales gratis · míralo en directo en My Telly


